General tips and getting started
Take your time and be patient! If you run into a problem, try to keep a cool head and refer to the PCB troubleshooting section. If your problem remains unfixed and you can't figure it out, please email me to let me know! I'll do my best to help you, and your feedback will help improve the guide and other future Oskitone designs.
General tips
- IC chips are static-sensitive
The included IC chips can be damaged by static electricity. Leave them in their packaging until ready to install. Before handling, discharge any static electricity on your body by touching a large piece of metal. You can even use an anti-static mat and/or wrist strap for extra caution. - Alternate chip names
This kit uses three IC (Integrated Circuit) chips: 4017, 4040, and 4093. Each will be labelled from the factory with its type, but the label's text format will differ based on their manufacturer and series. For example, the 4040 chip could be marked4040BE,SN74HC4040, orMC14040BCP; all have "4040" somewhere in there. They are all pin-for-pin compatible with each other. Because those full names are a mouthful and their technical differences don't matter for our usage, this guide refers to all chips by their short names. - Component colors
This guide's components' brands and body colors (and even the PCB color itself) may look different from yours, and that's okay! What's important is that the part types and values are in the right spots. - Component numbers/IDs will seem arbitrary
Electronic parts are numbered by the schematic layout, not their assembly step or placement on the PCB. So, for example, you'll be soldering SW3 ("Switch 3") long before SW1. This is typical of all electronics. - Resistors are labeled with colors, capacitors with numbers
Resistors' values are marked as colored bands on their body. Ceramic capacitors use a number system to denote their value. - Ceramic and electrolytic capacitors
There are two kinds of “caps” used in this kit. Ceramic capacitors are small, circular, and have no polarity; they can be placed in either direction. Electrolytic caps are bigger, cylindrical, and have marked +/- polarities. - ICs in sockets
Each IC chip comes with a corresponding socket with the same number of pins. You will solder the socket to the PCB, not the chip itself. This prevents overheating the IC with the soldering iron and makes it easier to switch a faulty one out. - Component polarities
LEDs, batteries, and electrolytic capacitors have positive and negative leads. Where applicable, the PCB will be labeled where each lead goes or a component outline to denote orientation. - IC orientation
The IC chips also have an orientation, marked by a notch at their top. Make sure these line up when soldering the sockets and again when inserting the chips. A chip can be permanently damaged if inserted incorrectly! - Get tricky/sticky with short-lead components
Components with short leads can be hard to get to stay on the PCB, because you can't really bend their leads to get them to stay put. But there are tricks! Try using tape or "Blu-Tack" adhesive to hold them. Or, clip the solder into your "holding hands", and try bringing the board to the solder (instead of the typical reverse of solder to board).
 - Make sure components are flat against the PCB's top
The clearance inside the enclosure is tight. Many of the PCB's components need to be perfectly flat against the board for the final assembly, and you'll see extra callouts in the instructions when that's important. - Trim leads short on the PCB's bottom
Similarly, trim soldered leads/wires on the PCB's bottom as close as possible.

Let's get started!
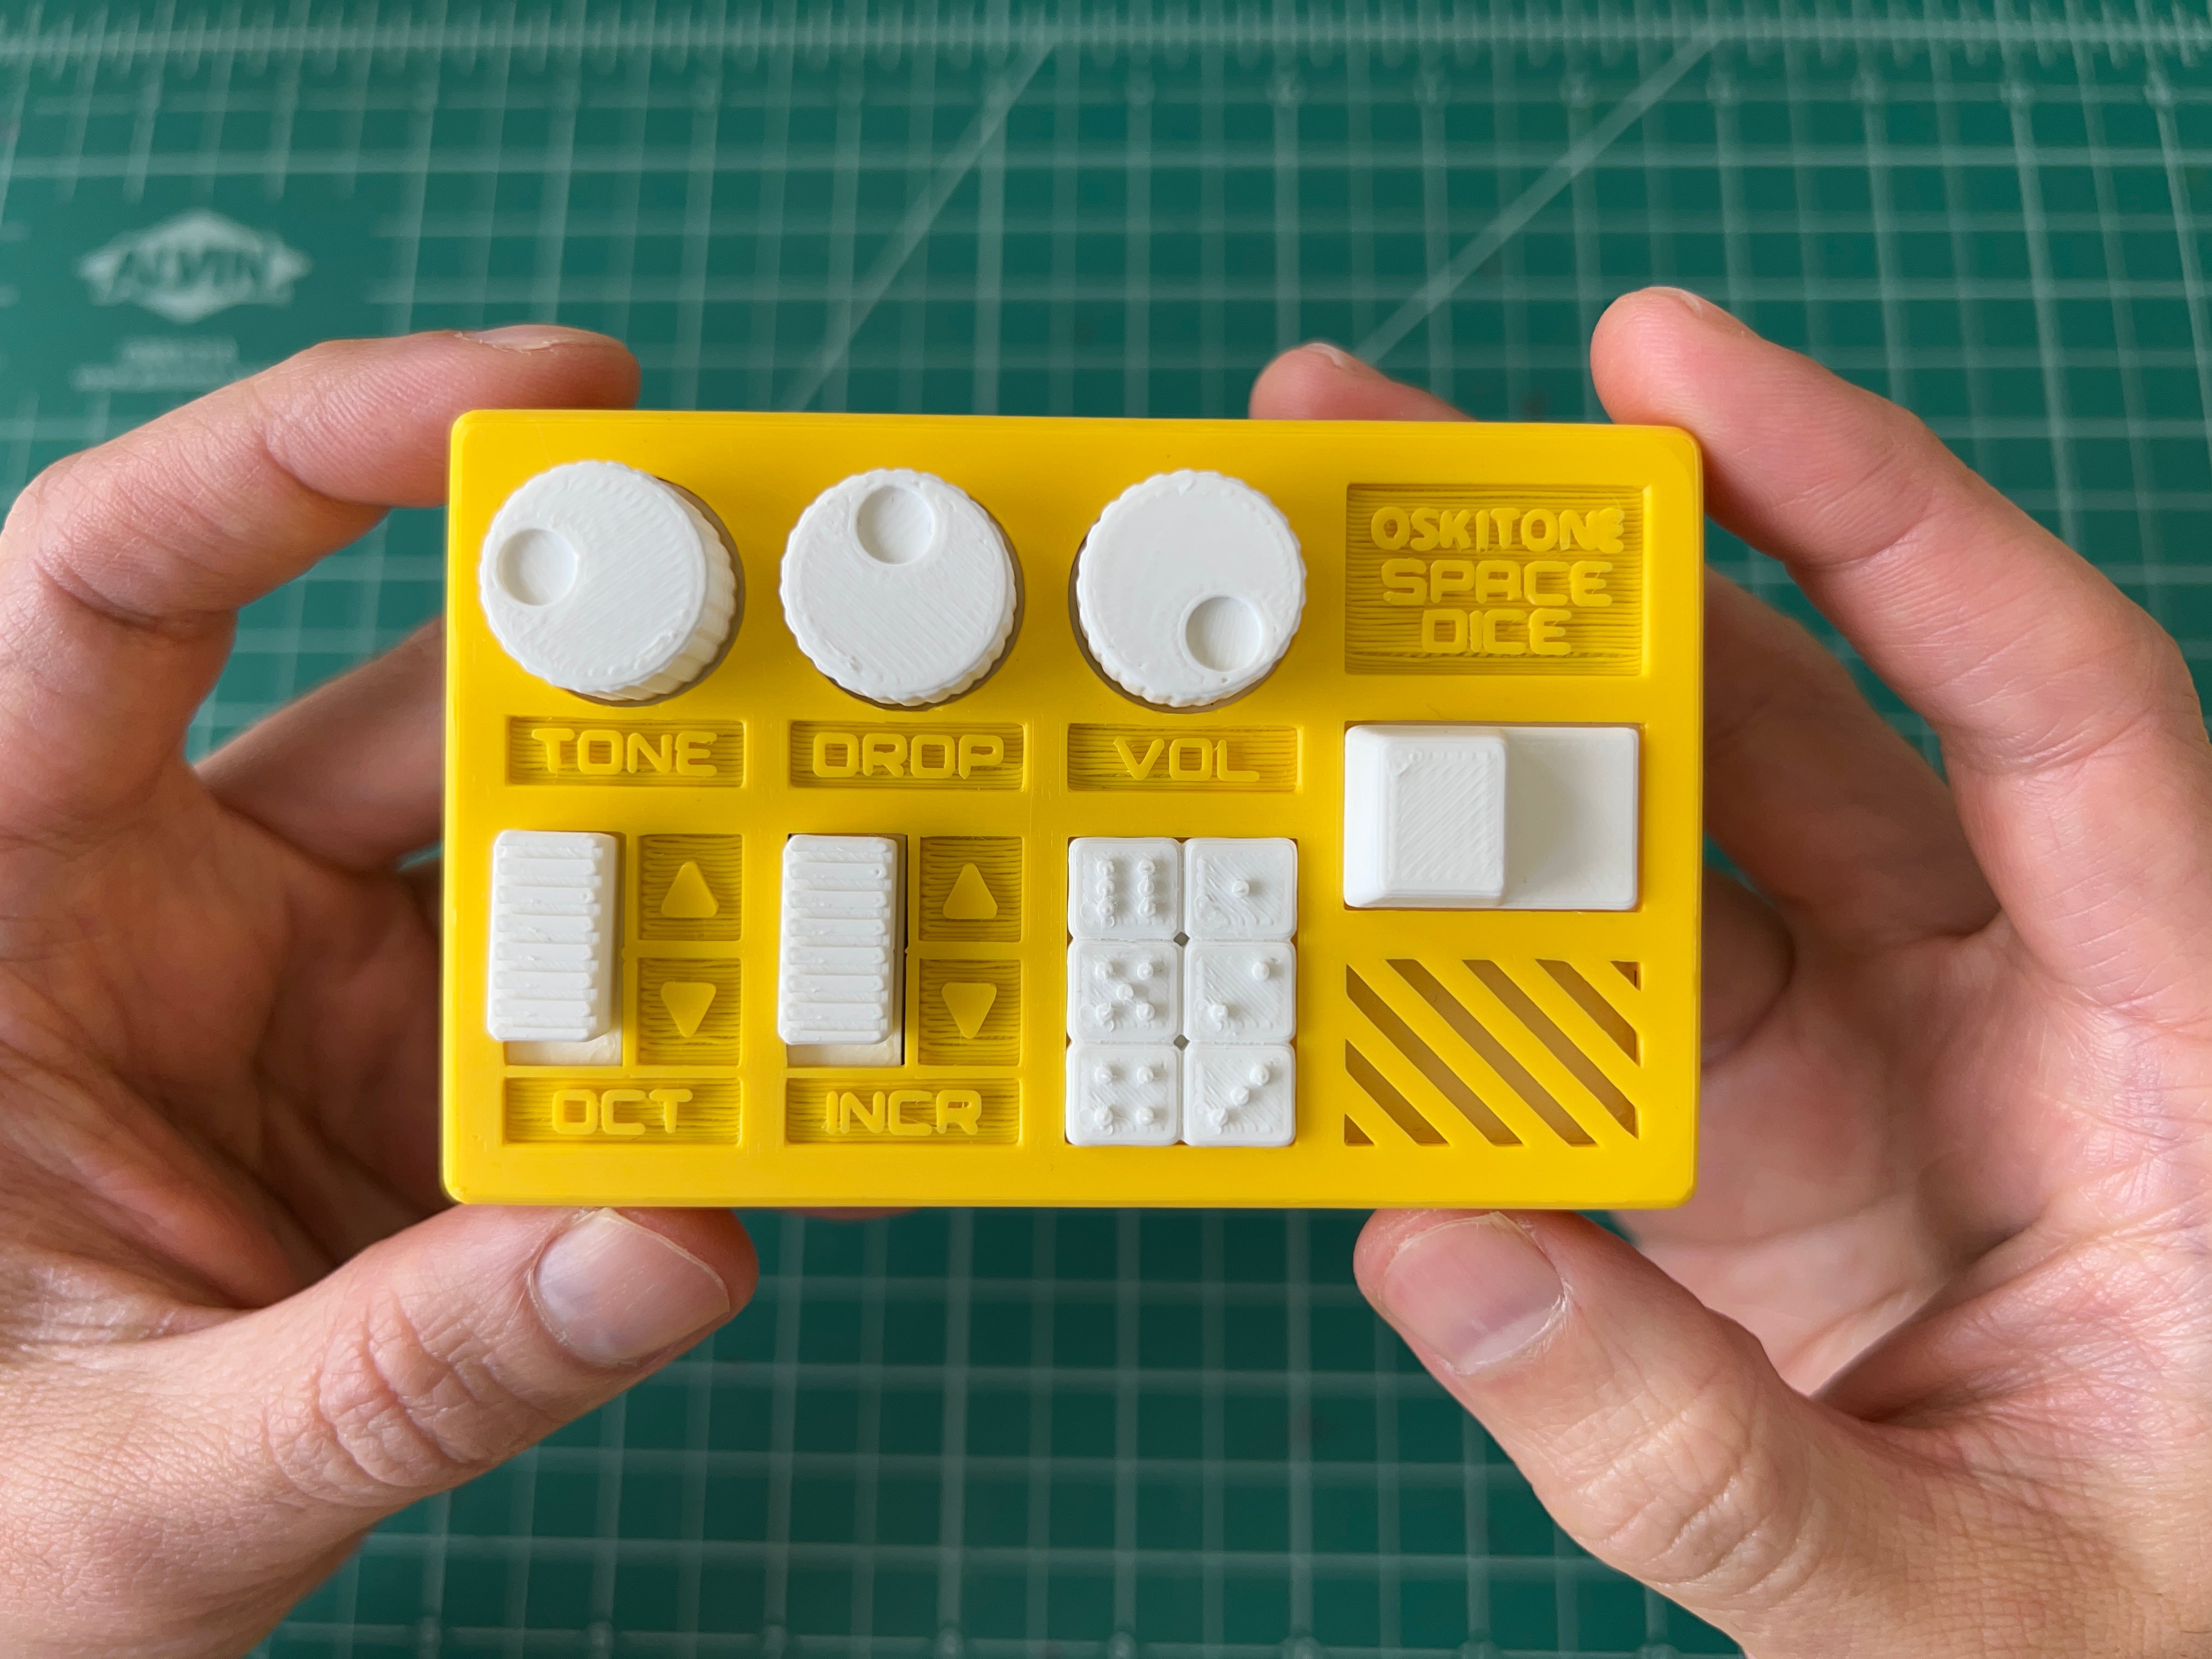
For reference, we'll end up with something like this when we're done:
How this guide is organized
Each group of steps in this guide has a test at the end to make sure everything you just did is working as expected, ie: "Get power to the board", "Use the power to light an LED", "Light different LEDs", etc.
If it doesn't work, don't fret! Look over the PCB troubleshooting tips. Don't move on in the instructions until you've got the test working.
The guide's steps are intentionally ordered. If you don't want to follow the guide, that's okay! But it may be harder to debug later if anything doesn't work as expected.
There are lots of ways to "make things good". The guide assumes you have some but not a lot of experience, so there are lots of tips throughout. Of course, if you already have your own methods, use what you know!