Prepare 3D prints
Work in Progress
These docs are still a work-in-progress and may not be fully baked just yet! Please contact me if any of it seems very wrong or needs extra clarification.
note
You're almost done! Take your time to follow the directions in order.
And check out the Assembly troubleshooting section if you run into any trouble.
Steps
- Take a moment to examine your 3D prints and cut/brush/pull off any plastic stringing from the printing process.
- Prep enclosure bottom
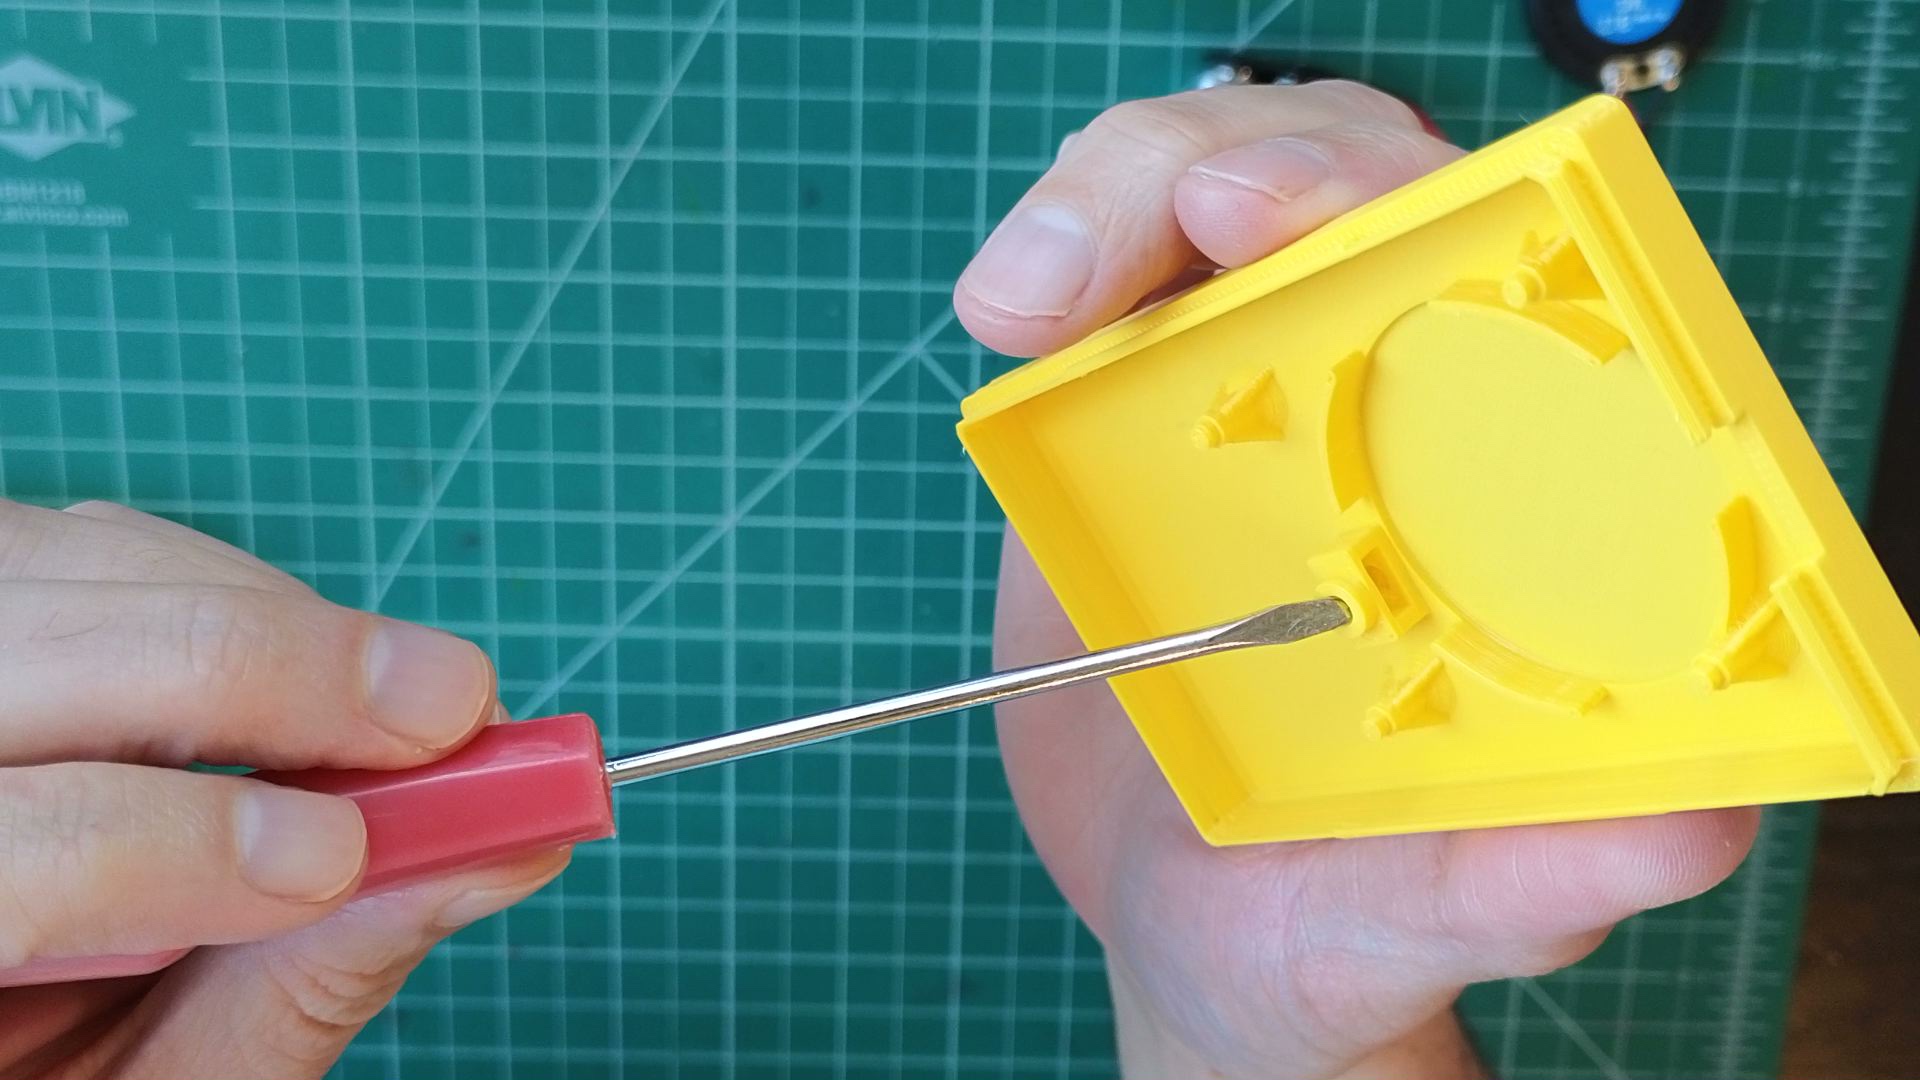
- Use a thin screw driver, pen tip, or similar tool to break away the support material at the top of the nut lock on the enclosure bottom.

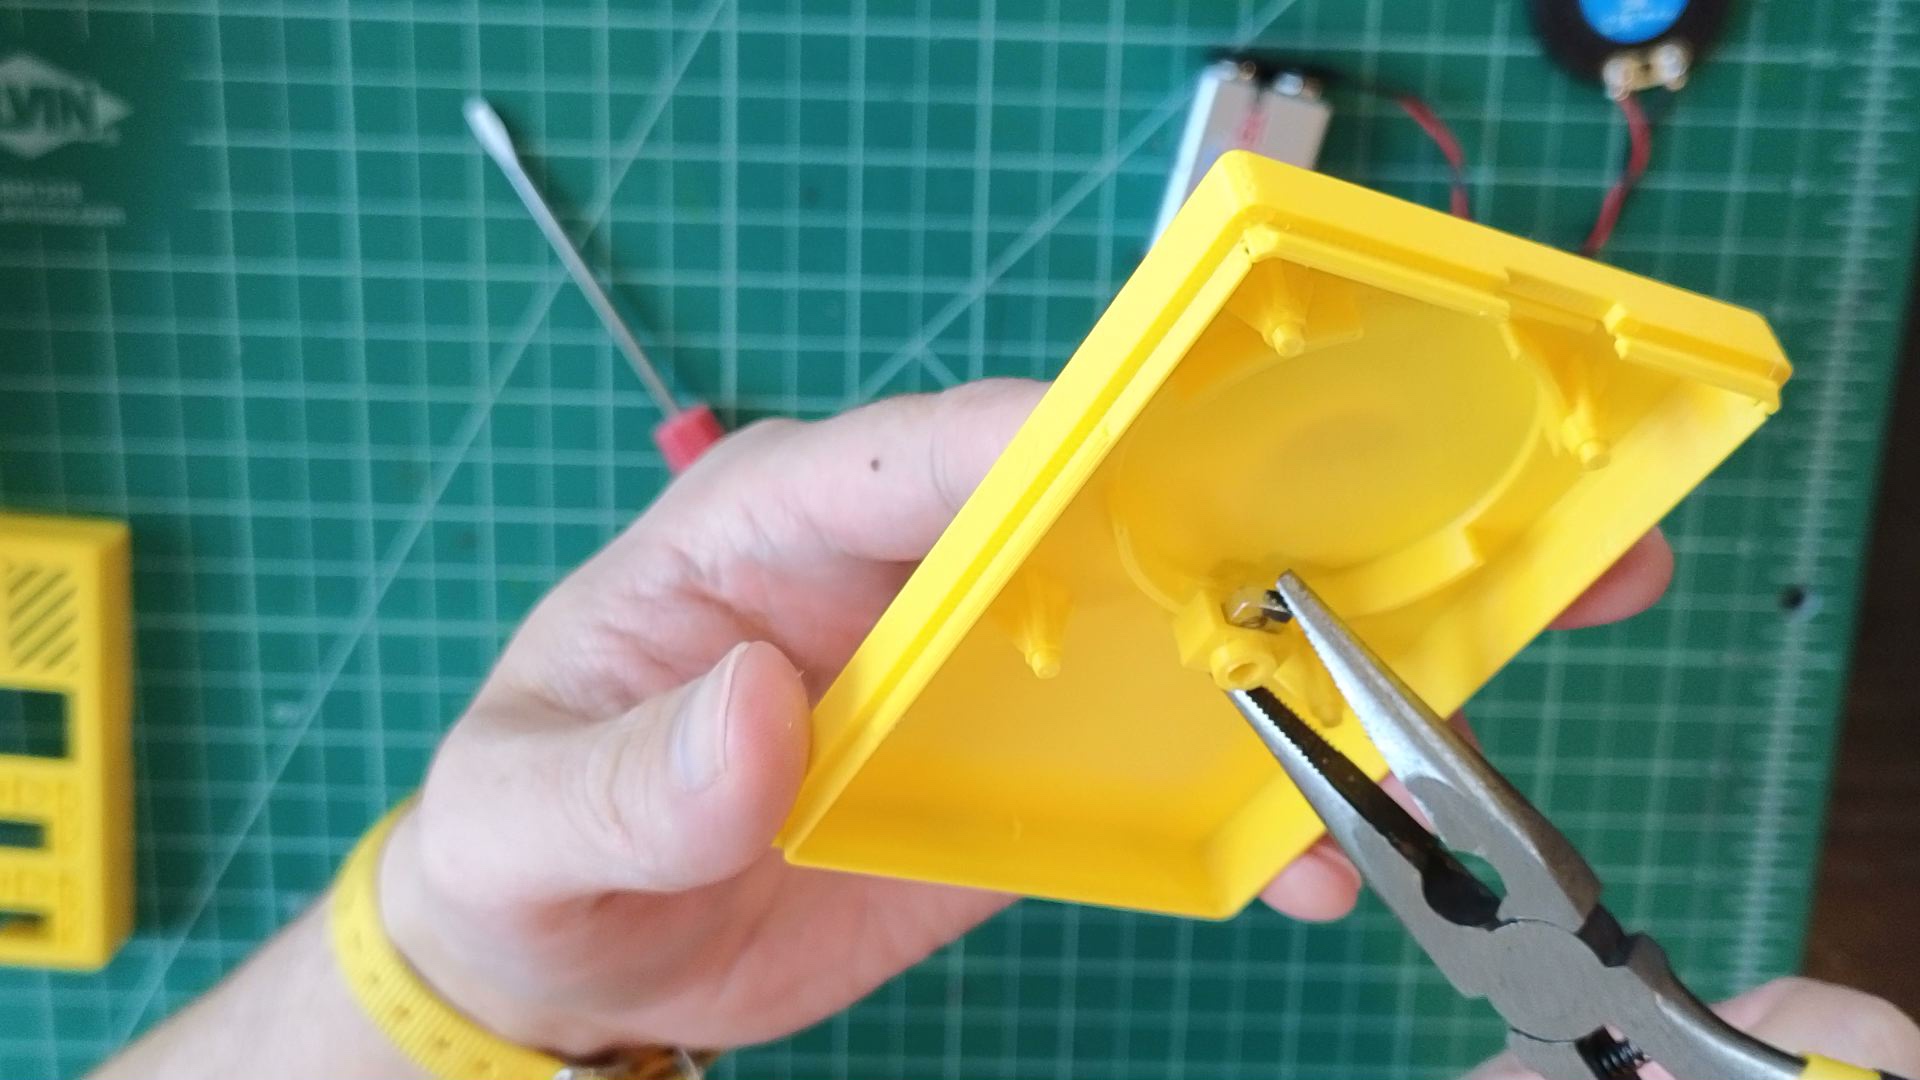
- Slide the square nut into its cavity. It'll be snug, but it will fit! Needle-nose pliers can help.

- Use a thin screw driver, pen tip, or similar tool to break away the support material at the top of the nut lock on the enclosure bottom.
- Prep enclosure top
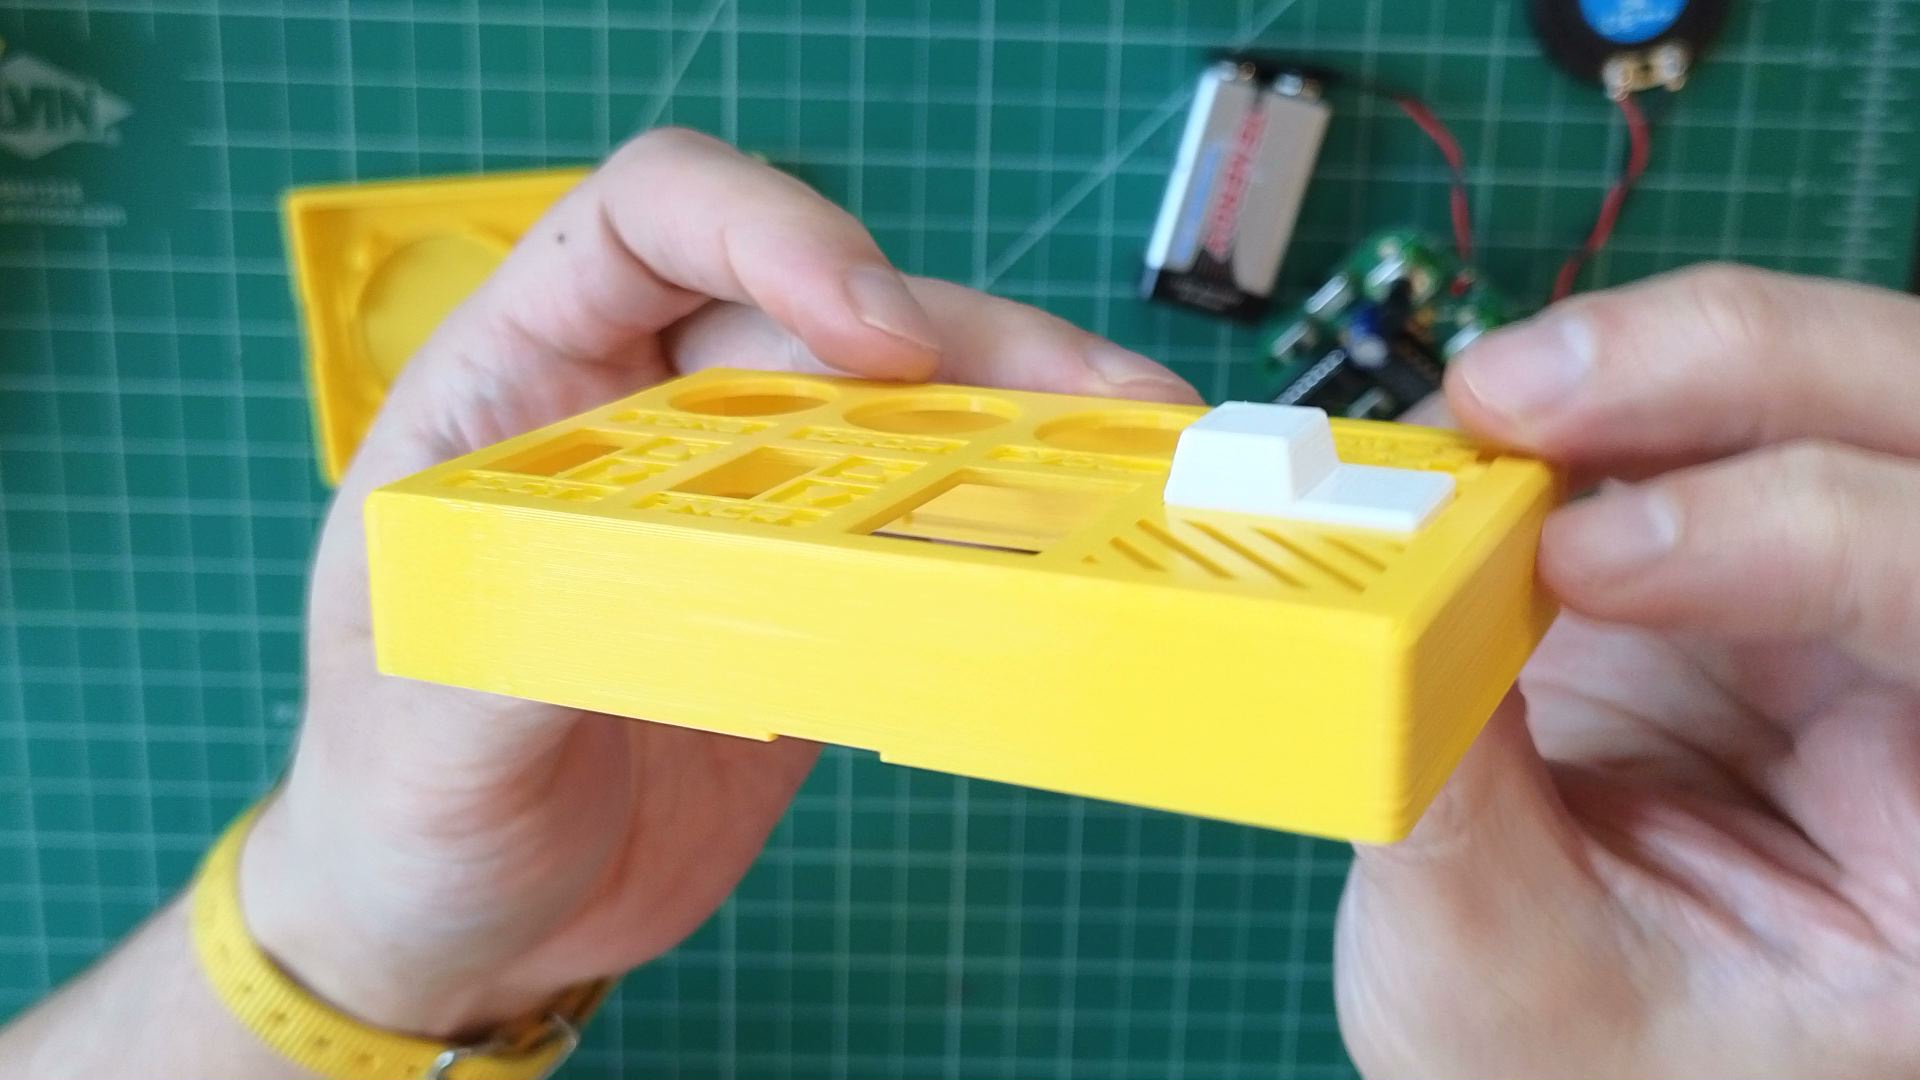
- Slide the button cap into its fixture in the enclosure top, then gently pop it up into place.
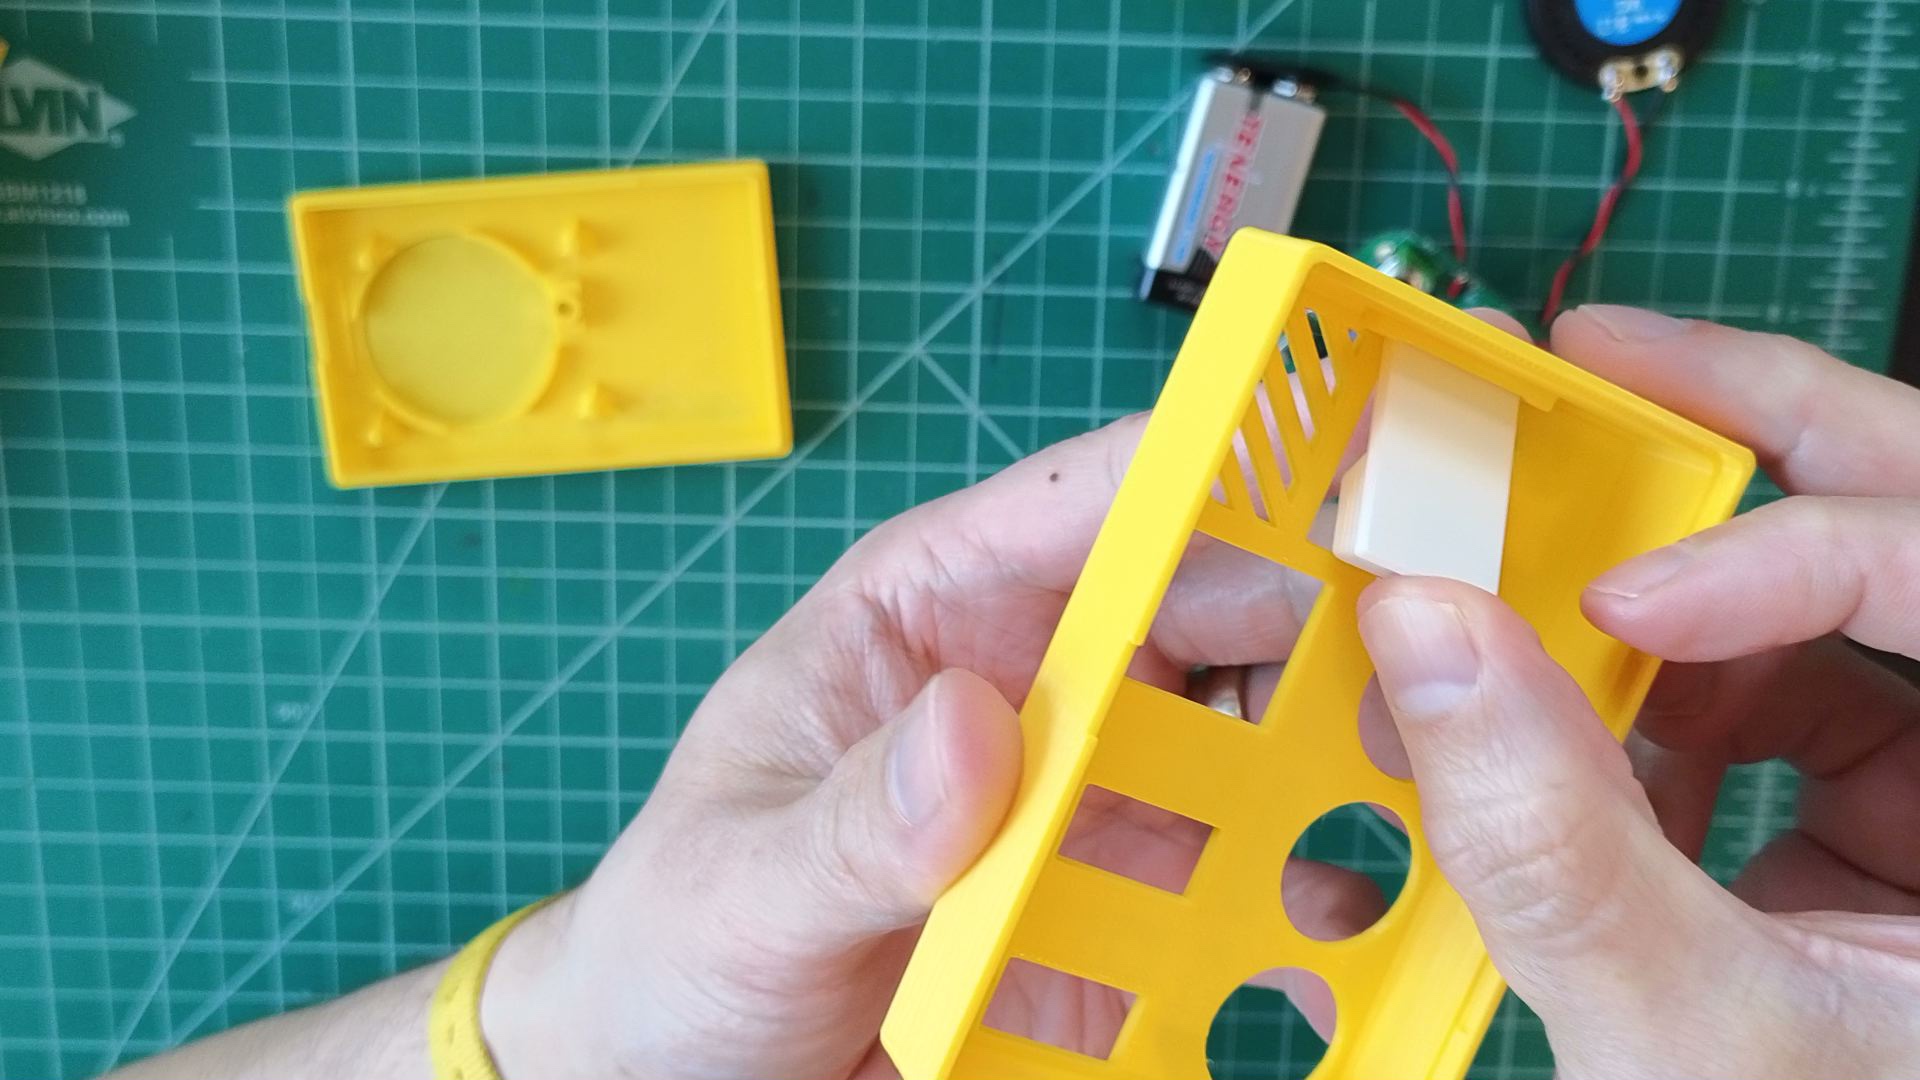
- It's okay if it's a little loose. It will be held in place when fully assembled.

- Slide the button cap into its fixture in the enclosure top, then gently pop it up into place.

Not working as expected? Check the Assembly troubleshooting section. Otherwise, continue.