Assemble enclosure
Work in Progress
These docs are still a work-in-progress and may not be fully baked just yet! Please contact me if any of it seems very wrong or needs extra clarification.
Steps
- Cover battery
- Optional: Use a piece of tape to affix the rectangular battery cover to the to the bottom edge of the battery, like so.

- This is purely aesthetic! Skip if you'd like to show off the battery for some reason.
- Optional: Use a piece of tape to affix the rectangular battery cover to the to the bottom edge of the battery, like so.
- Cover controls
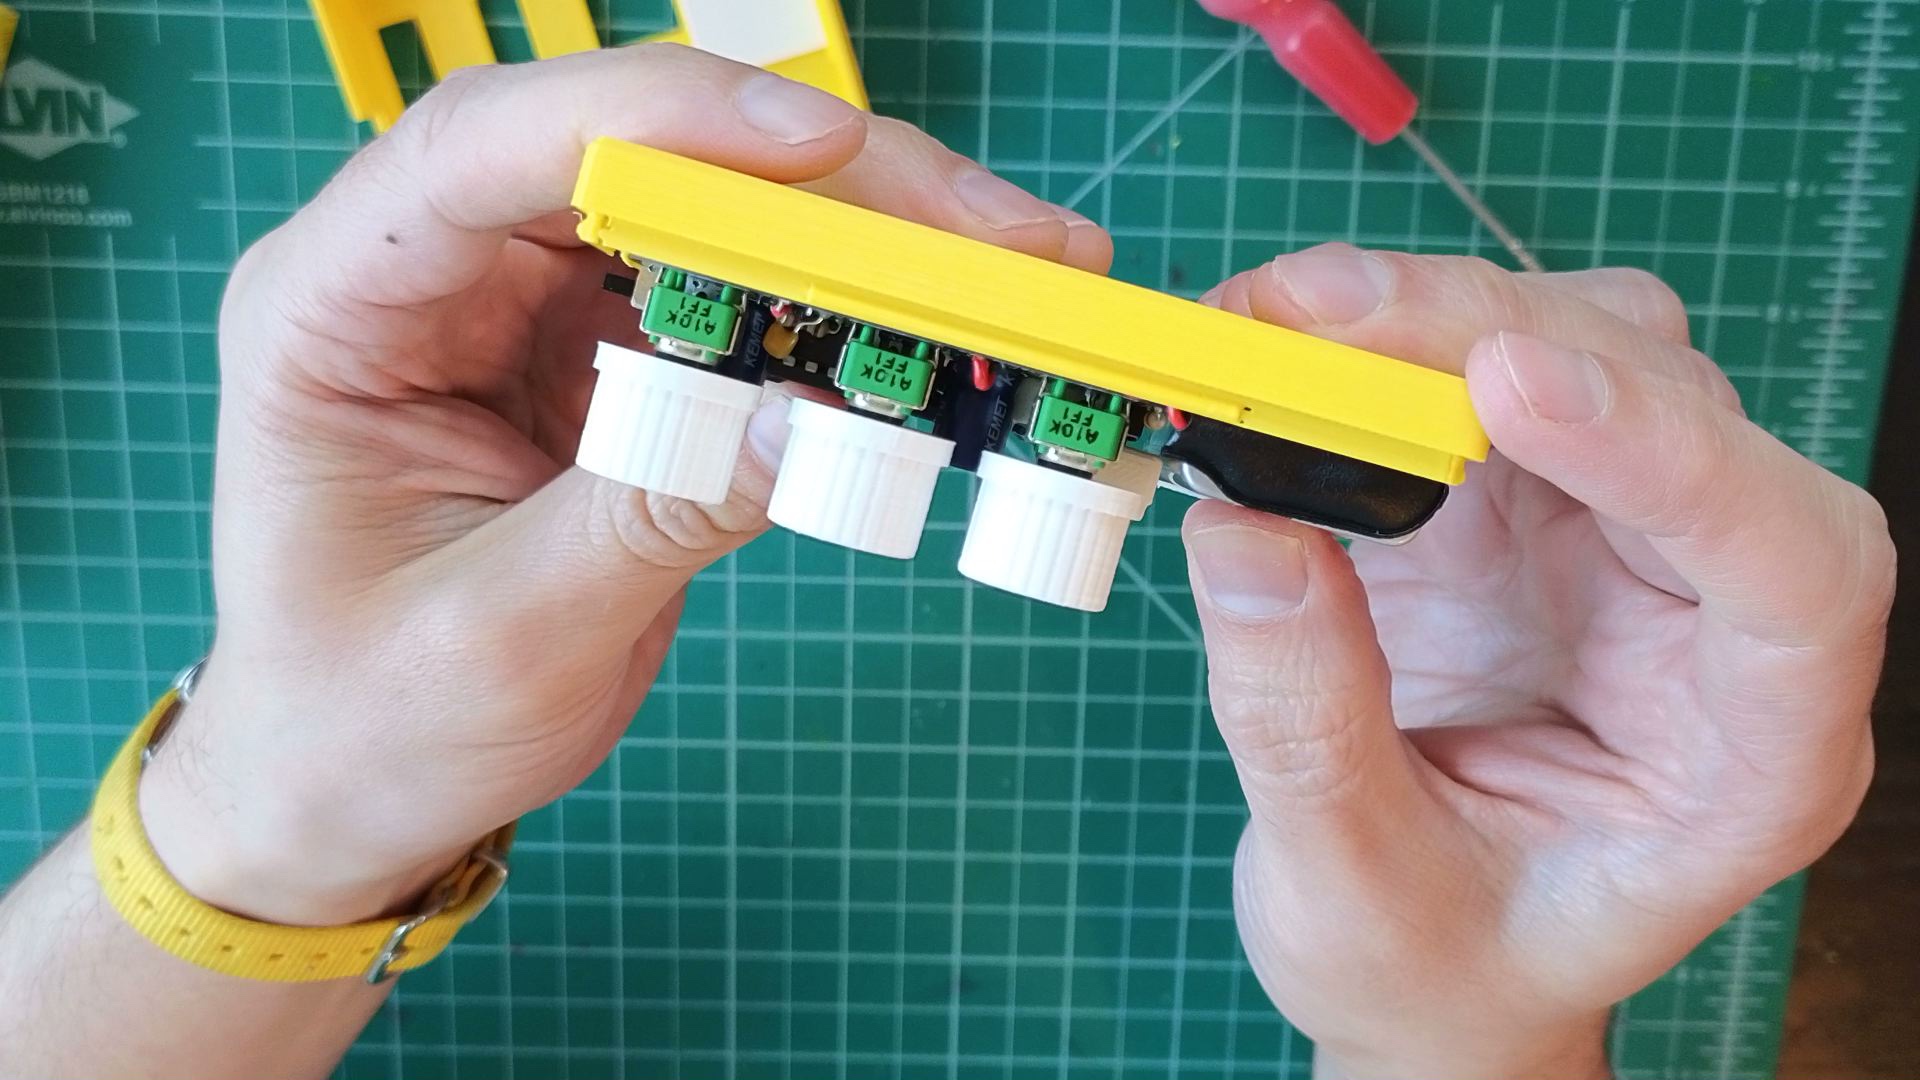
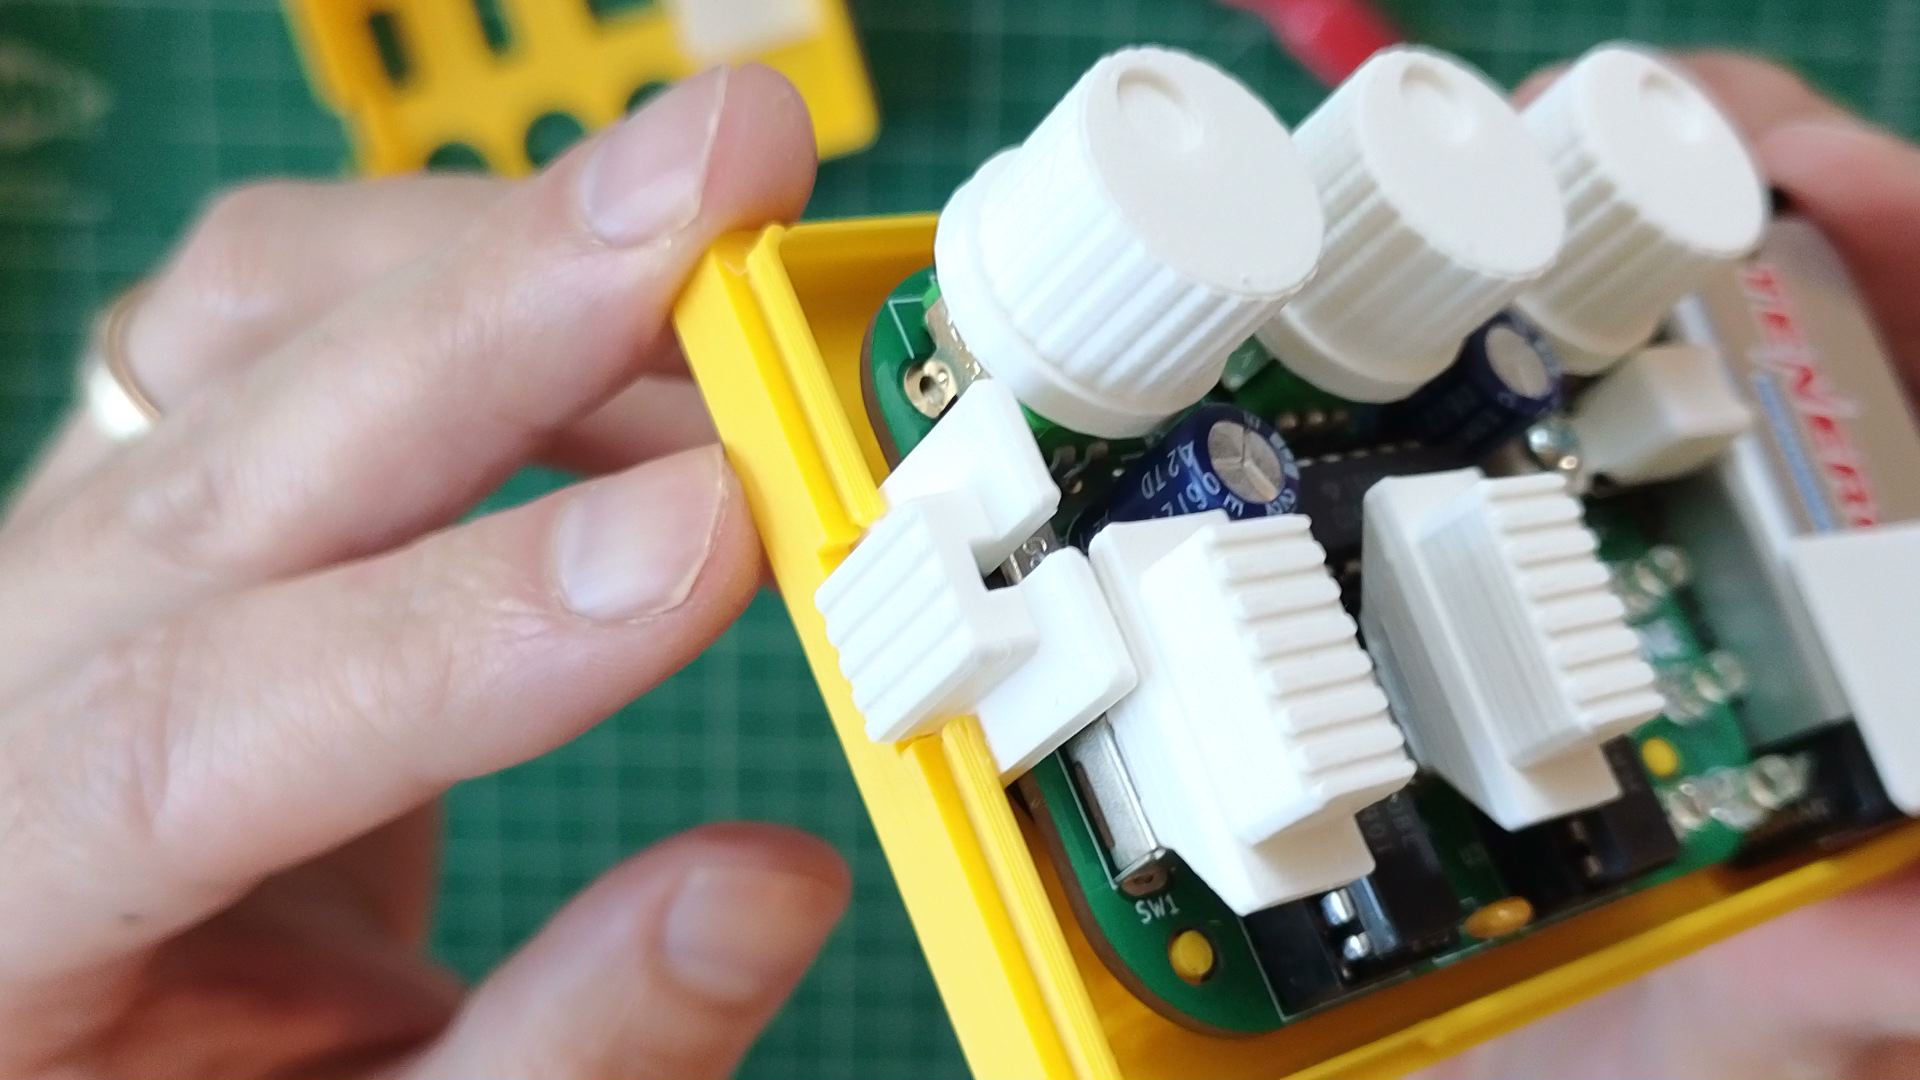
- Set all the potentiometers to "noon" with their markers right in the middle (see picture above). Then slide on their knobs to the same alignment. Push them down all the way.

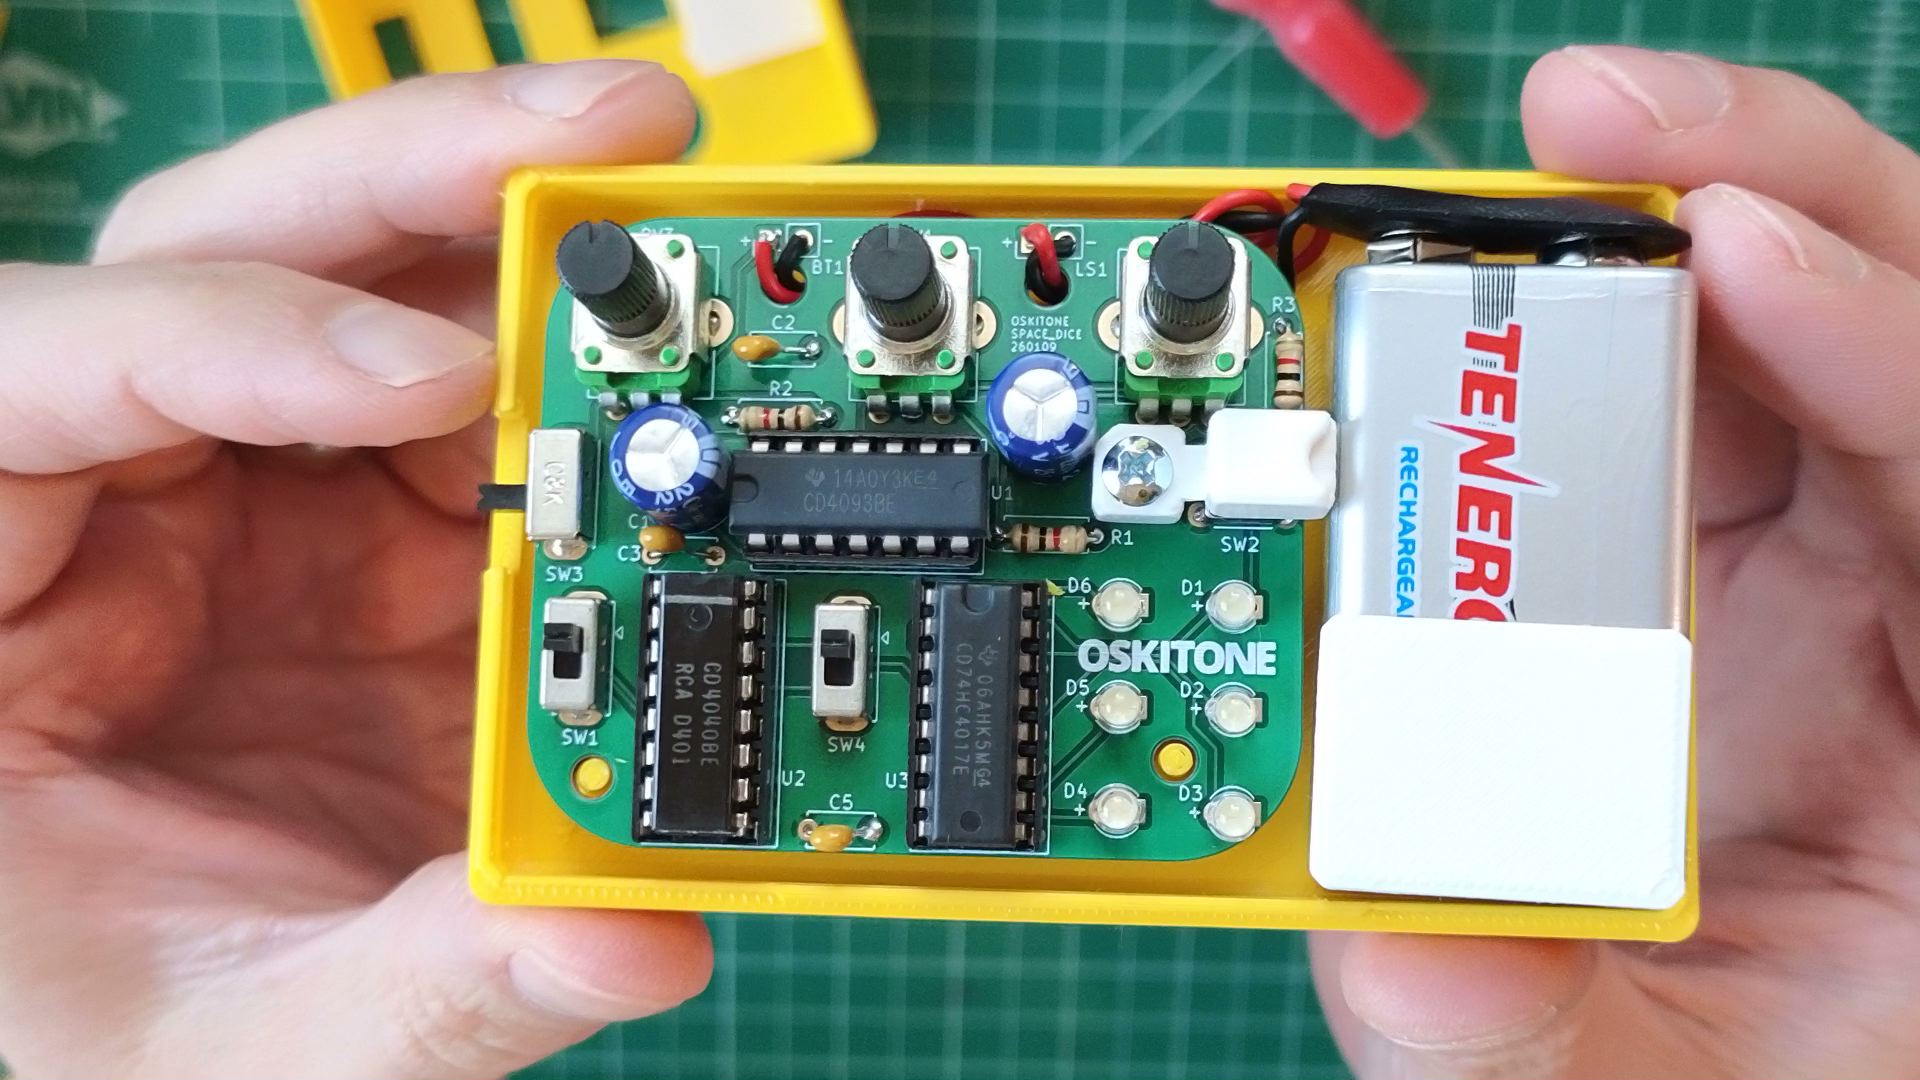
- Push the two top switch clutches onto SW1 and SW4.

- Insert the side switch clutch around SW3's actuator on the left of the PCB.

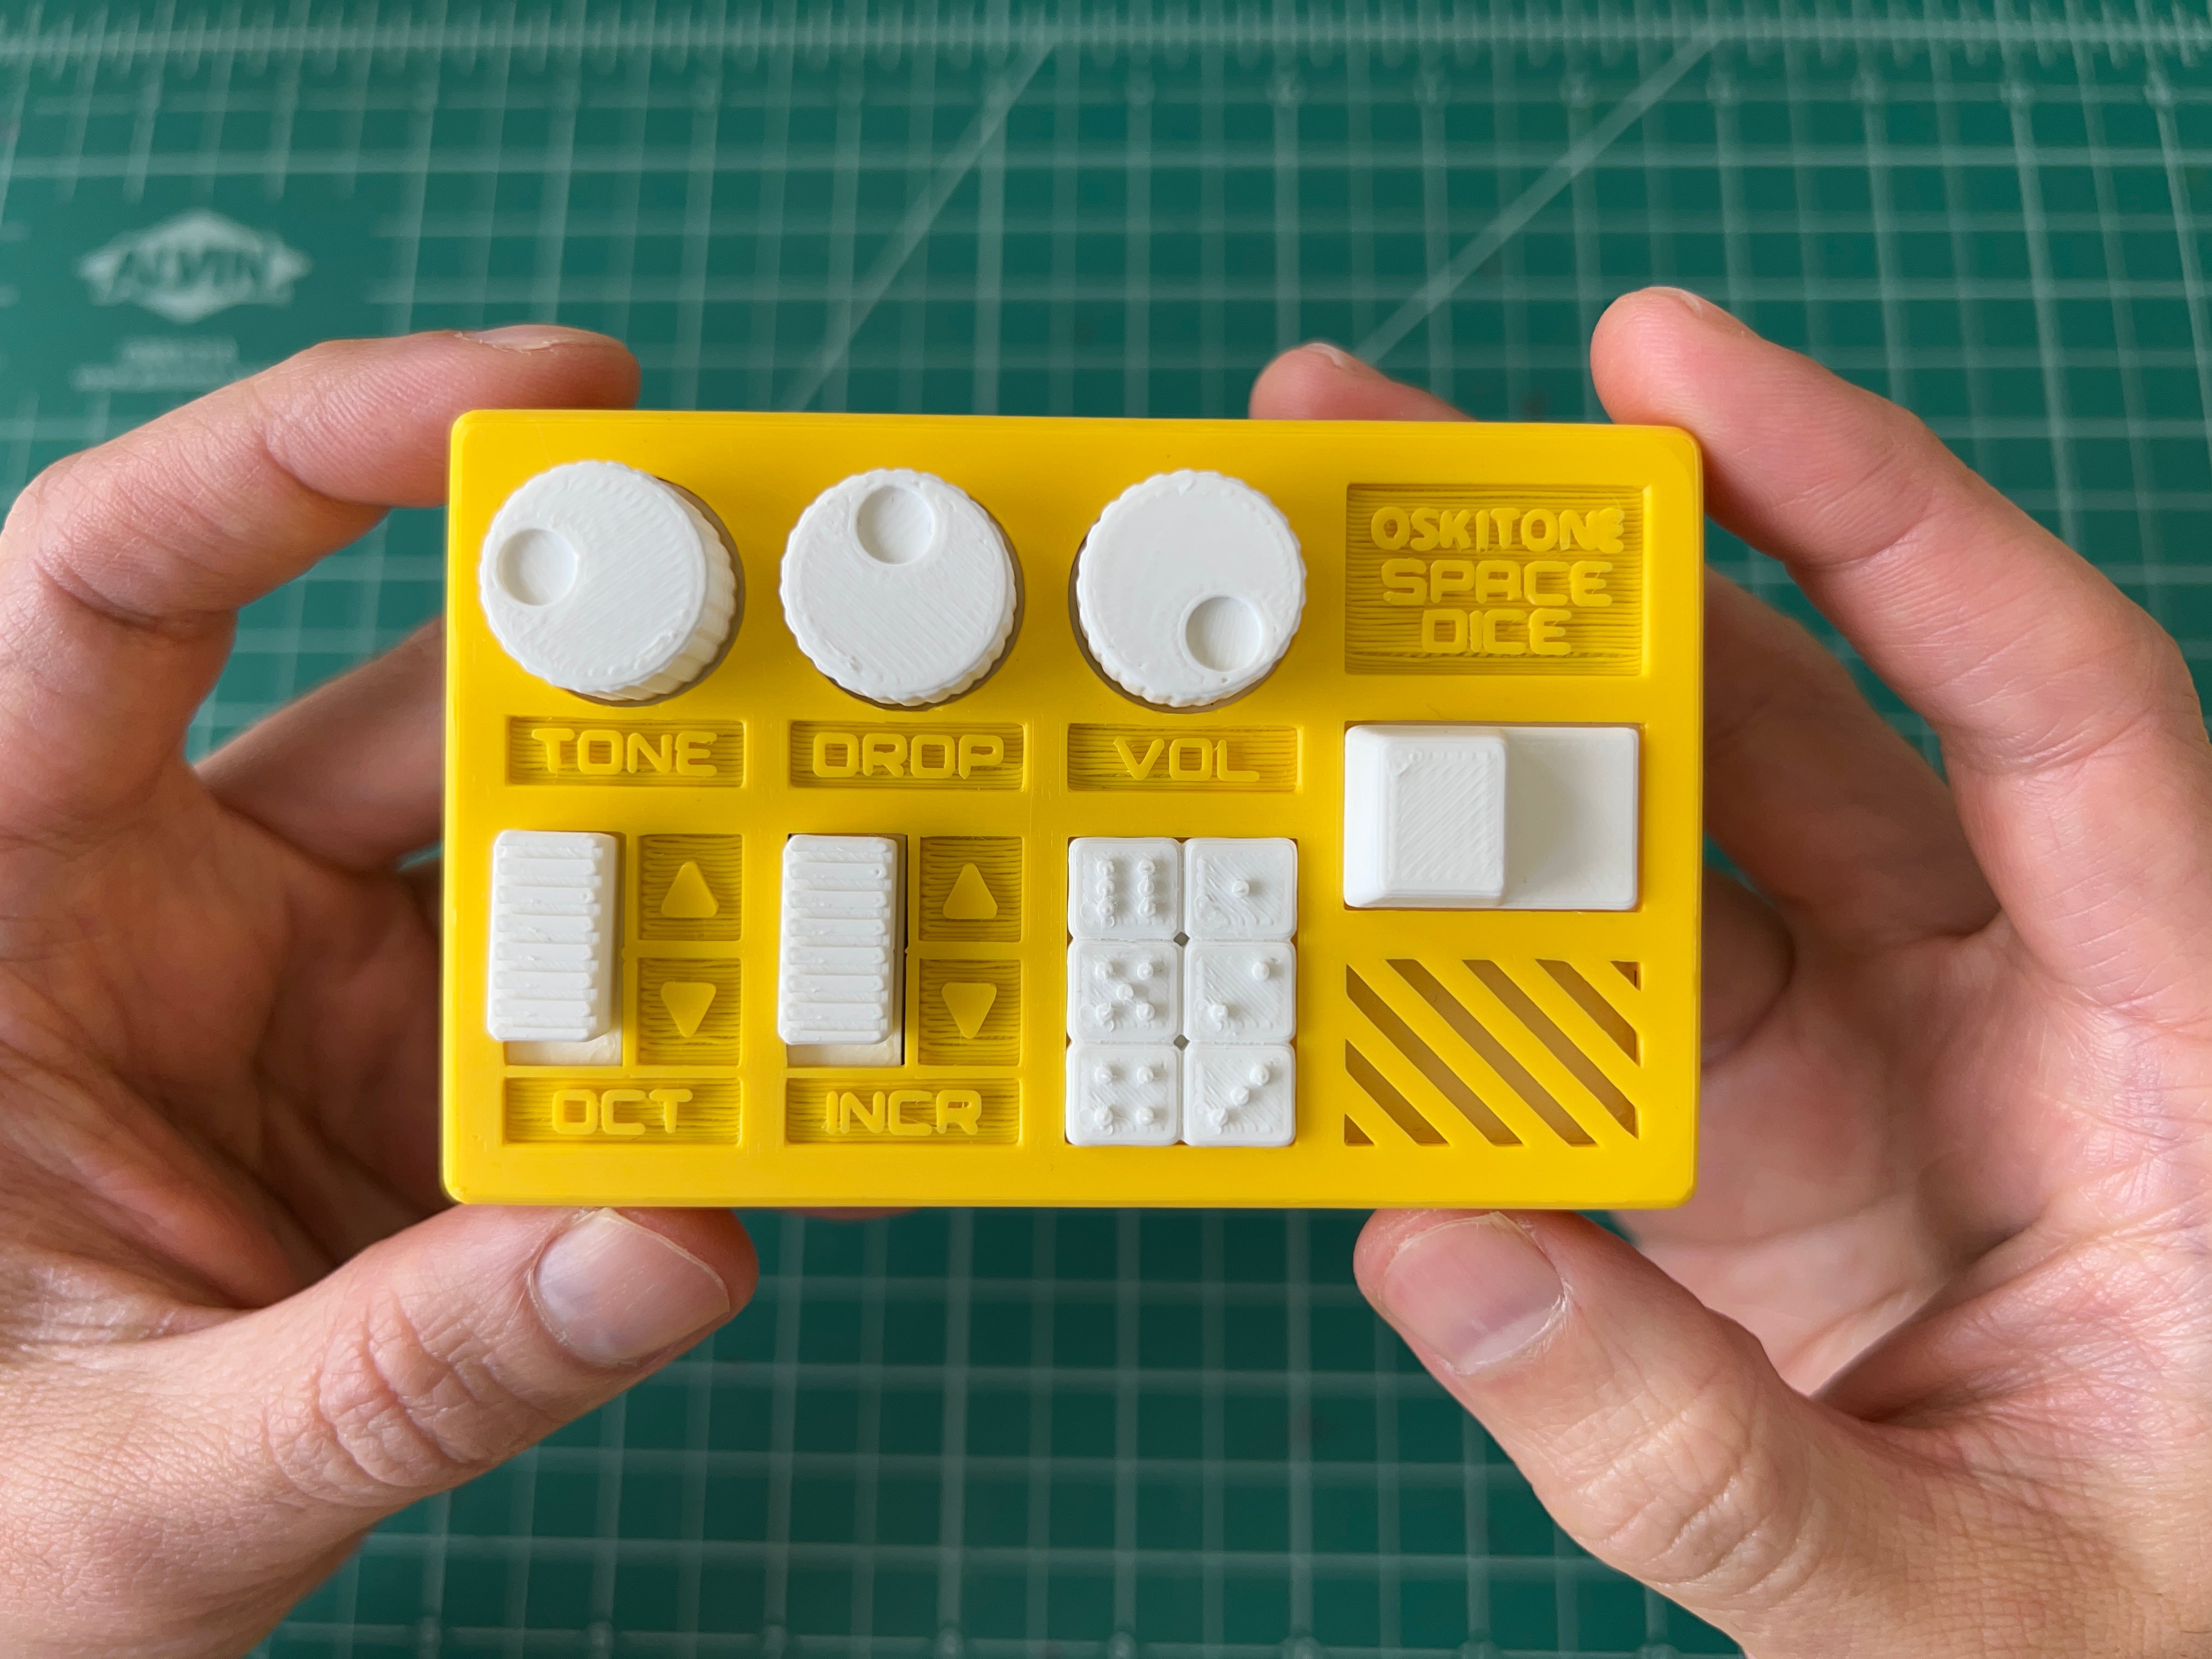
- Place light display atop D1 through D6.
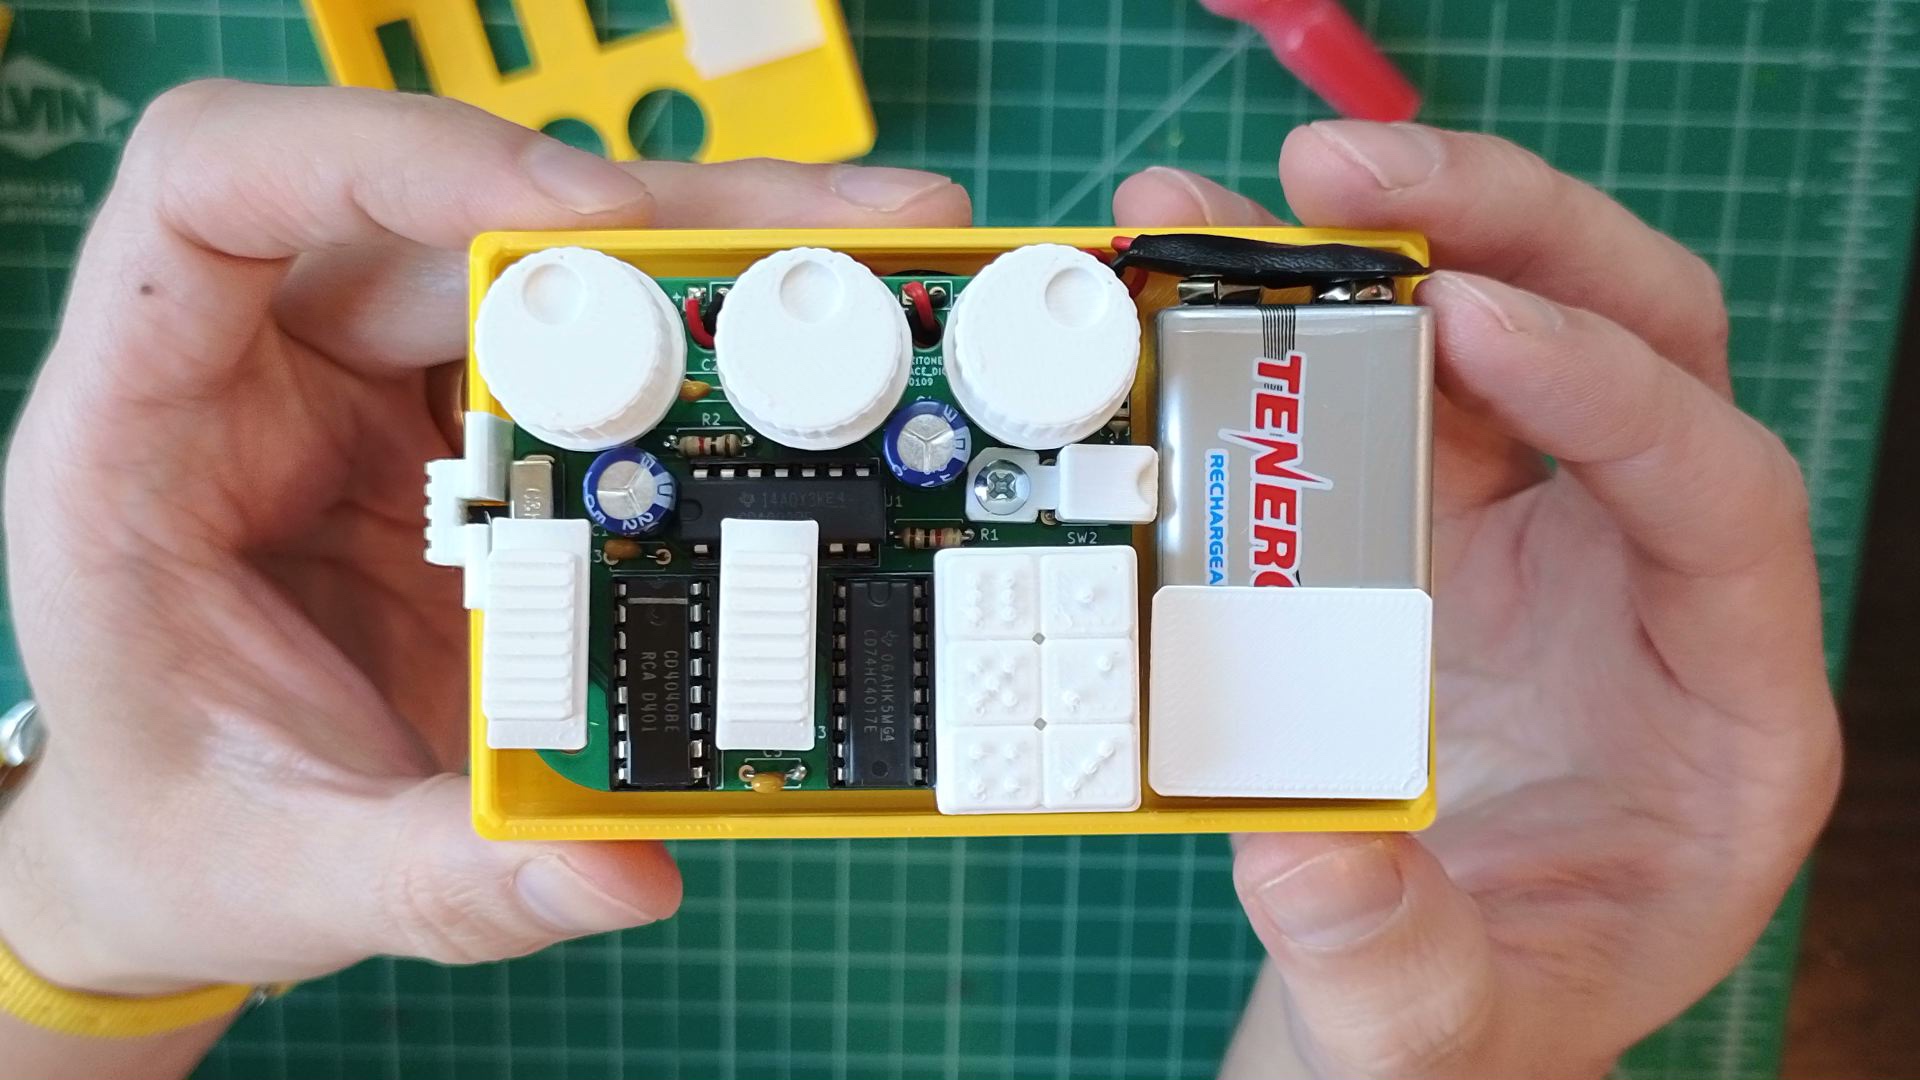
- Rotate it so the square with just one dot is in the top right, D1.
- Again, it's okay if it's a little loose.
- Fun fact: the little dots that dice have are called pips! pip pip pip pip
- Before moving on, test that all the newly covered controls are still usable and nothing is obstructed. Switch clutches still toggle switches, knobs turn pots, etc.
- Set all the potentiometers to "noon" with their markers right in the middle (see picture above). Then slide on their knobs to the same alignment. Push them down all the way.
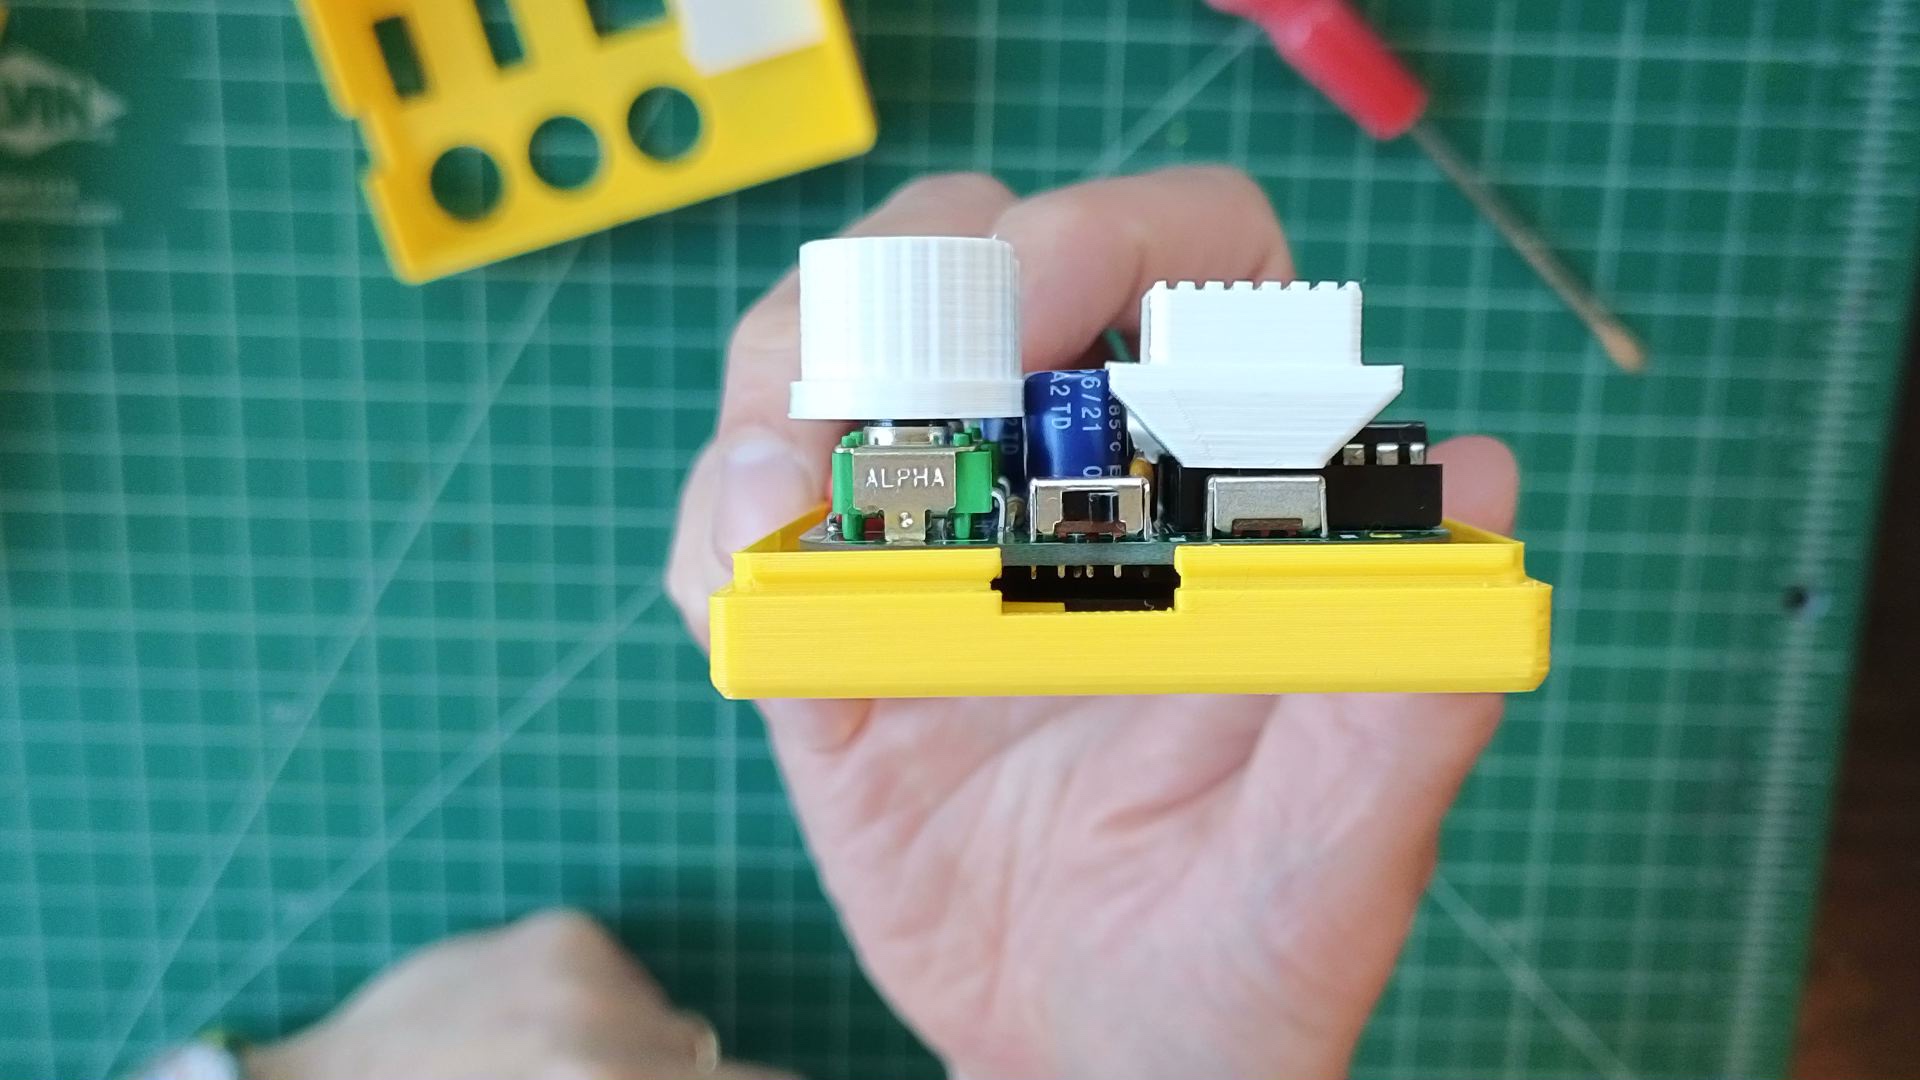
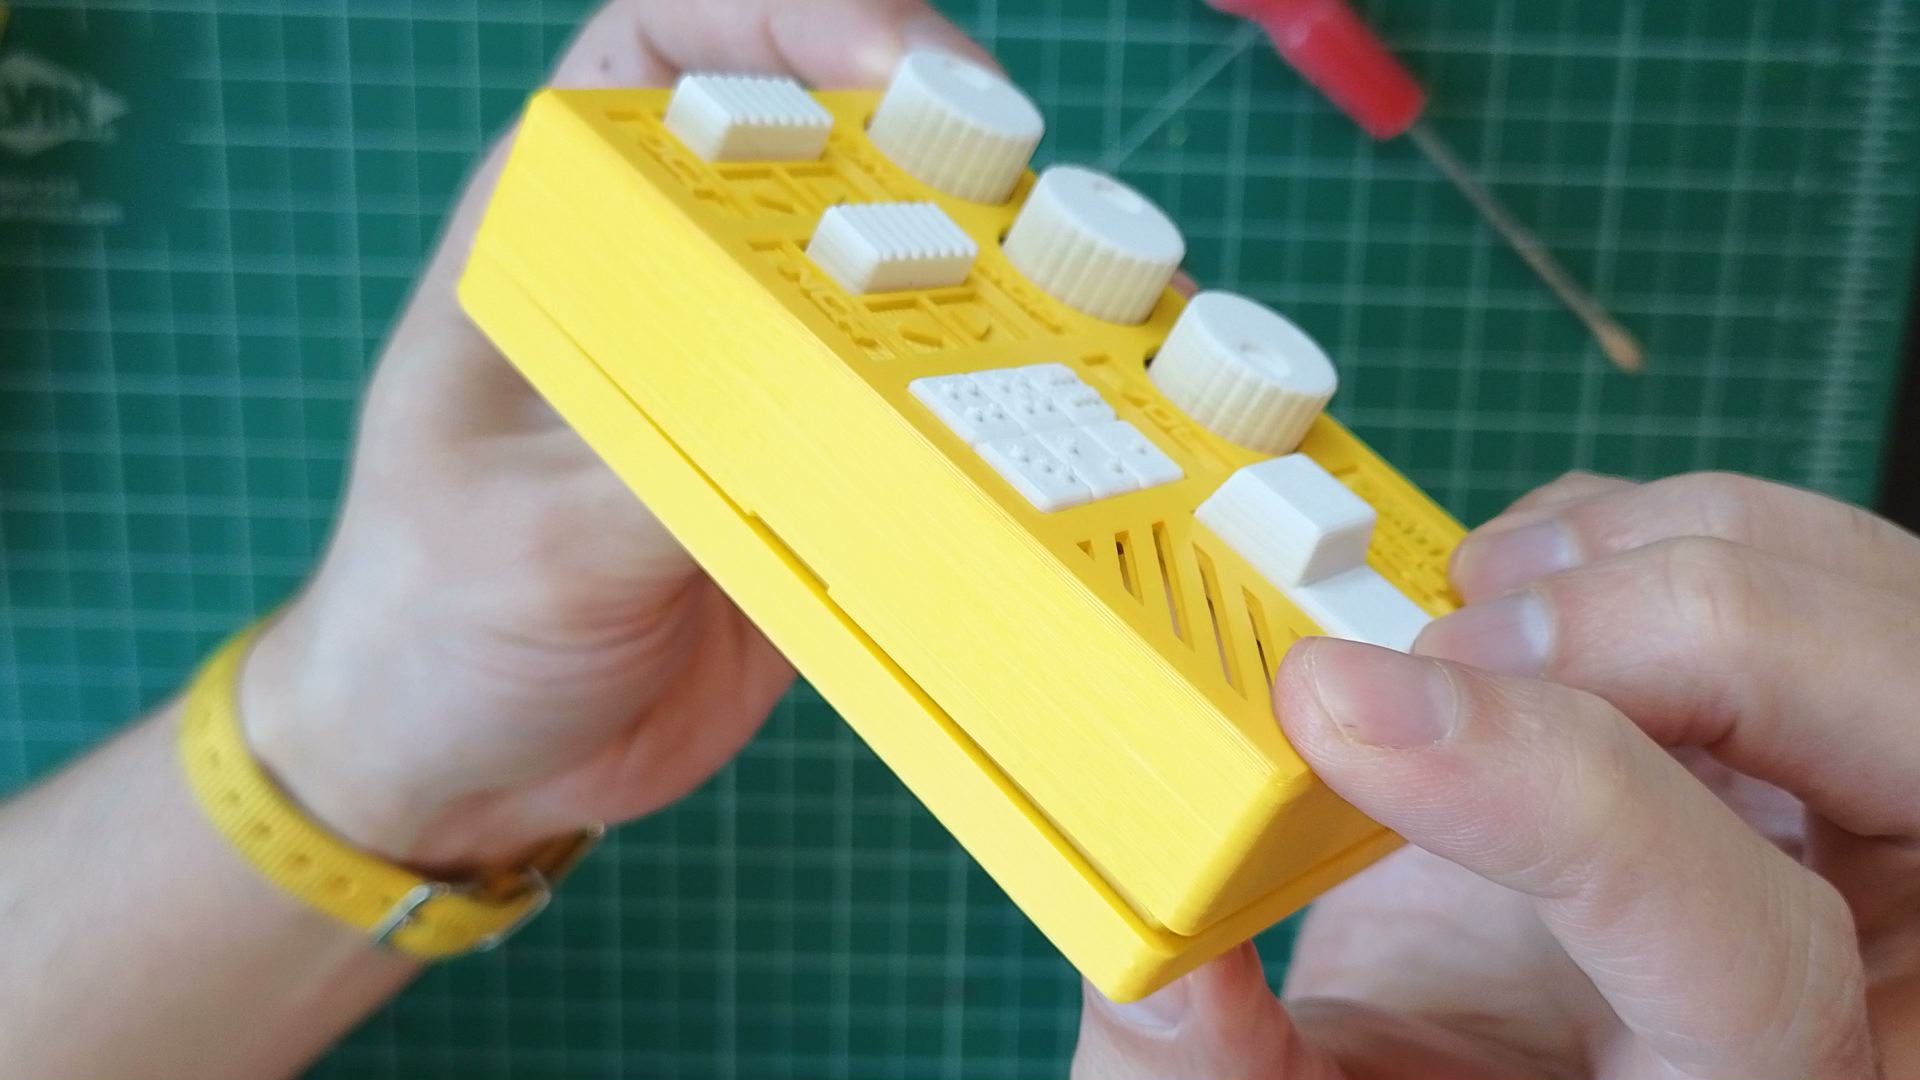
- Line up the enclosure top's holes to the controls, then snap the two enclosure halves together.

- You may need to wiggle the light display around to fit into its cavity.
- It's an intentionally tight fit; be brave!

Not working as expected? Check the Assembly troubleshooting section. Otherwise...
All done!
What's next
Feedback
When you can, please let me know how it went for you:
- What did you like? Did you have fun?!
- Not including printing time, about how long did it take?
- How'd the kit show up? Were there any parts missing or damaged? Or any problems with the instructions?
I act and rely on customers' feedback to make the next products even better. Even just knowing that you got it done successfully is valuable feedback, so I do want to hear from you. Thank you so much!
Share your make
Do you like your Space Dice? I'd love to have you share that!
- If you 3D-printed it at home, share your make on the Thingiverse or Printables page where you downloaded the models. It's a good signal to other potential makers to see successful makes.
- Tell your friends, post on social, etc. You know the deal! Tag
@oskitonefor extra good luck.
Follow along
I run an informal email list to update folks on projects, notify when new products hit the store, and get early feedback and share ideas. If you're interested in what's next with Oskitone, it's the best way to stay updated.
Powered by Buttondown. Read previous emails in the archive here.
And, of course, follow @oskitone on Instagram.