Ready electronics
Work in Progress
These docs are still a work-in-progress and may not be fully baked just yet! Please contact me if any of it seems very wrong or needs extra clarification.
Steps
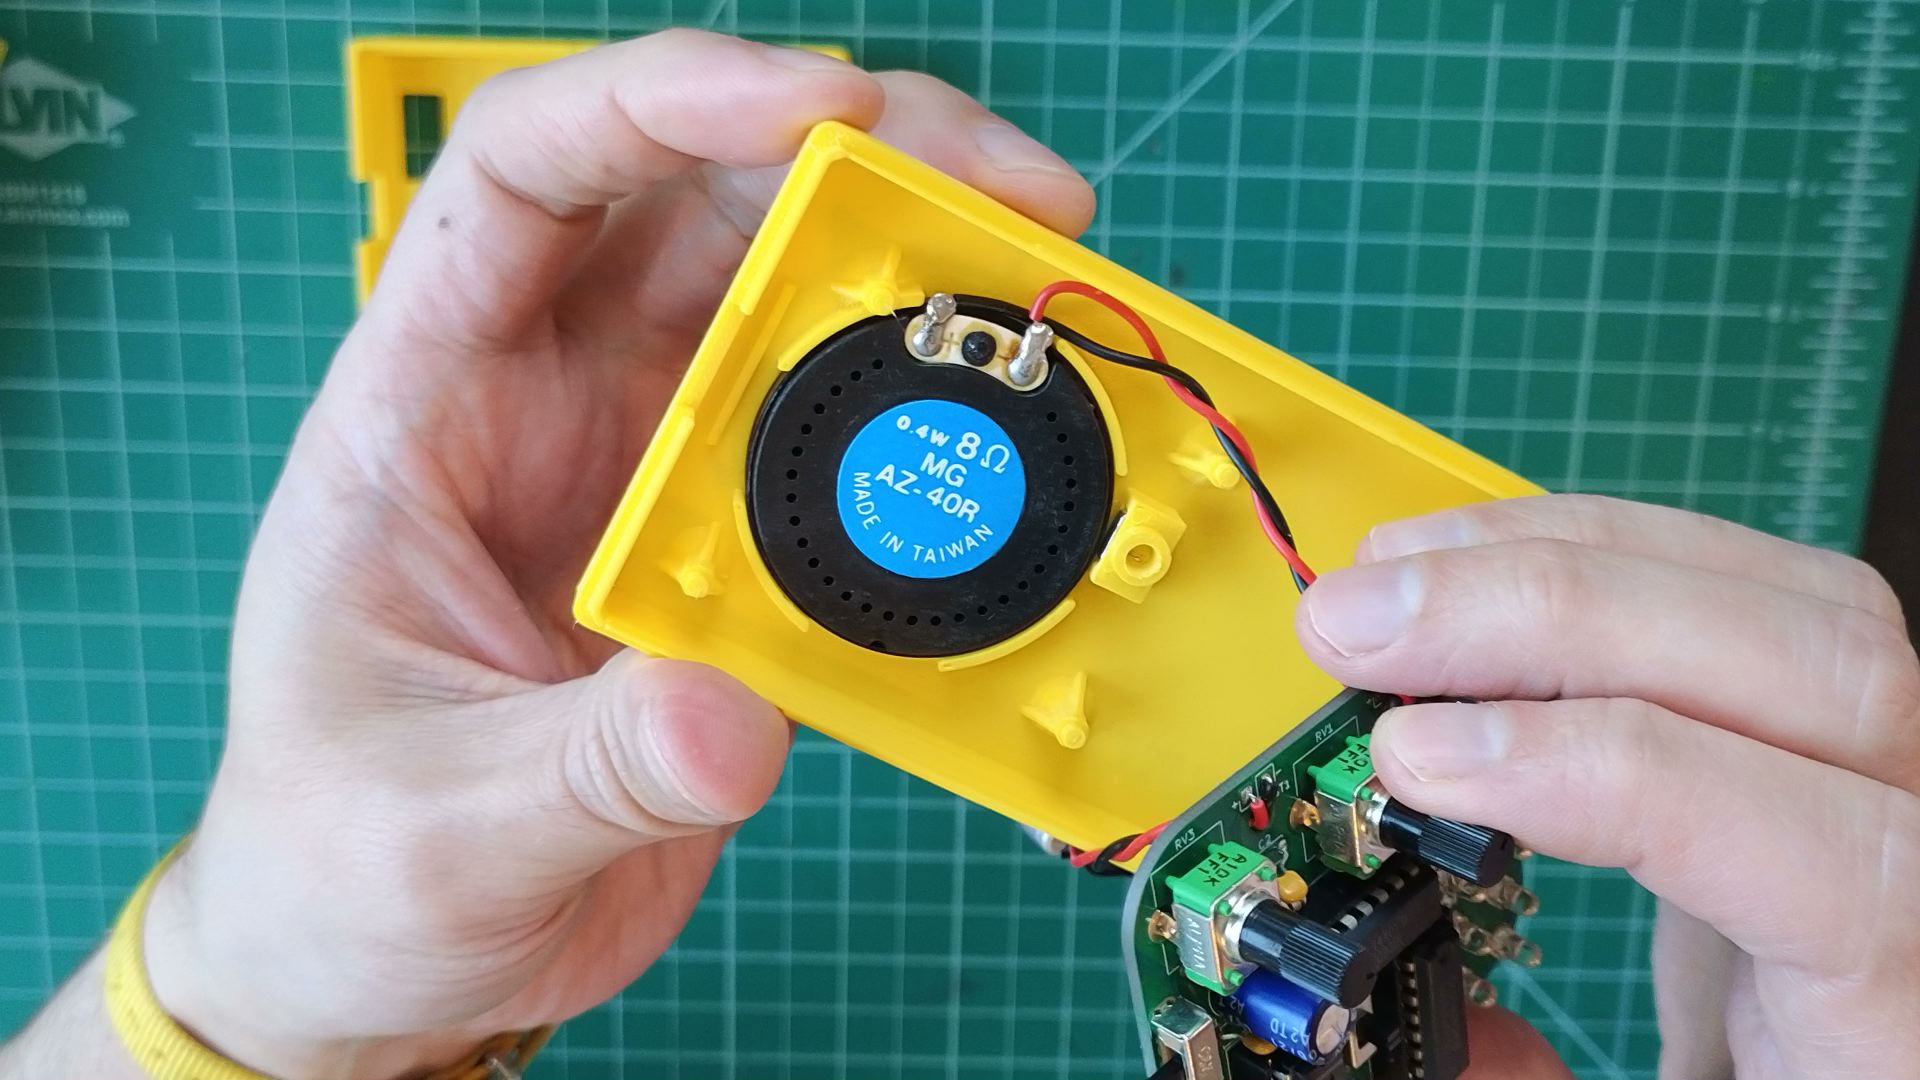
- Snap speaker into its fixture. Push it all the way until its flush with the fixture walls.
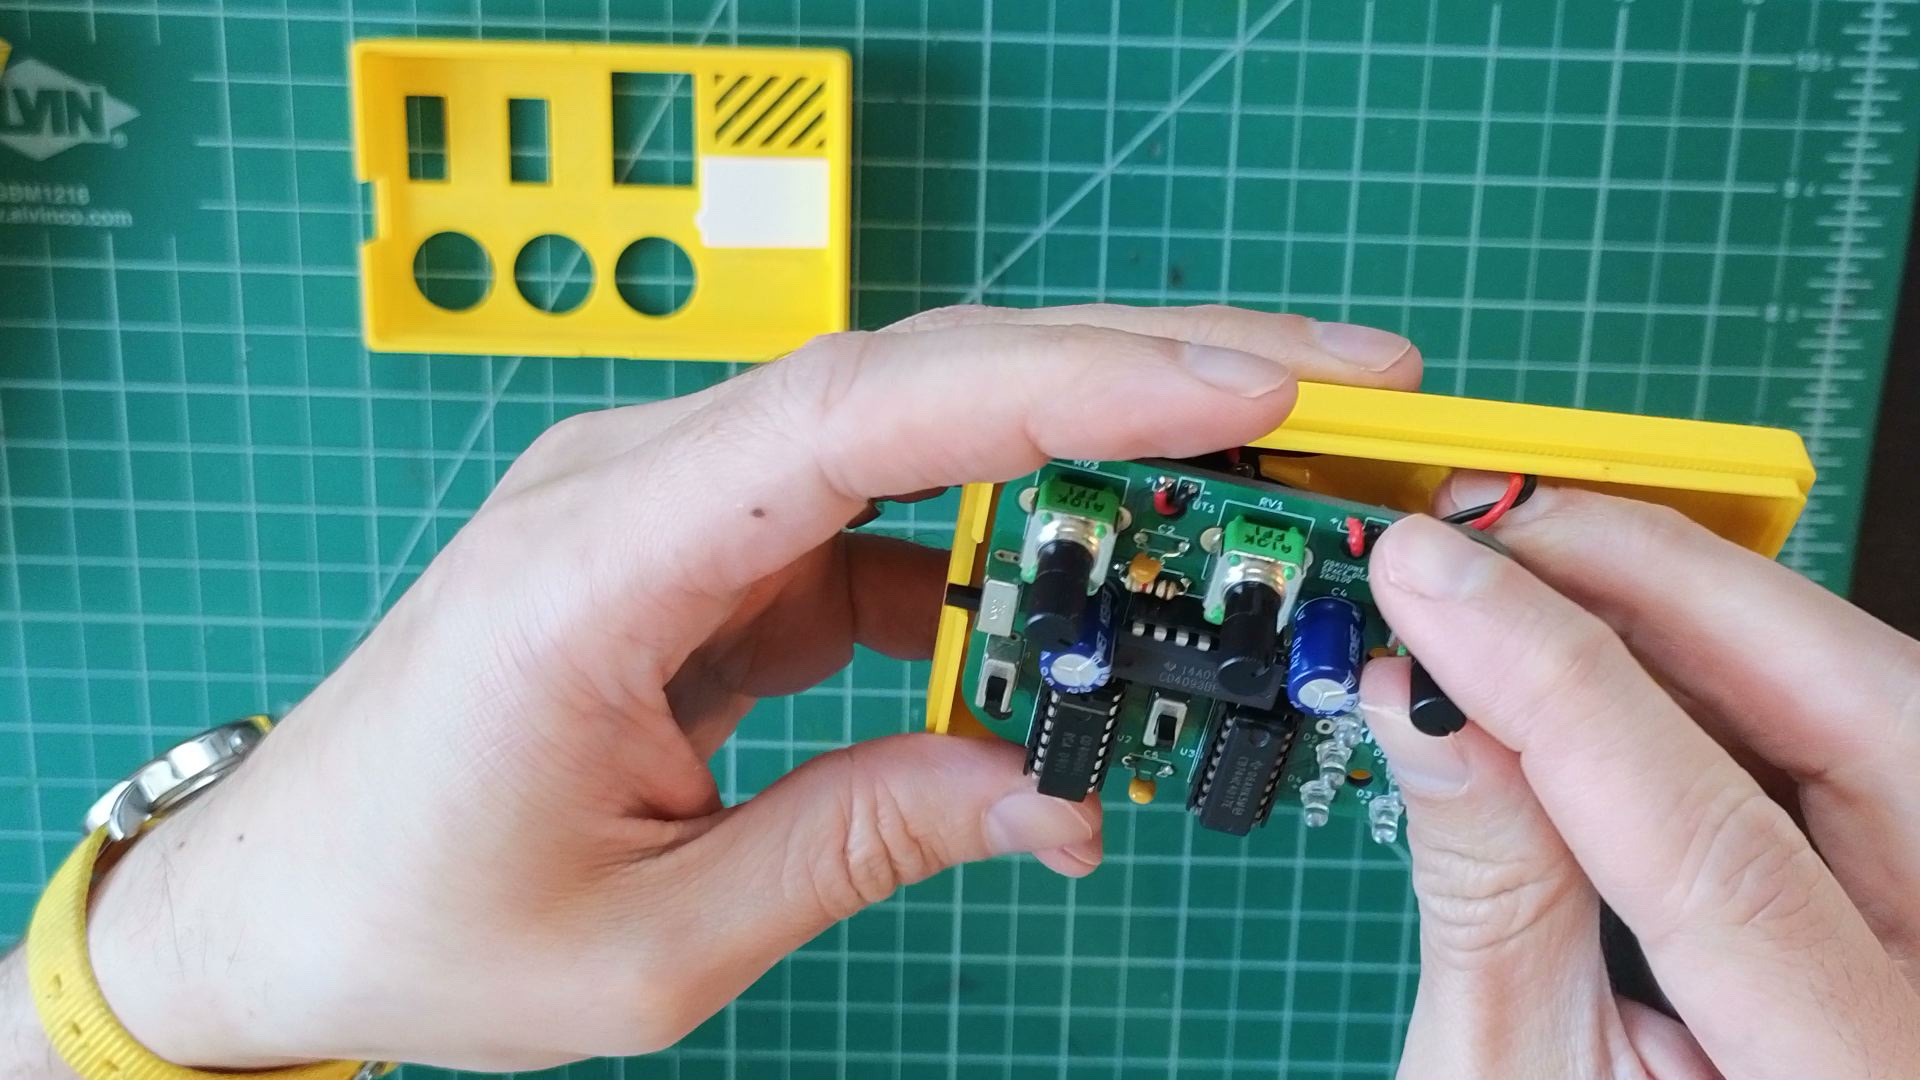
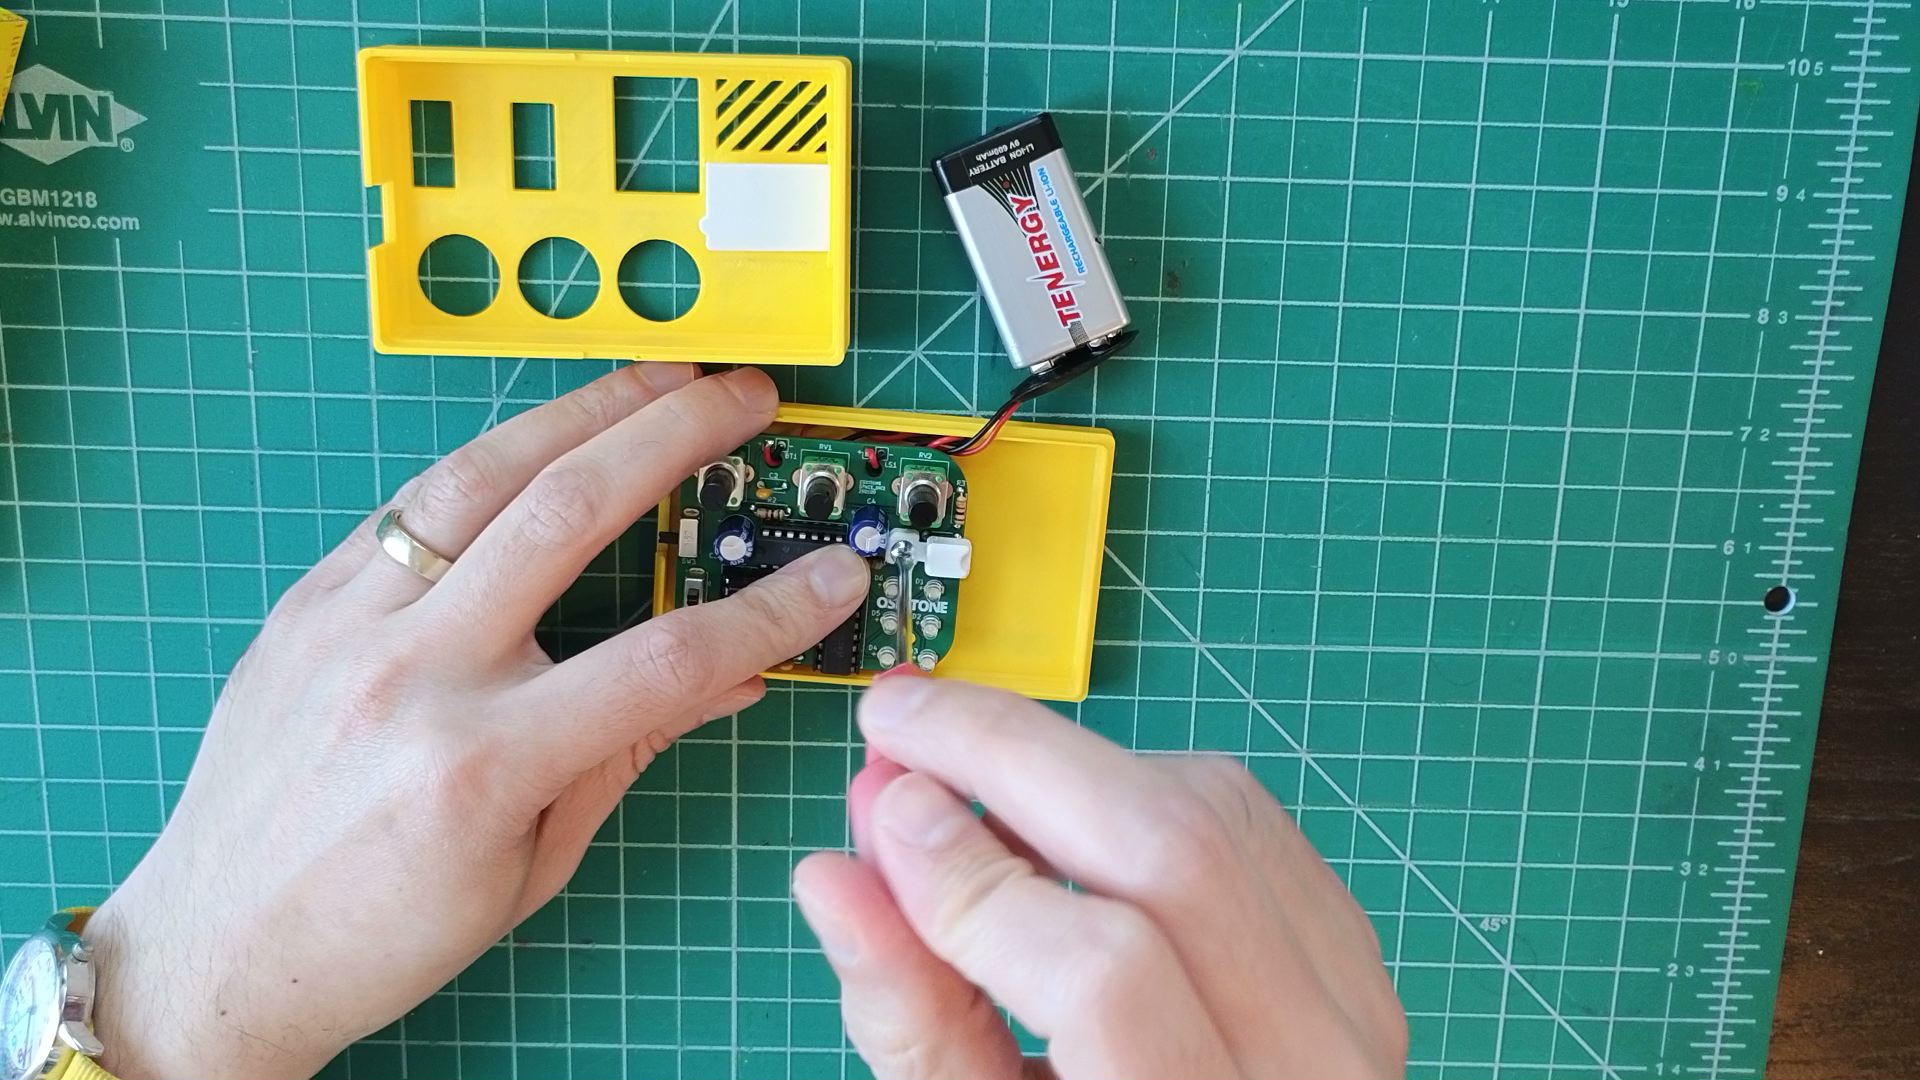
- Insert PCB into its position on the enclosure bottom and on top of the speaker.

- When viewed from the side, the PCB and enclosure should be perfectly flush. If not, see if there are any long leads or other obstructions on the PCB bottom that can be cut down.
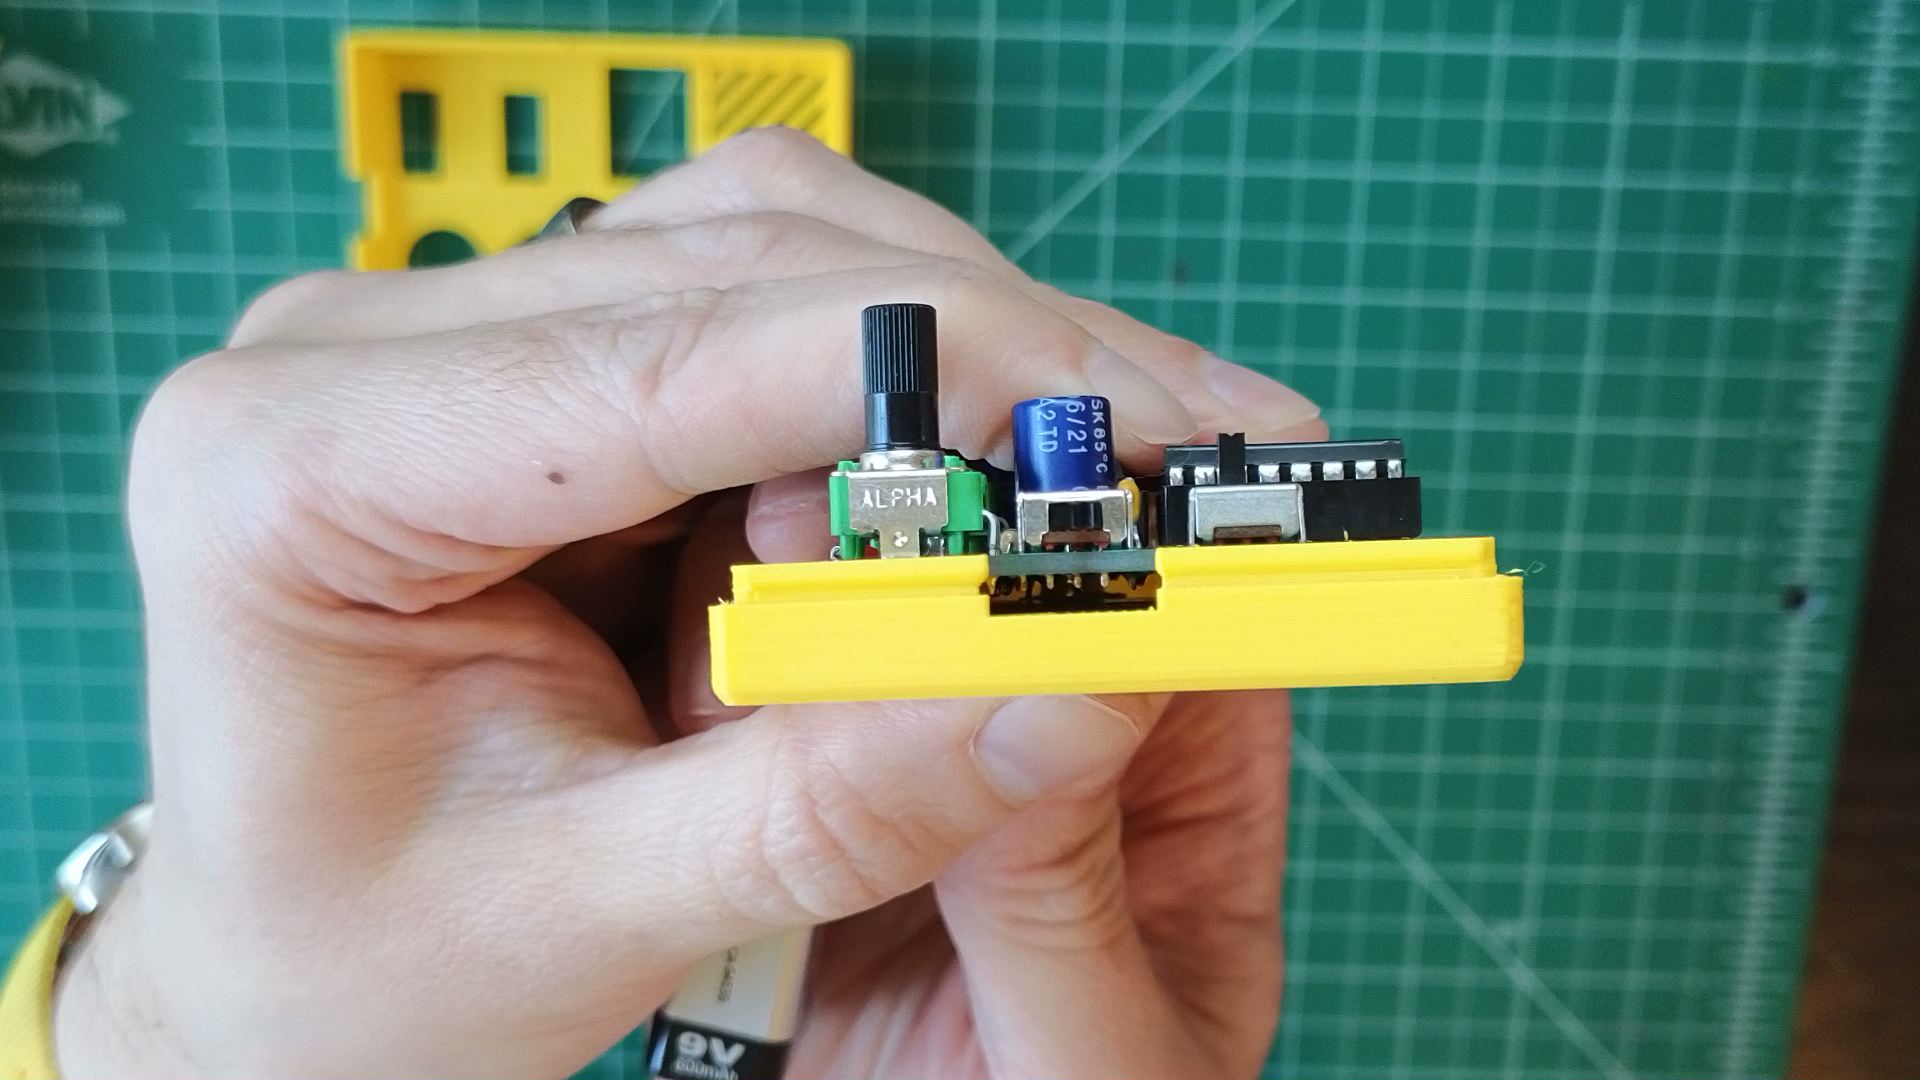
- When viewed from the side, the PCB and enclosure should be perfectly flush. If not, see if there are any long leads or other obstructions on the PCB bottom that can be cut down.
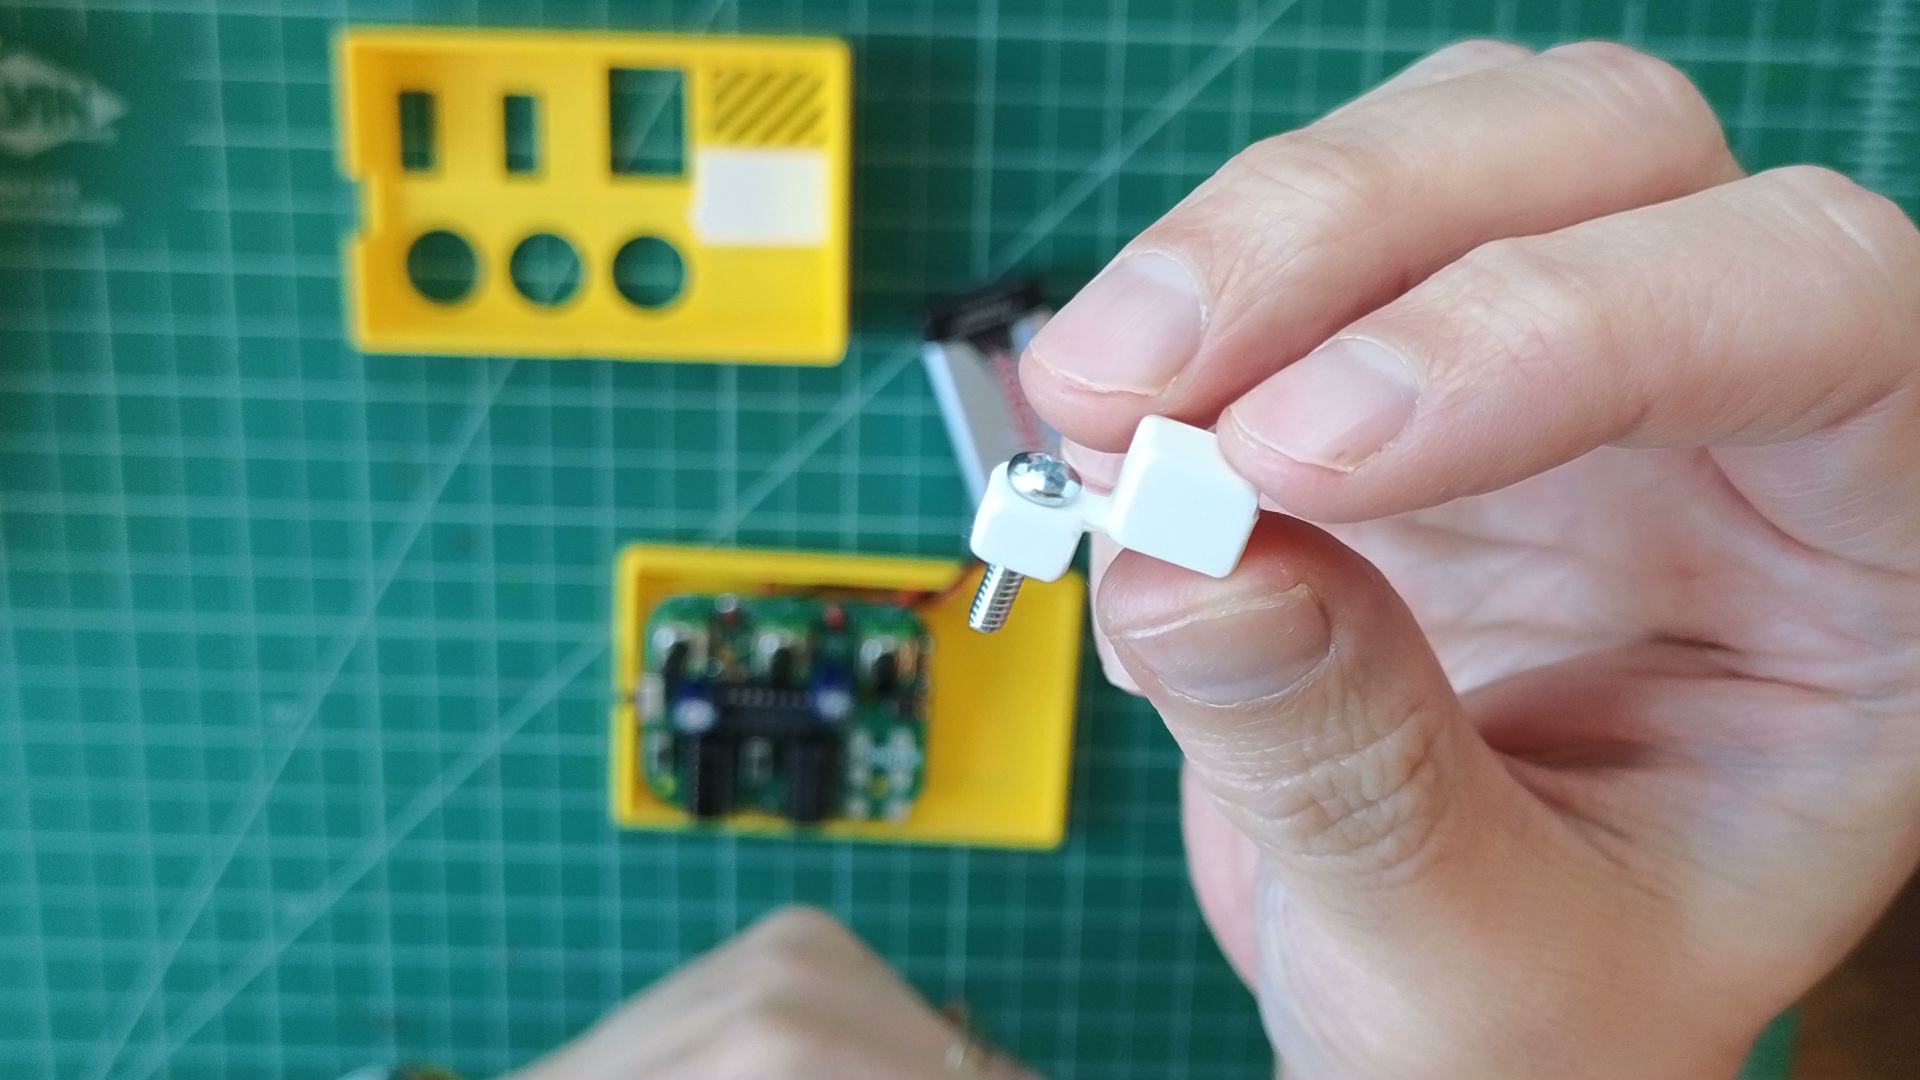
- Slide screw through the hole on button actuator piece.

- Insert screw through PCB towards the nut locked into the enclosure bottom, then gently tighten.

- Pressing the top of the actuator piece should also press the underlying button. If not, try loosening the screw.
- Insert battery in the space beside the PCB on the enclosure bottom. Make sure it and its wires don't interfere with the button actuator.


Not working as expected? Check the Assembly troubleshooting section. Otherwise, continue.