Prep for hacking
If you have no intention of ever changing the game's code, you can skip this part and it will work perfectly fine. But, you know, you're here, so you might as well!
Steps
- Solder J1 header.
- Try to get it flat against PCB, as usual. Here, I'm using some tape to hold in in place.
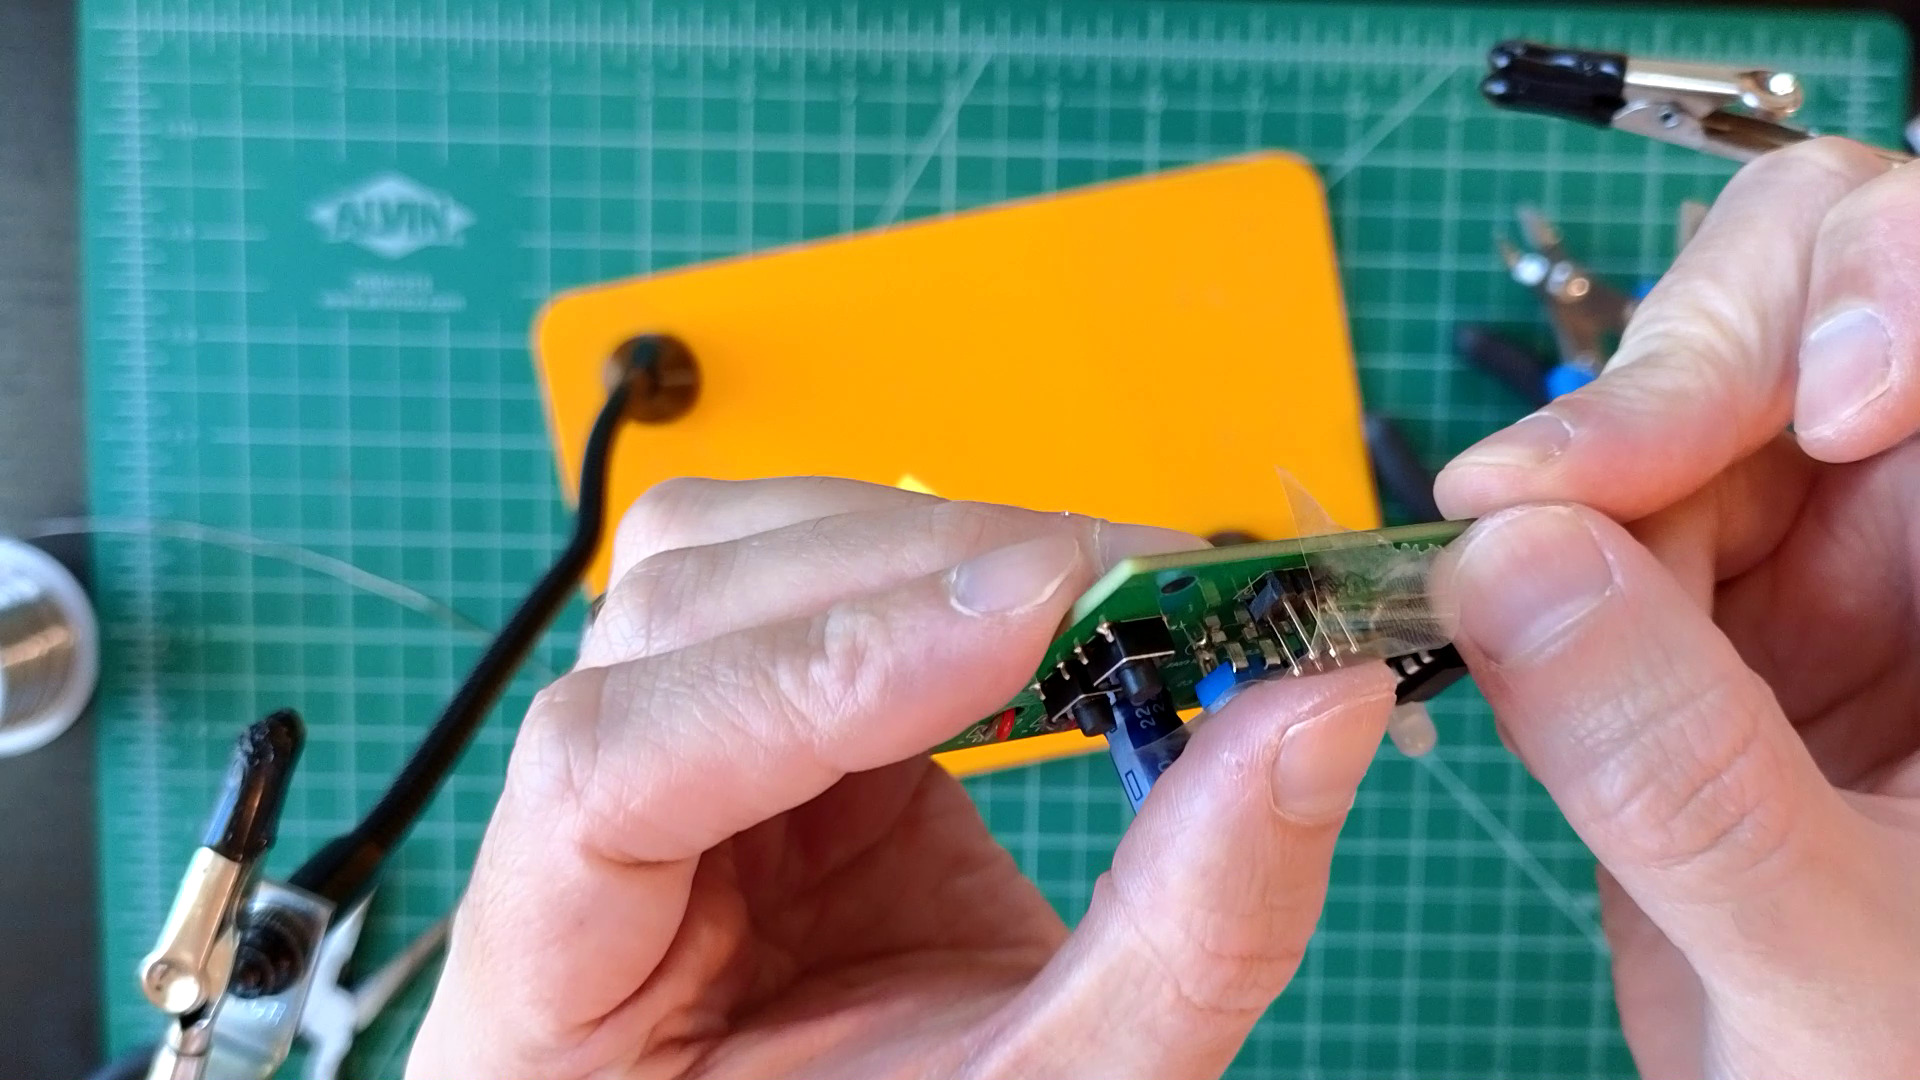
- Try to get it flat against PCB, as usual. Here, I'm using some tape to hold in in place.

Test All done?!
This one is harder to test, but if you've got it soldered and all the previous steps' tests passed, you're good to go!
J1 is a header that connects to a programmer, letting you upload new code to the microcontroller. Code and basic usage are described in the project's github repo. It's a bit advanced, so, for now, it's been left out of the assembly guide.
Please email me to let me know how it goes or if you need any help.
How it works
The 2x3 header at J1 connects to six pins on the ATtiny85 used for In-Circuit Serial Programming (ICSP), a method for updating a chip's functionality without having to send it back to the factory.