3D-Printing
note
If you bought a kit with 3D-printed parts included, you can skip this section, but do open up the enclosure and confirm you have all the right pieces ready before continuing.
Download
Download STLs of the models from Printables or Thingiverse.
Slicing
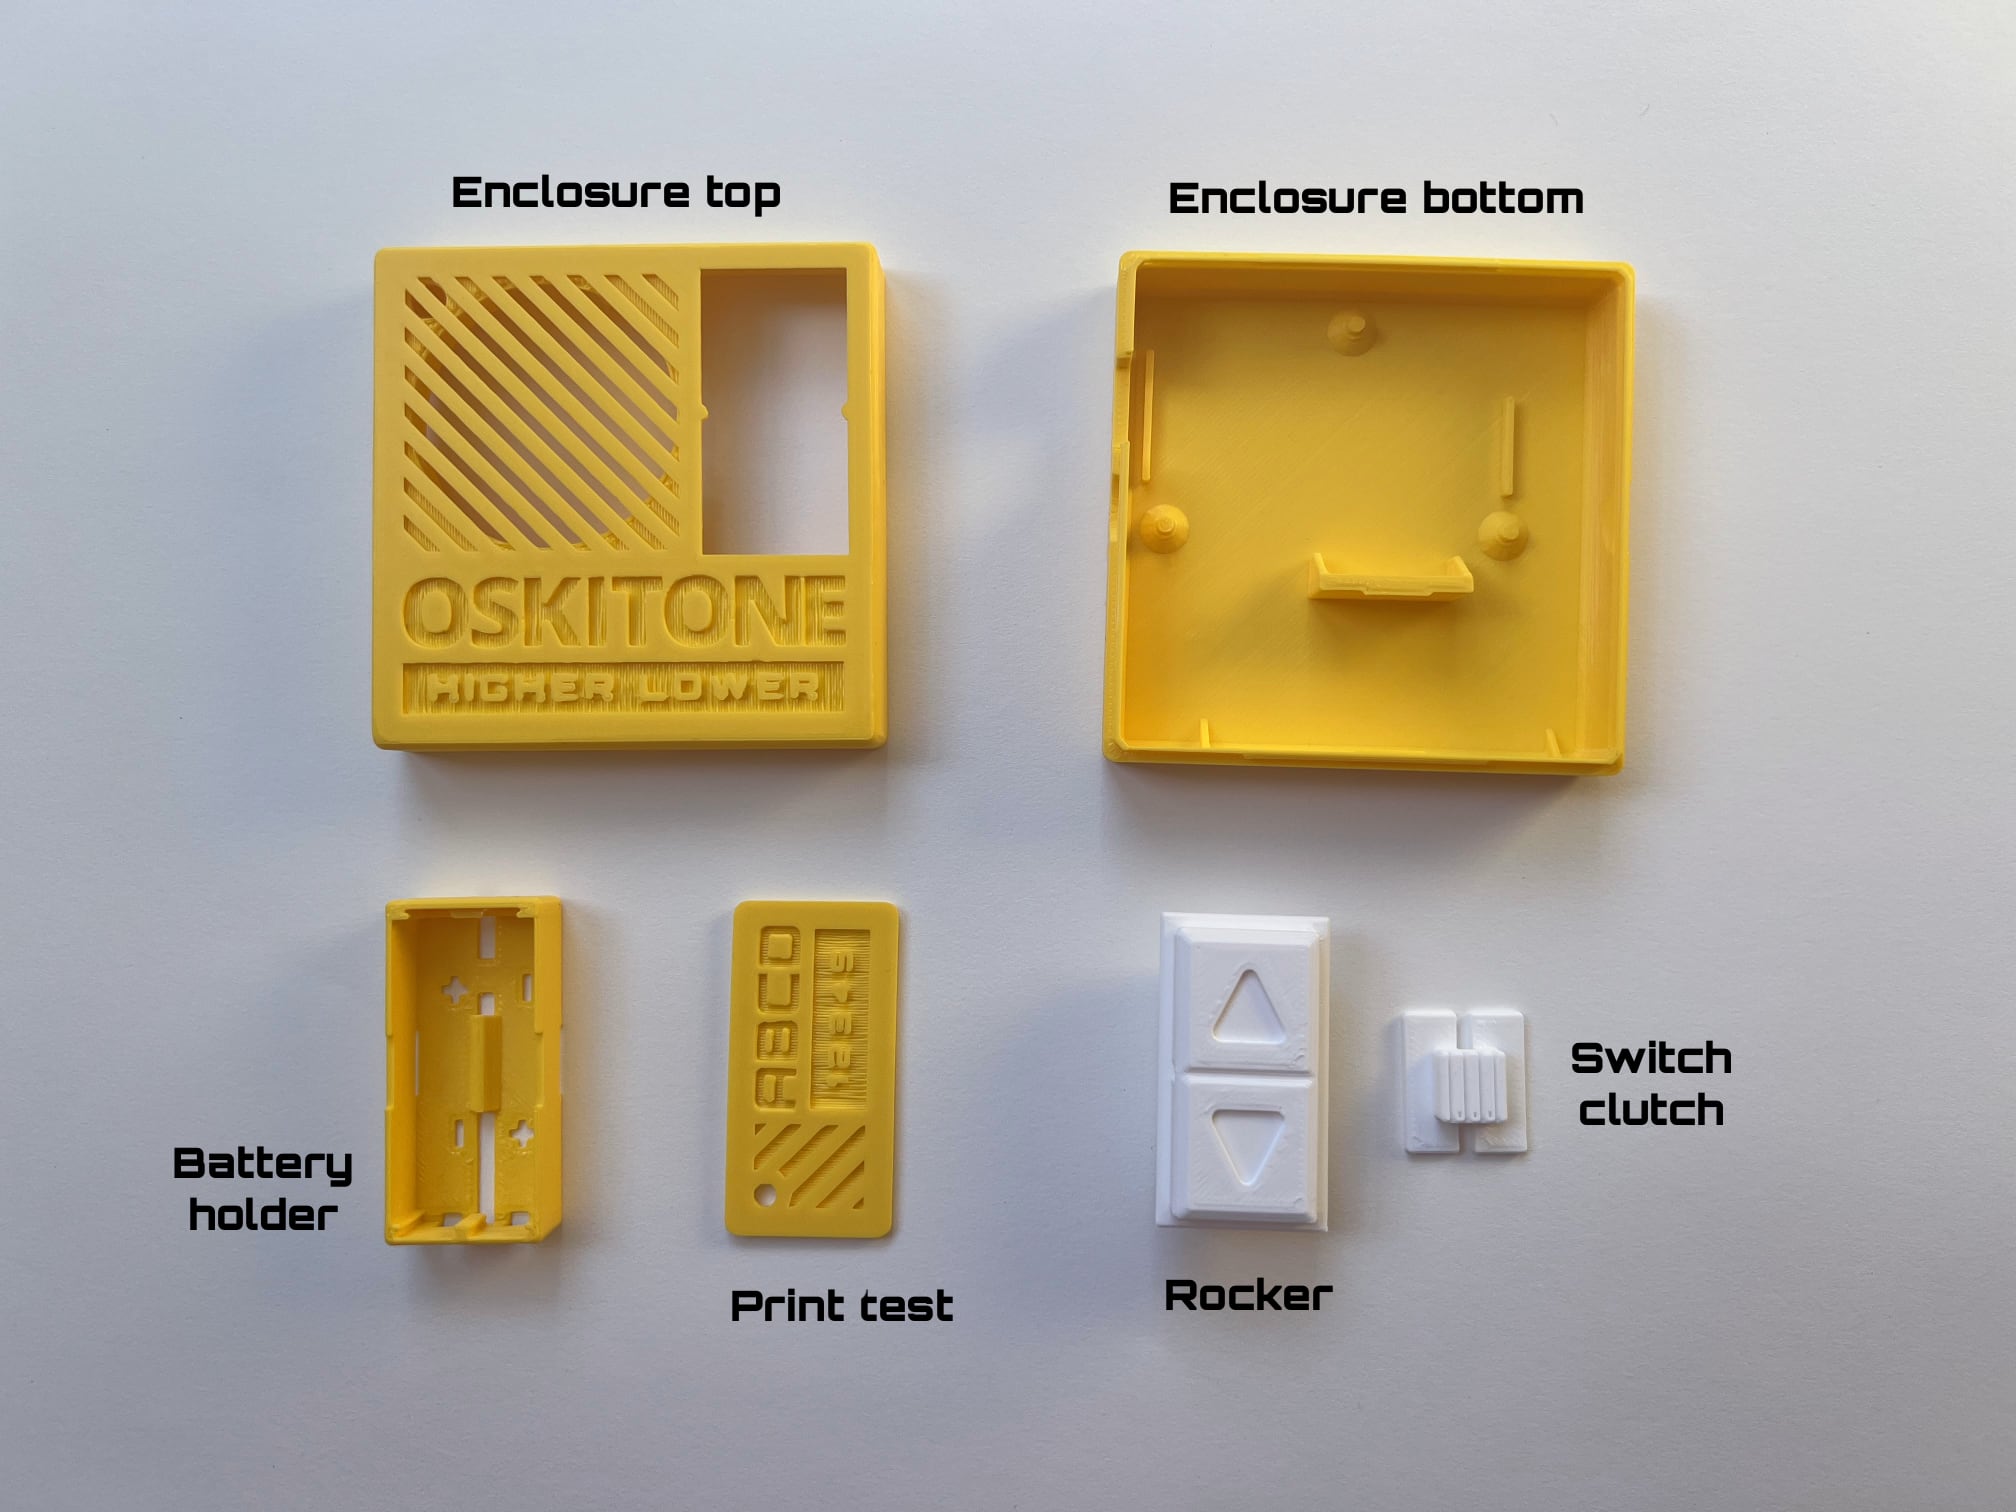
There are six files to print, but only five are required. They'll take a little over four hours total.
| Part | Layer Height | Supports? | Estimated Time |
|---|---|---|---|
| enclosure_top | .2mm | No | 1.5hr |
| enclosure_bottom | .2mm | No | 1.5hr |
| battery_holder | .2mm | No | 30min |
| print_test (optional) | .2mm | No | 15min |
| rocker | .2mm | No | 30min |
| switch_clutch | .2mm | No | 10min |
Optional but recommended
The print_test STL isn't used in assembly but is included to verify your printer's calibration and slicer settings. It's recommended to print it first before committing to the rest of the parts.
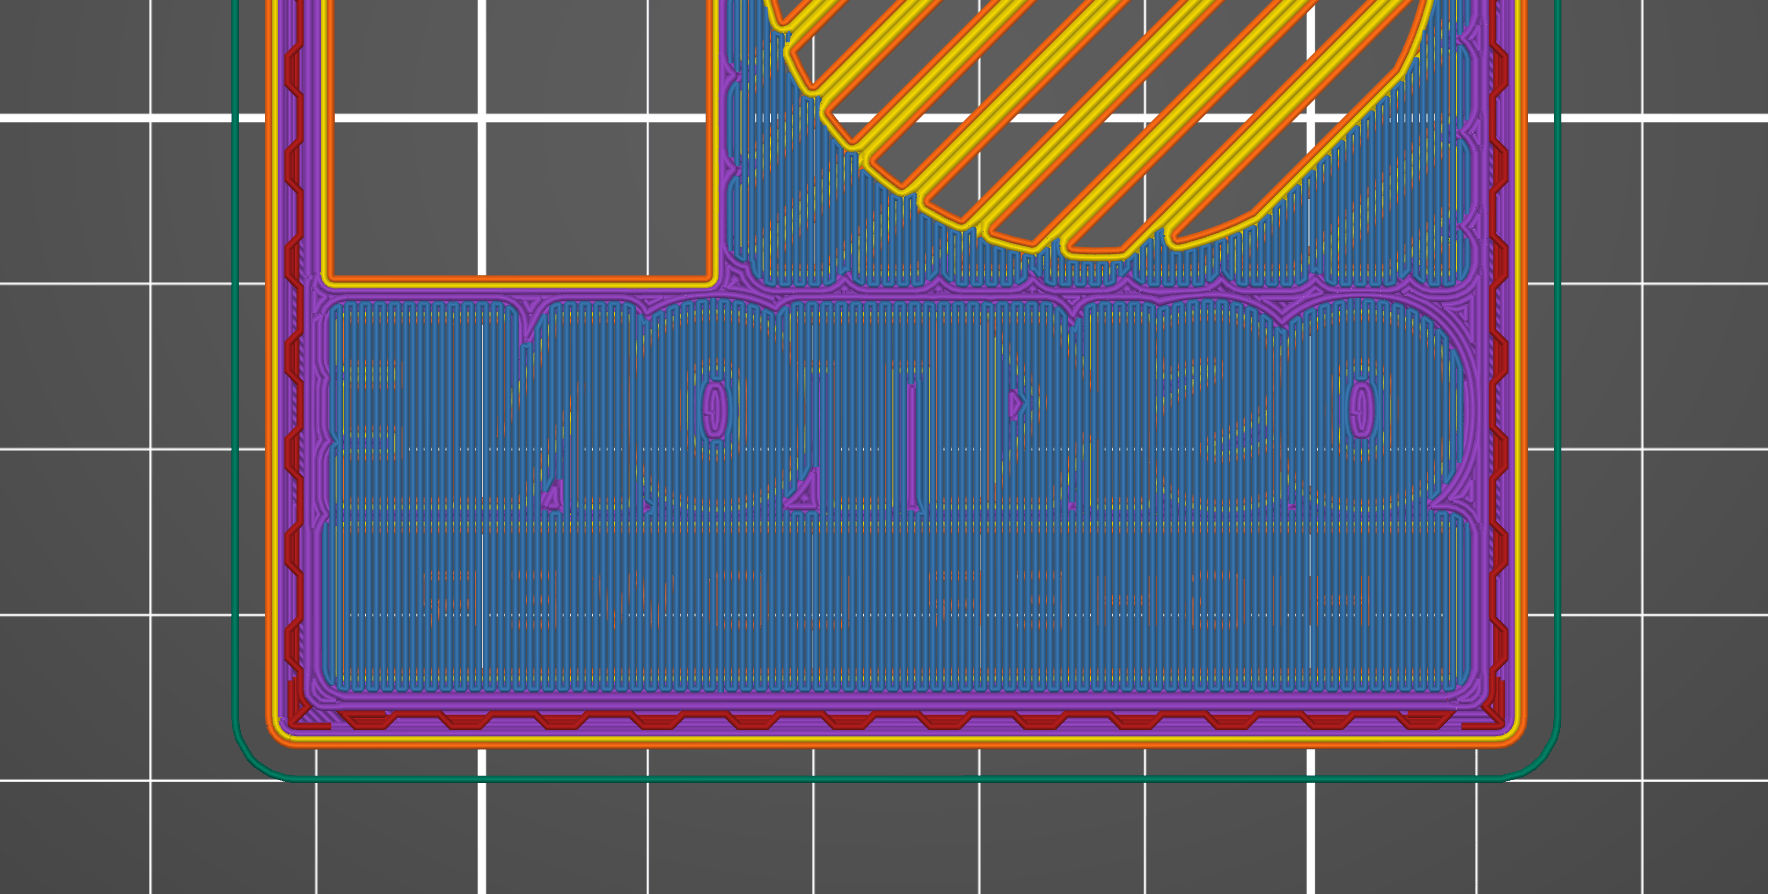
The enclosure has engravings that print on the build plate and bridge on top. Adjust your slicer's bridging angle so they run up and down with the text:
Other notes:
- Models assume Fused Deposition Modeling with a standard .4mm nozzle. Using a bigger nozzle will likely result in a loss of detail.
- The 3D-printed parts were designed using PLA. Other filament types like ABS are not recommended and will likely have fit or tolerance issues. (If you find that you need to drill or file your prints, that's a good sign there'll be other problems too.)
- 20% infill works well across all models.
- Any supports the models need they'll already have, they'll already be rotated to the correct orientation for printing, and they shouldn't need brims.
- Watch the first couple layers of the enclosure pieces while printing, especially around the text engravings -- if you see bad adhesion, stop the print to remedy the situation and start again.
- If the prints aren't fitting together well, check to see that the corners aren't bulging. See if your slicer has settings for "coasting" or "linear advance."