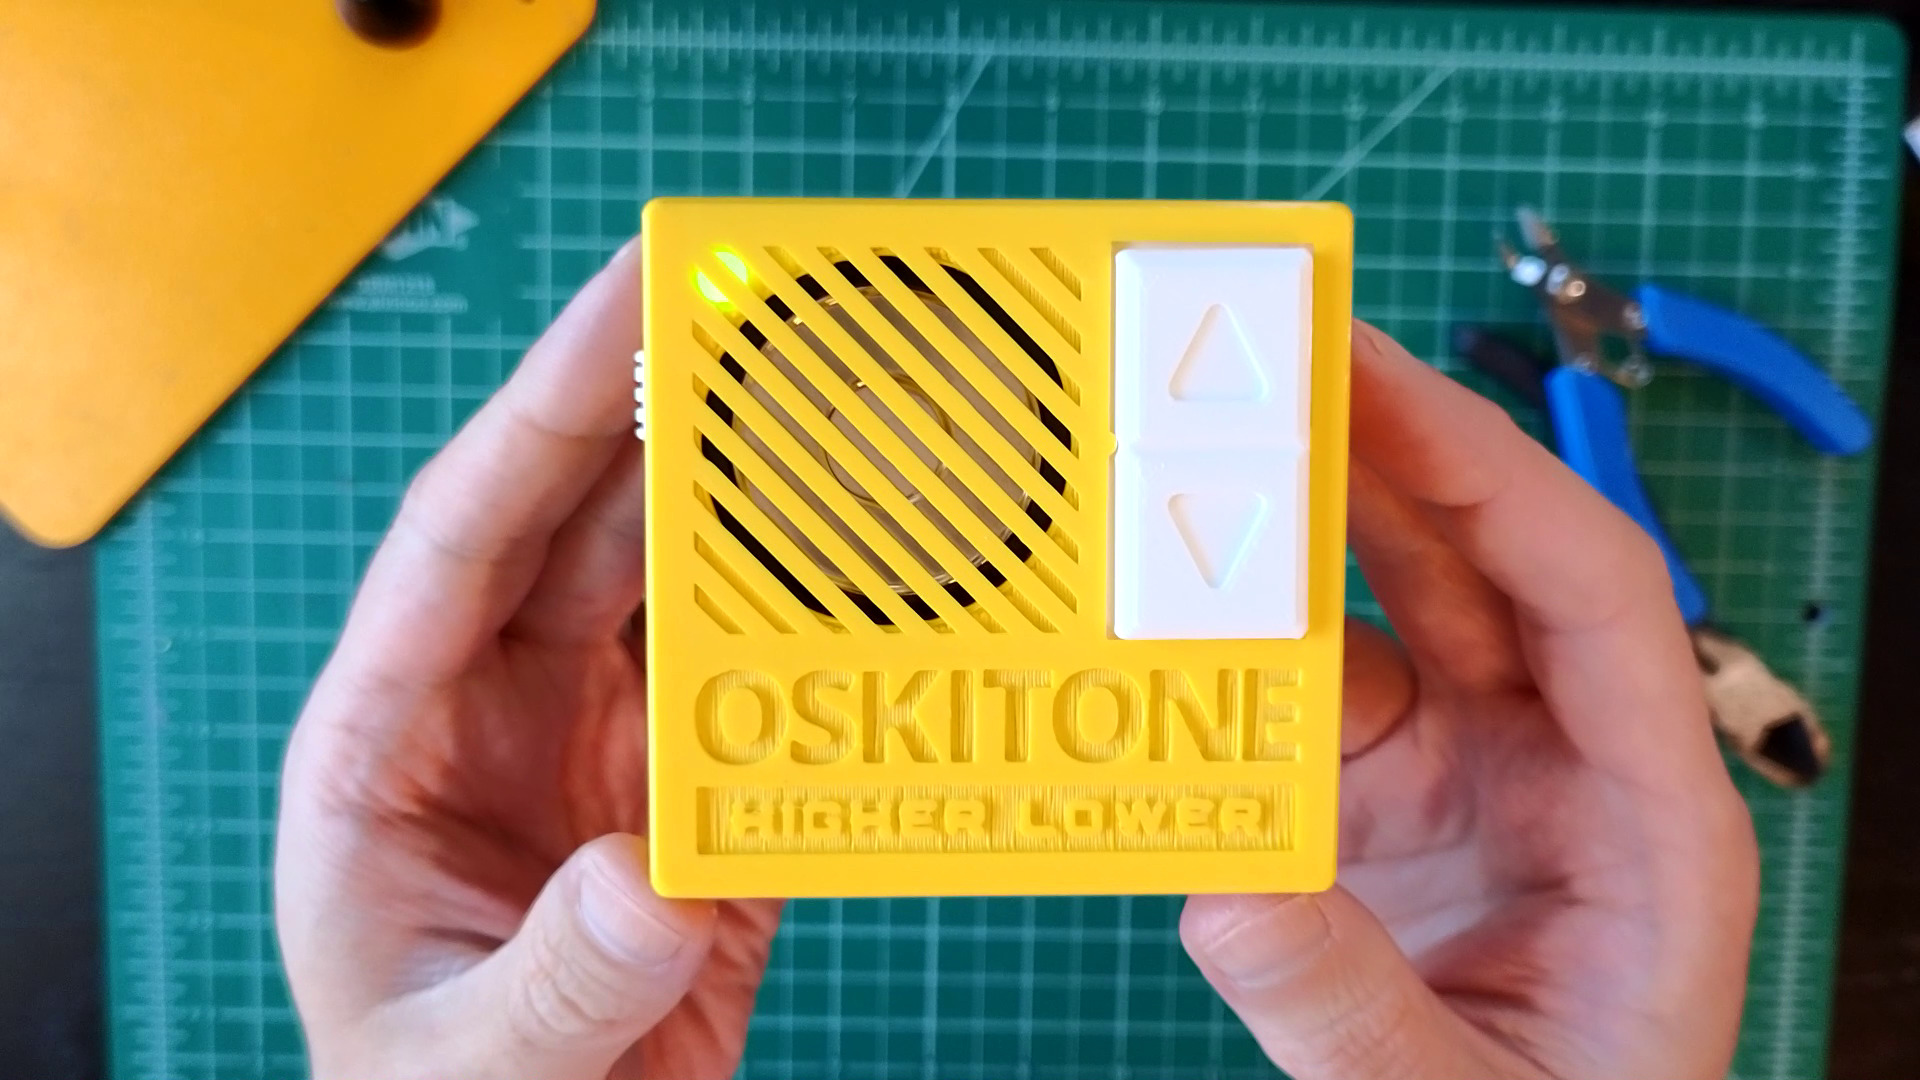
Final assembly
You're almost done! Take your time to follow the directions in order.
It's not pictured in the guide, but you might like to wrap some electrical tape around the LED so it shines up but not out. This will prevent it from lighting up the enclosure instead of just its lightpipe.
Steps
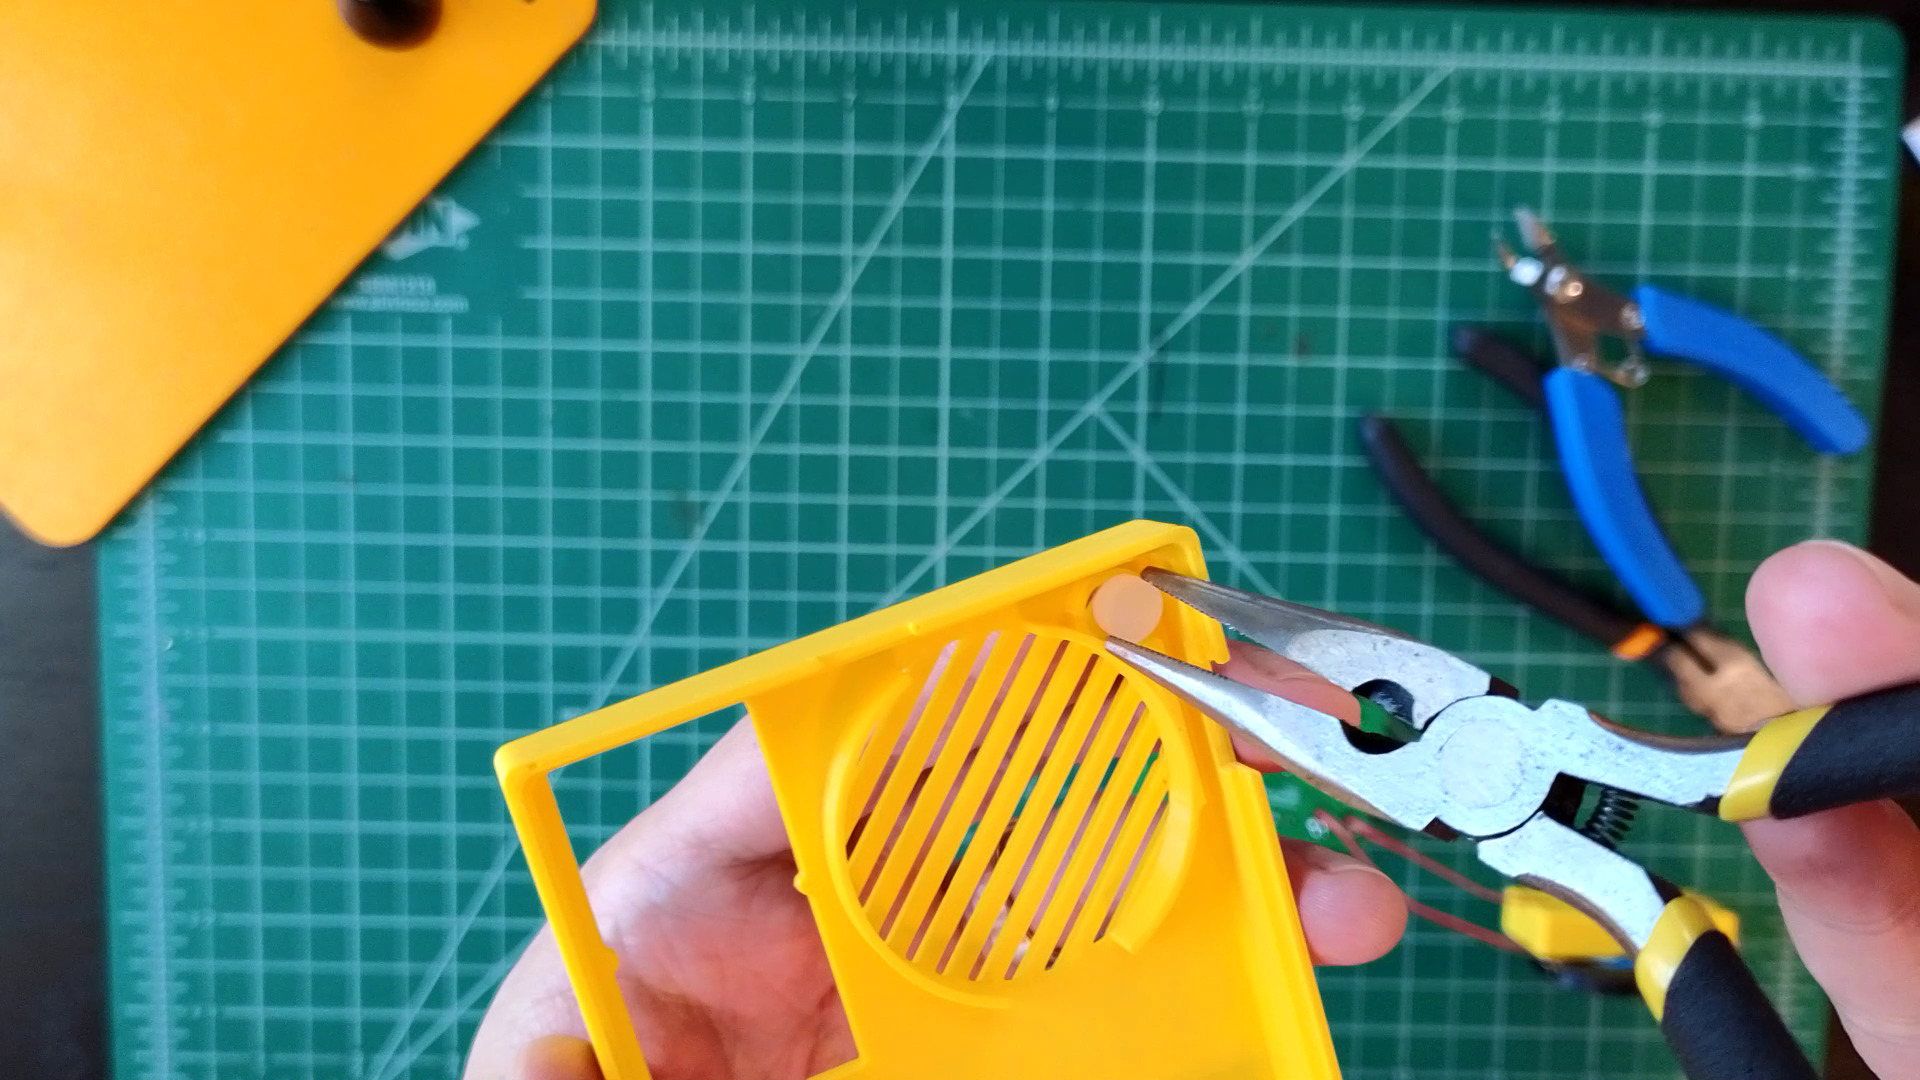
- Insert the lightpipe into its cavity on the enclosure top. A pair of pliers can help get it in there.
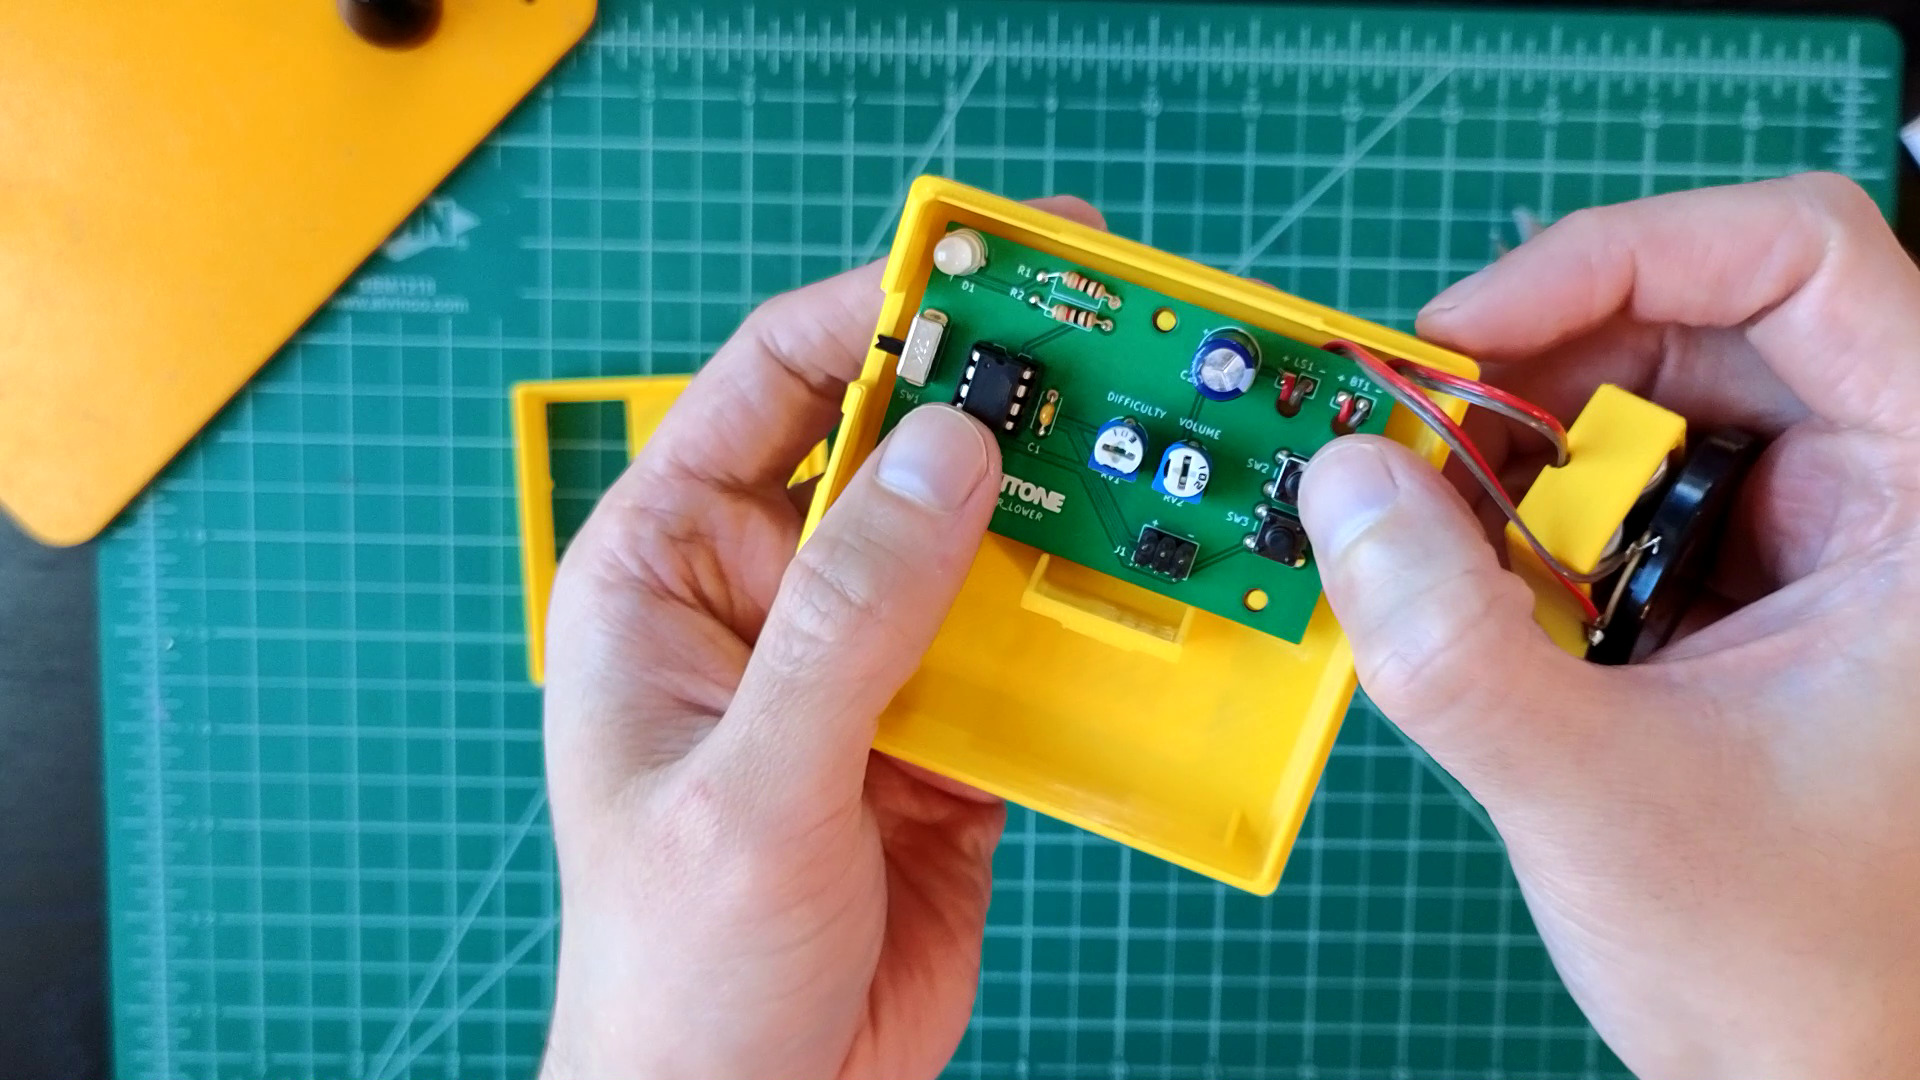
- Insert PCB into the enclosure bottom, nestled onto its posts.
- Insert battery holder into its hitch on the enclosure bottom.
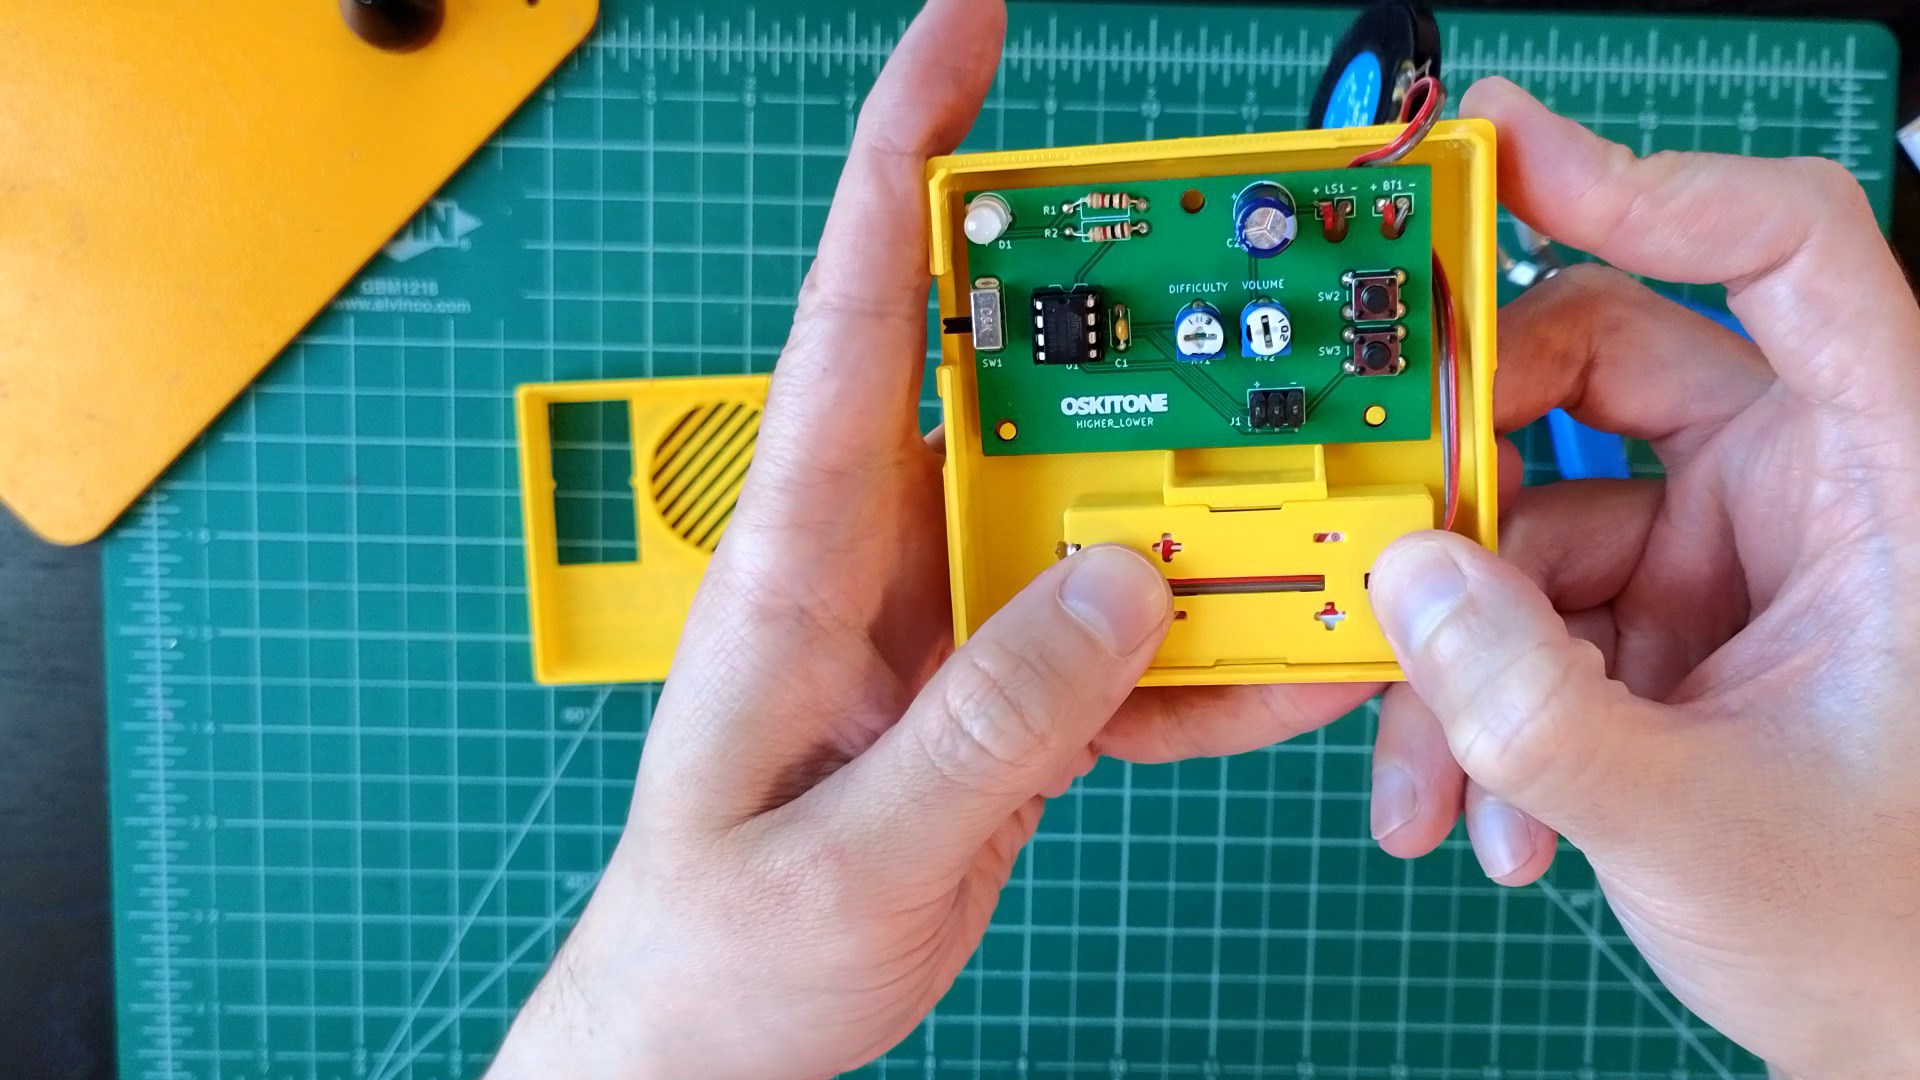 Rotate the holder so its wires are on the right side and the batteries are facing down. (The batteries can face up too, but they might pop out of the holder if the game is dropped.)
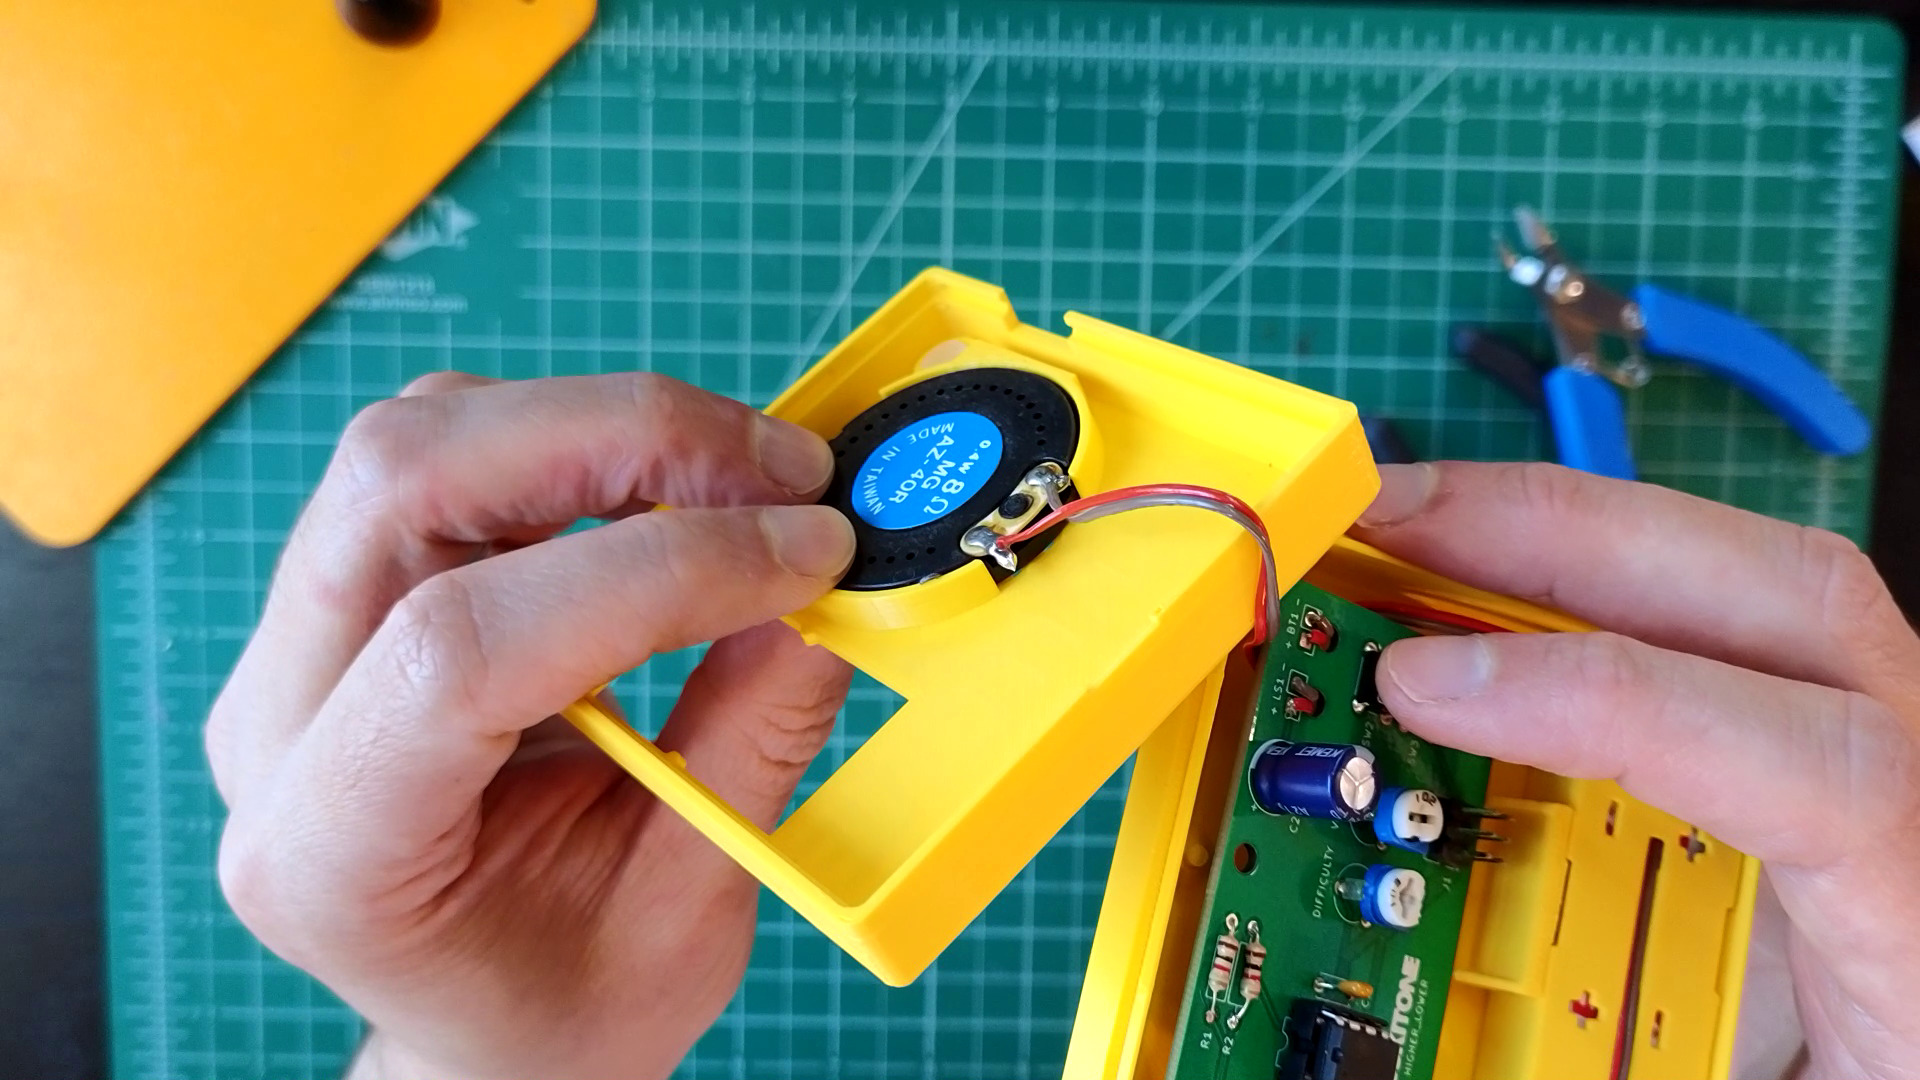
 - Pop speaker into place on the enclosure top.
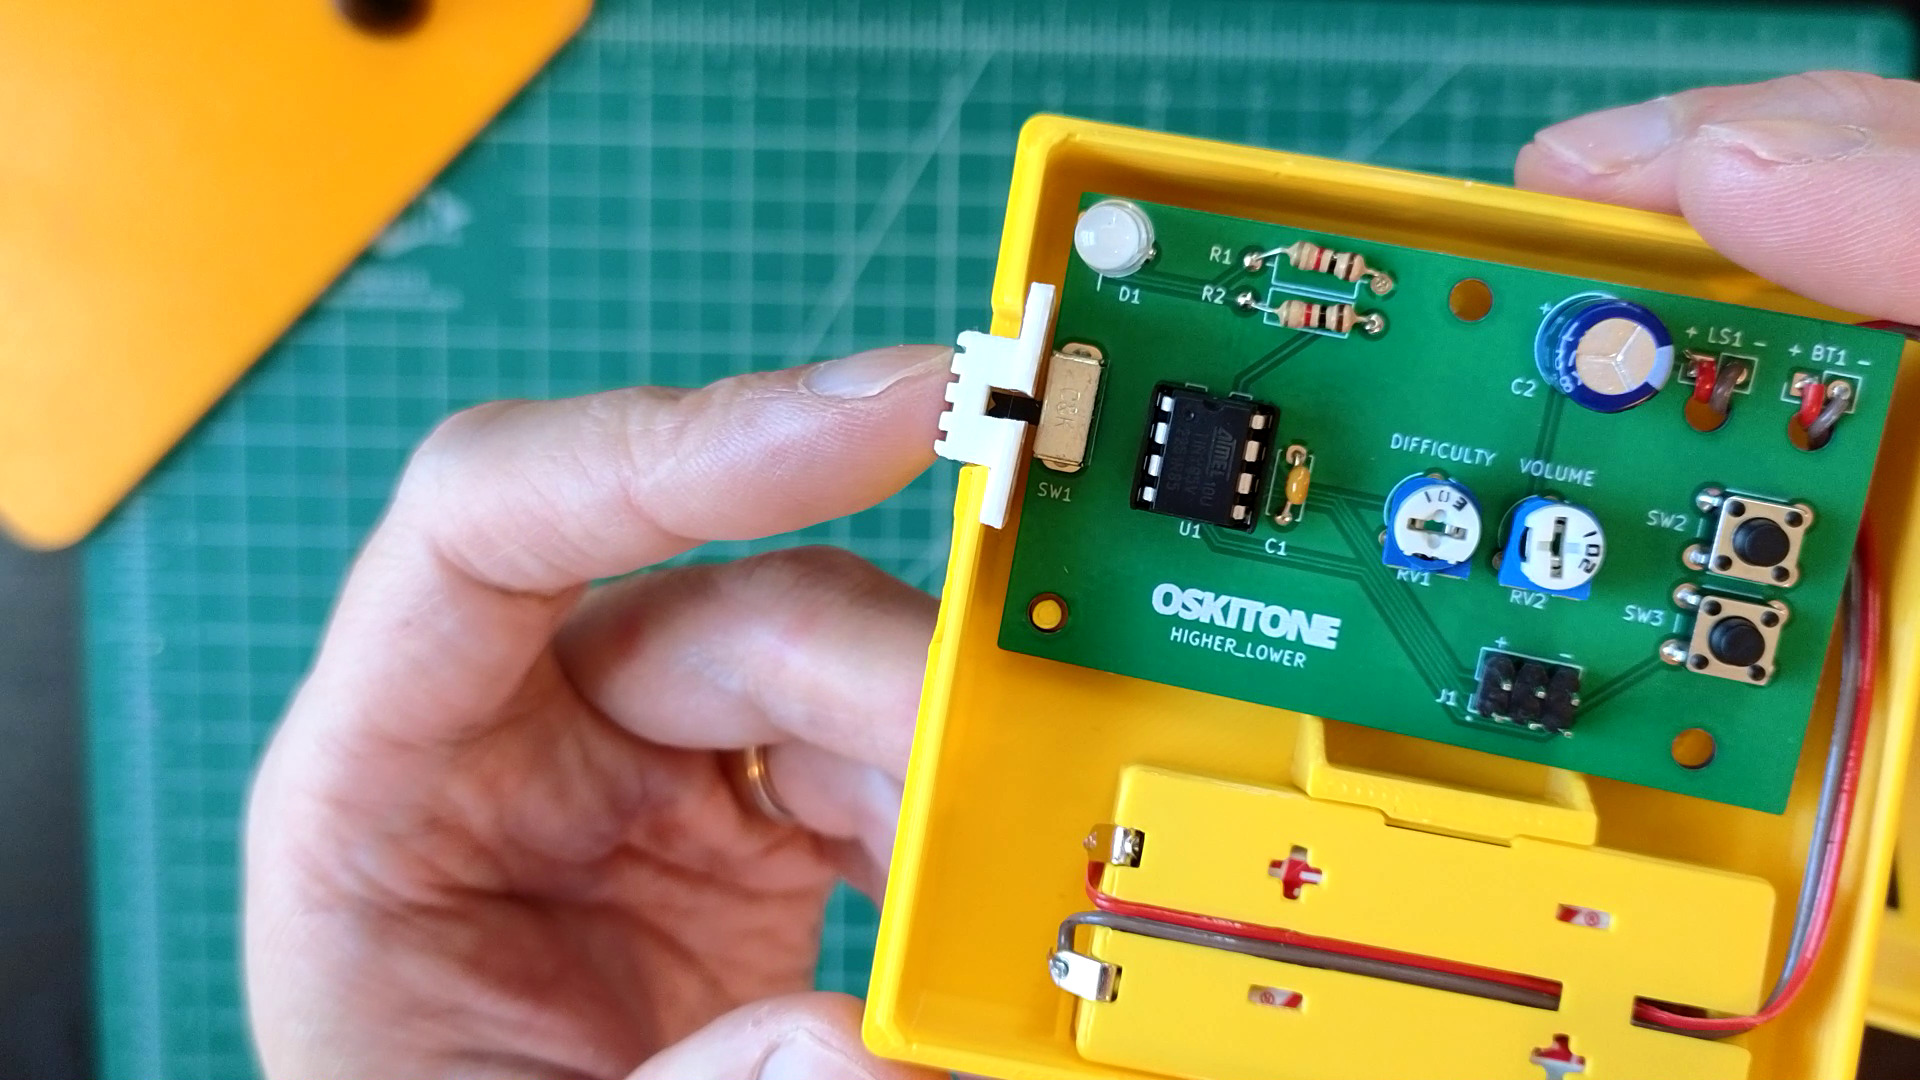
- Place the switch clutch into the enclosure bottom onto SW1's actuator, along the left edge of PCB.
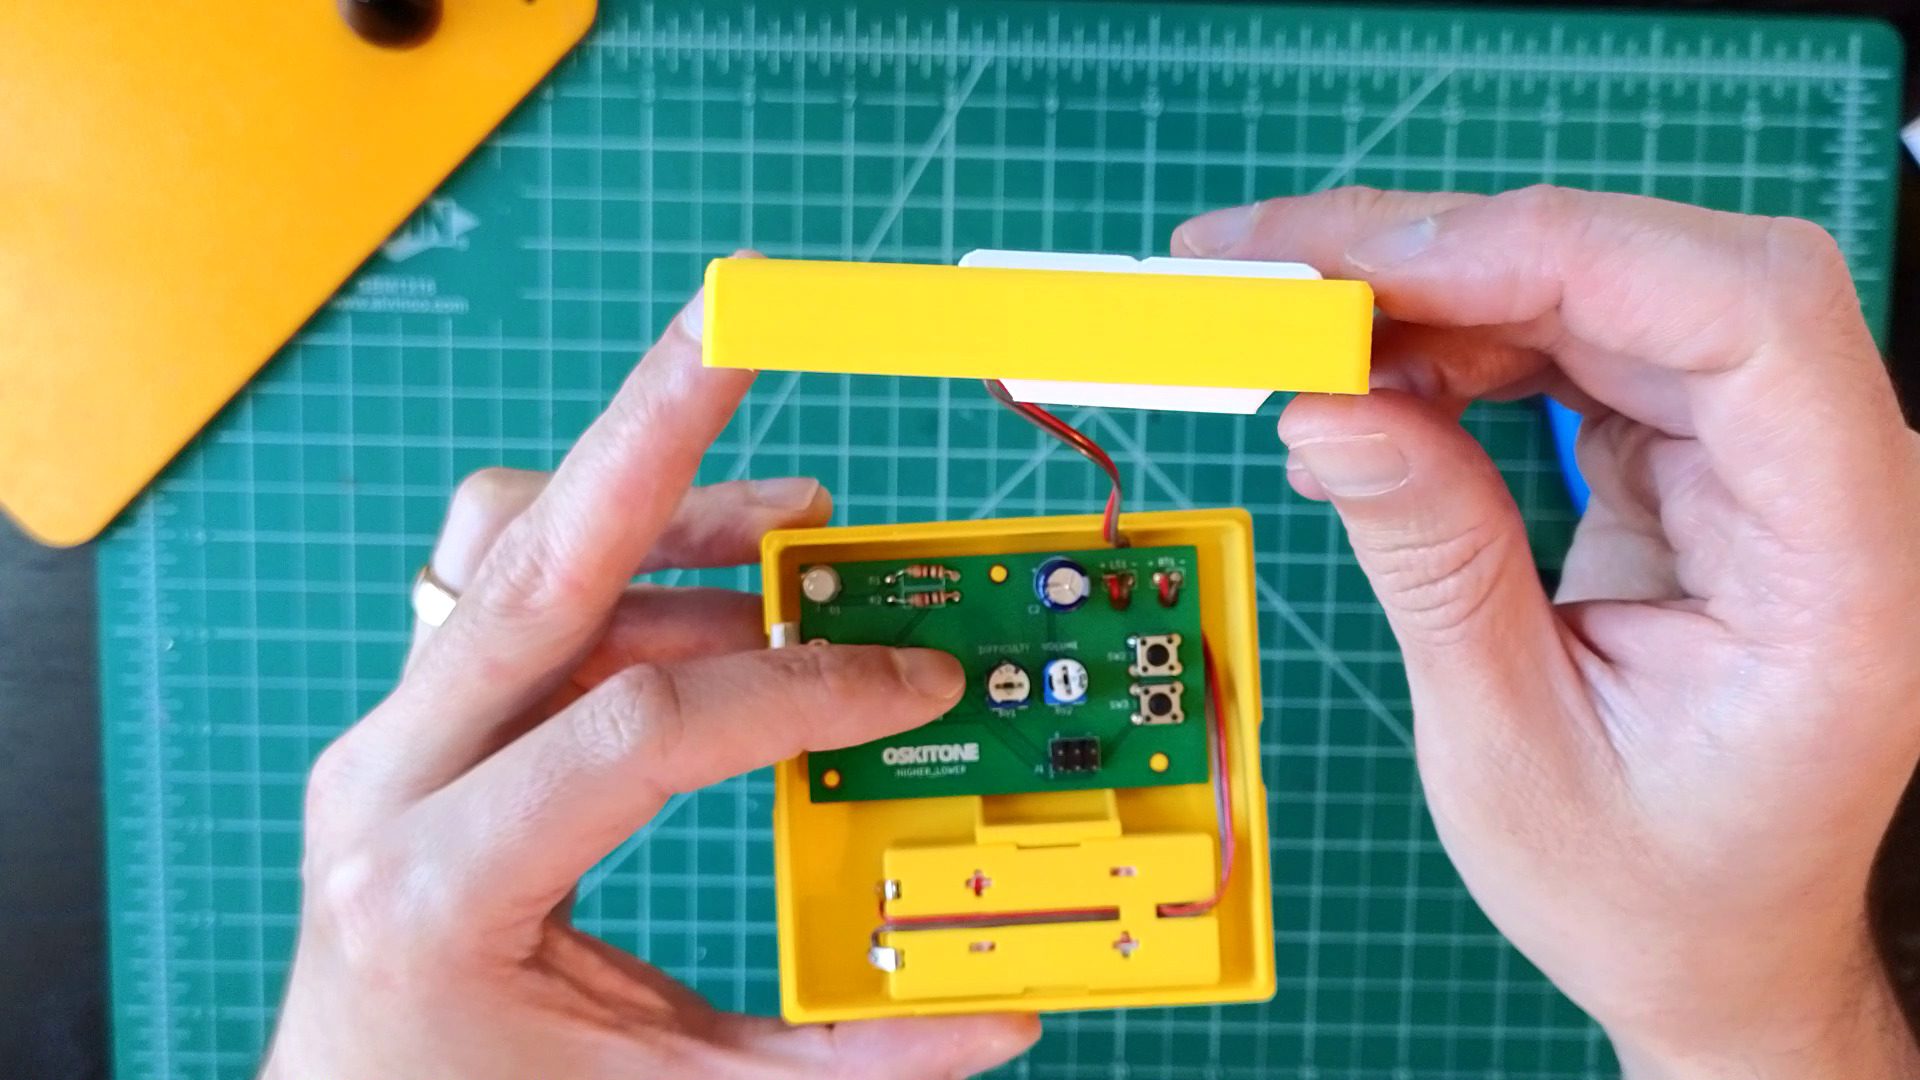
- Pop the button rocker into its cavity on the enclosure top. Its fixture is intentionally a little loose and that's okay.
- Align enclosure top and bottom, then firmly squeeze til the enclosure snaps shut. It's a tight fit; be brave!
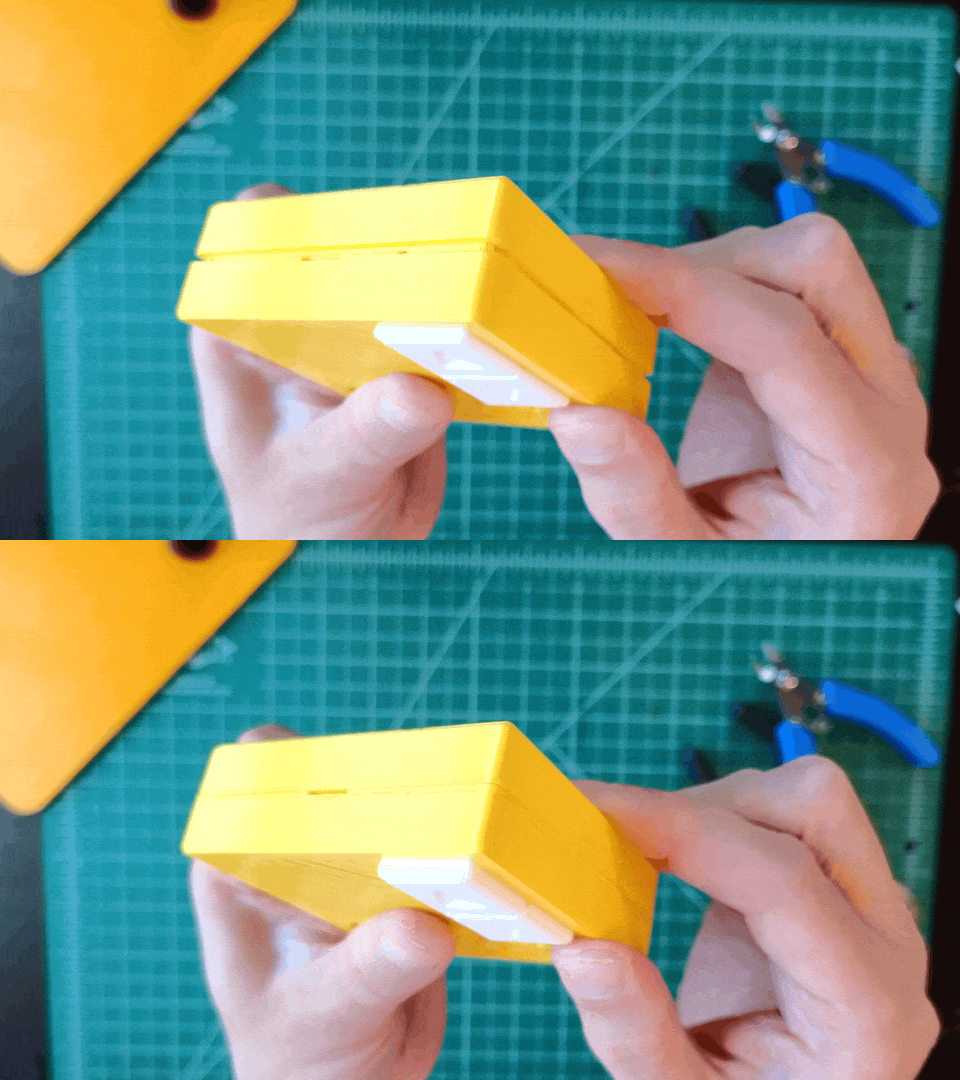
- Slide the switch clutch to turn the power on and check that the button rocker isn't unintentionally holding either of its switches down.
If that works, you're all done!
Assembly troubleshooting
- Enclosure halves don't fit together well? Pop the enclosure open and check...
- Are any wires in the way?
- Is the rocker all the way into its fixture?
- A gap near the lightpipe could mean the lightpipe is too long or isn't in all the way. Push it in, trim the excess, etc.
- Other oddities
- Is the PCB functioning as expected? If not, go back through the soldering instructions and verify each step's test passes.
- Something else? Ask!
What's next
Feedback
When you can, please let me know how it went for you:
- What did you like? Did you have fun?!
- Not including printing time, about how long did it take?
- How'd the kit show up? Were there any parts missing or damaged? Or any problems with the instructions?
I act and rely on customers' feedback to make the next products even better. Even just knowing that you got it done successfully is valuable feedback, so I do want to hear from you. Thank you so much!
Share your make
Like Higher Lower? I'd love to have you share that!
- If you 3D-printed it at home, share your make on the Thingiverse or PrusaPrinters page where you downloaded the models. It's a good signal to other potential makers to see successful makes.
- Tell your friends, post on social, etc. You know the deal!
Further reading
For the curious, I've written a blog post where you can read more about Higher Lower and its development process.
Each Oskitone product gets its own blog post, so dig around in there and see if there's anything else you find interesting.
