Boot the microcontroller
Steps
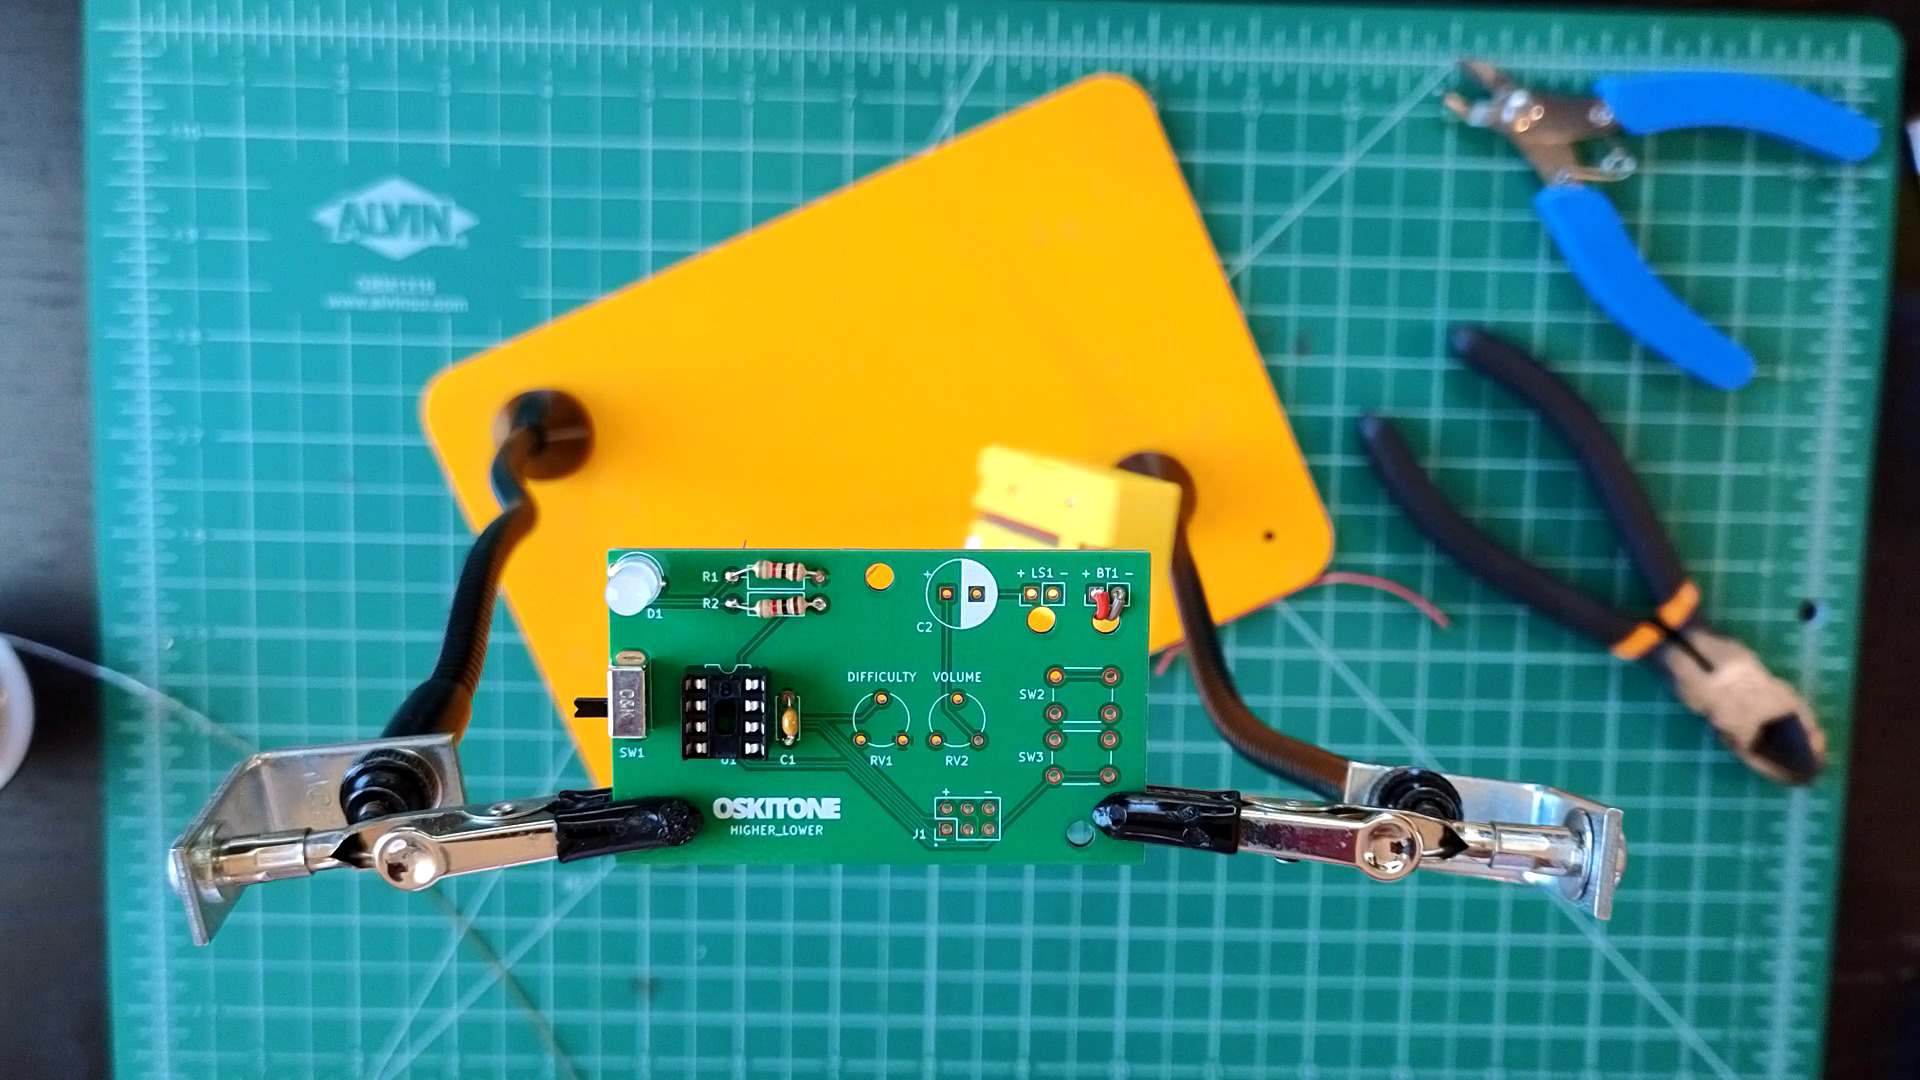
- Solder U1 socket. It will have a dimple at one end, which should match the footprint on the PCB.
 Verify the socket is perfectly flat against the PCB before soldering all of its pins. If it's not flat and you try pushing it in, you can accidentally pop out a pin — not good!
 - Solder capacitor C1 (.1uF, marked 104) and resistor R2 (1k, Brown Black Red).

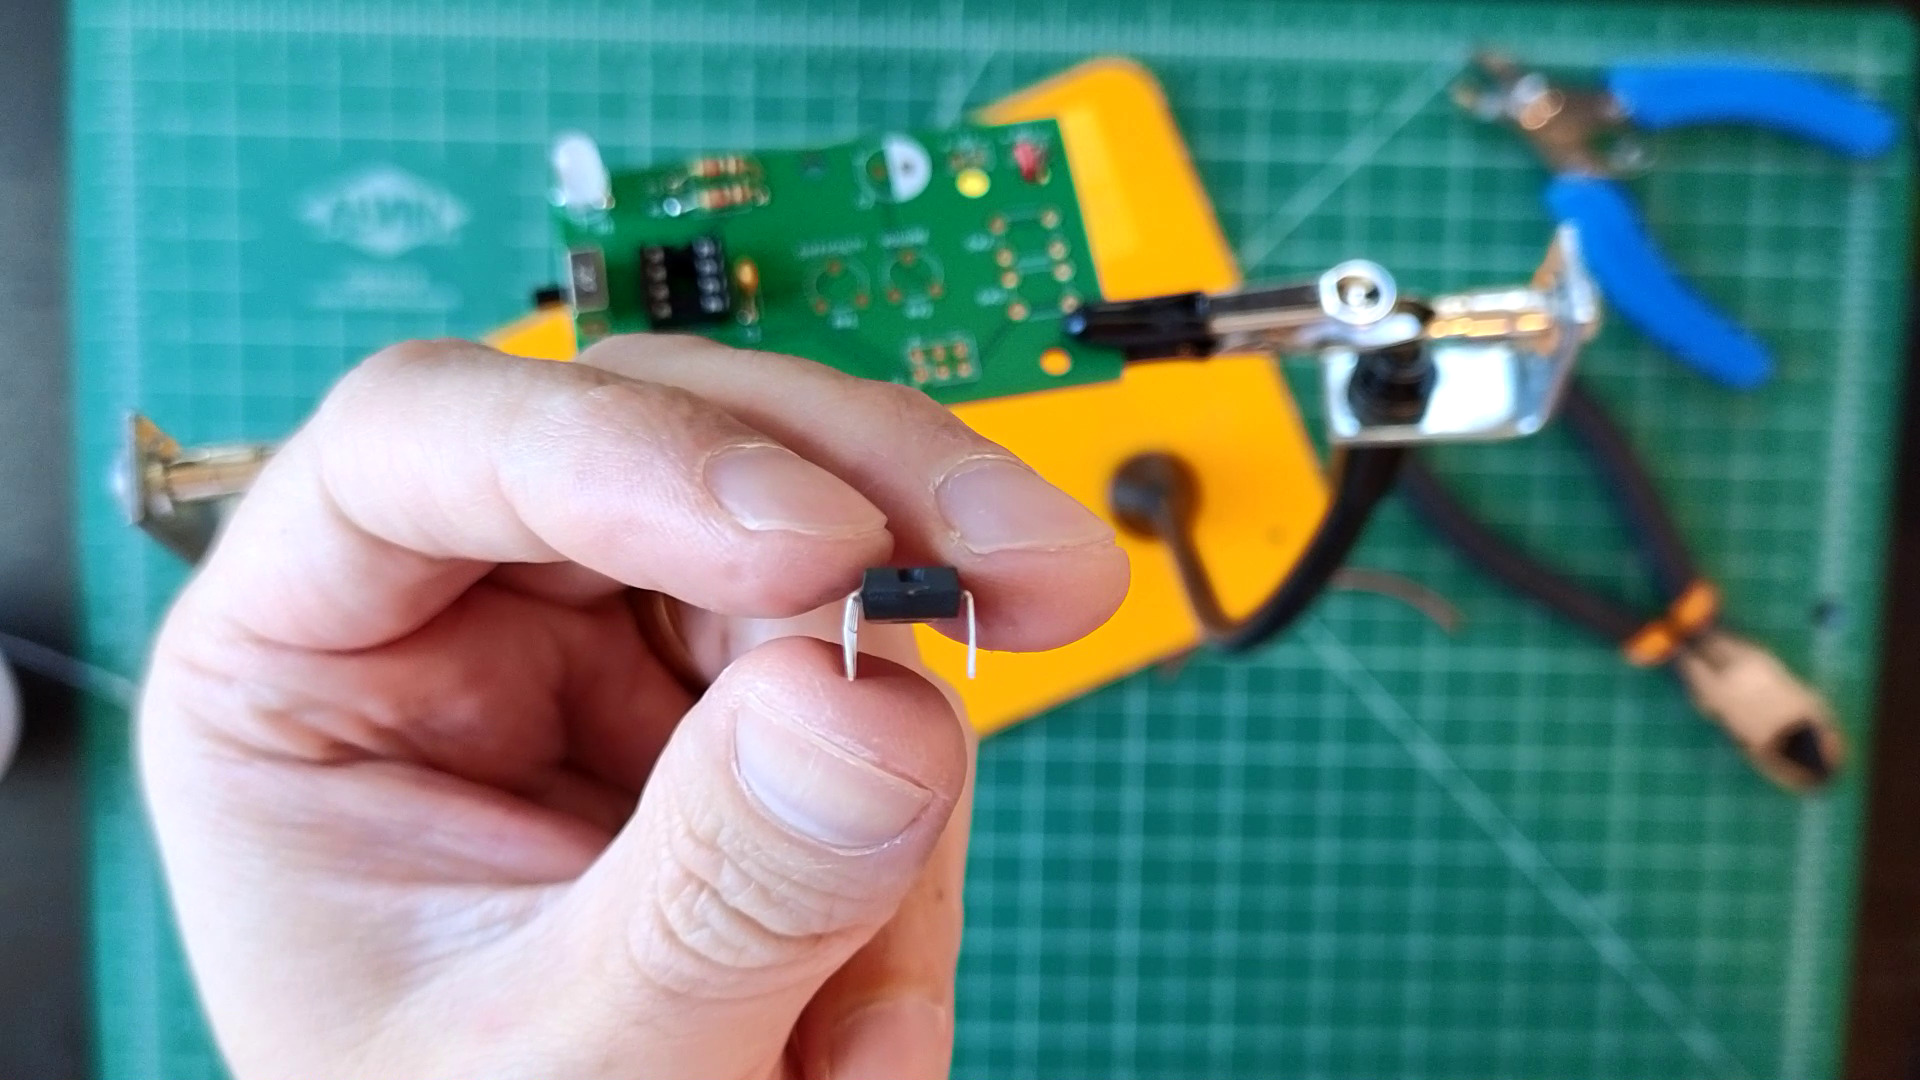
- If necessary, bend the pins of the ATtiny85 IC chip so that they're parallel to each other, like this:

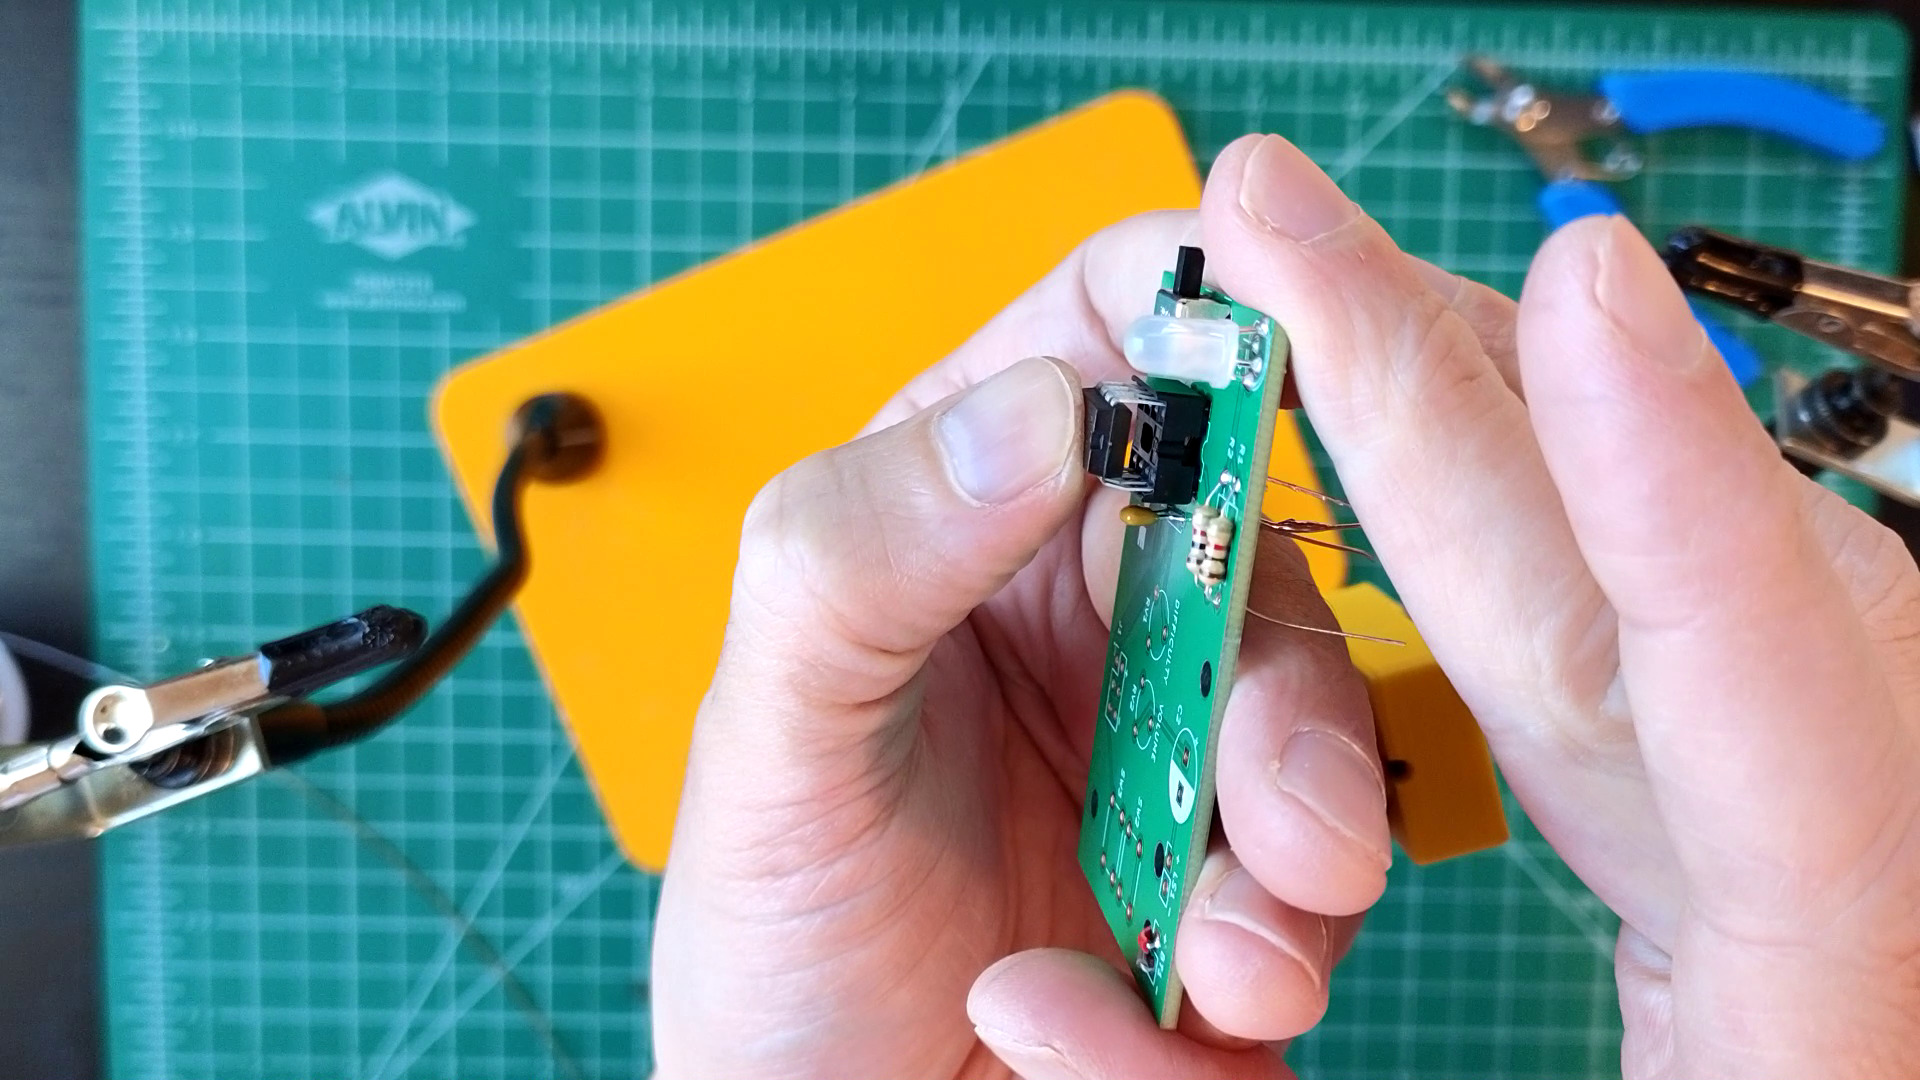
- With the power off, carefully insert the ATtiny85 IC chip. It will have a dimple (and/or a small dot in a corner), which should match the socket.

Test
Turn the power switch back on, and the LED should flash a new color. This lets you know that the chip is booted up and running! Power off.
Not working as expected? Check the PCB troubleshooting section. Otherwise, continue.
How it works
The ATtiny85 is a microcontroller chip. Think of it like a small computer that's programmed to only do a very specific job.
This ATtiny85's job is to perform the logic to play "Higher Lower." It's the brains of the operation. A small part of that operation is to flash the red color on the RGB LED, newly connected by R2.
(If you're curious if all ATtiny85s can play "Higher Lower", the answer unfortunately is that they do not. The one in your kit came preprogrammed just for this game.)
C1 is a decoupling capacitor, also known as a bypass cap. It smooths out the power for the ATtiny85 so it's less affected by spurious voltage changes as the circuit operates. Bypass caps are used a lot in electronics near components that use/make bursts of voltage, which would otherwise result in audible noise or random logical glitches. They're often not practically necessary but are a good preventative measure.
Similarly, the socket that the chip plugs into isn't strictly necessary. The ATtiny85 could just as well be soldered directly to the board. But what happens if the chip gets damaged from excessive heat during the soldering process or somehow gets fried from bad a connection? A socket lets you swap chips without melting any solder.