Control difficulty
Step(s)
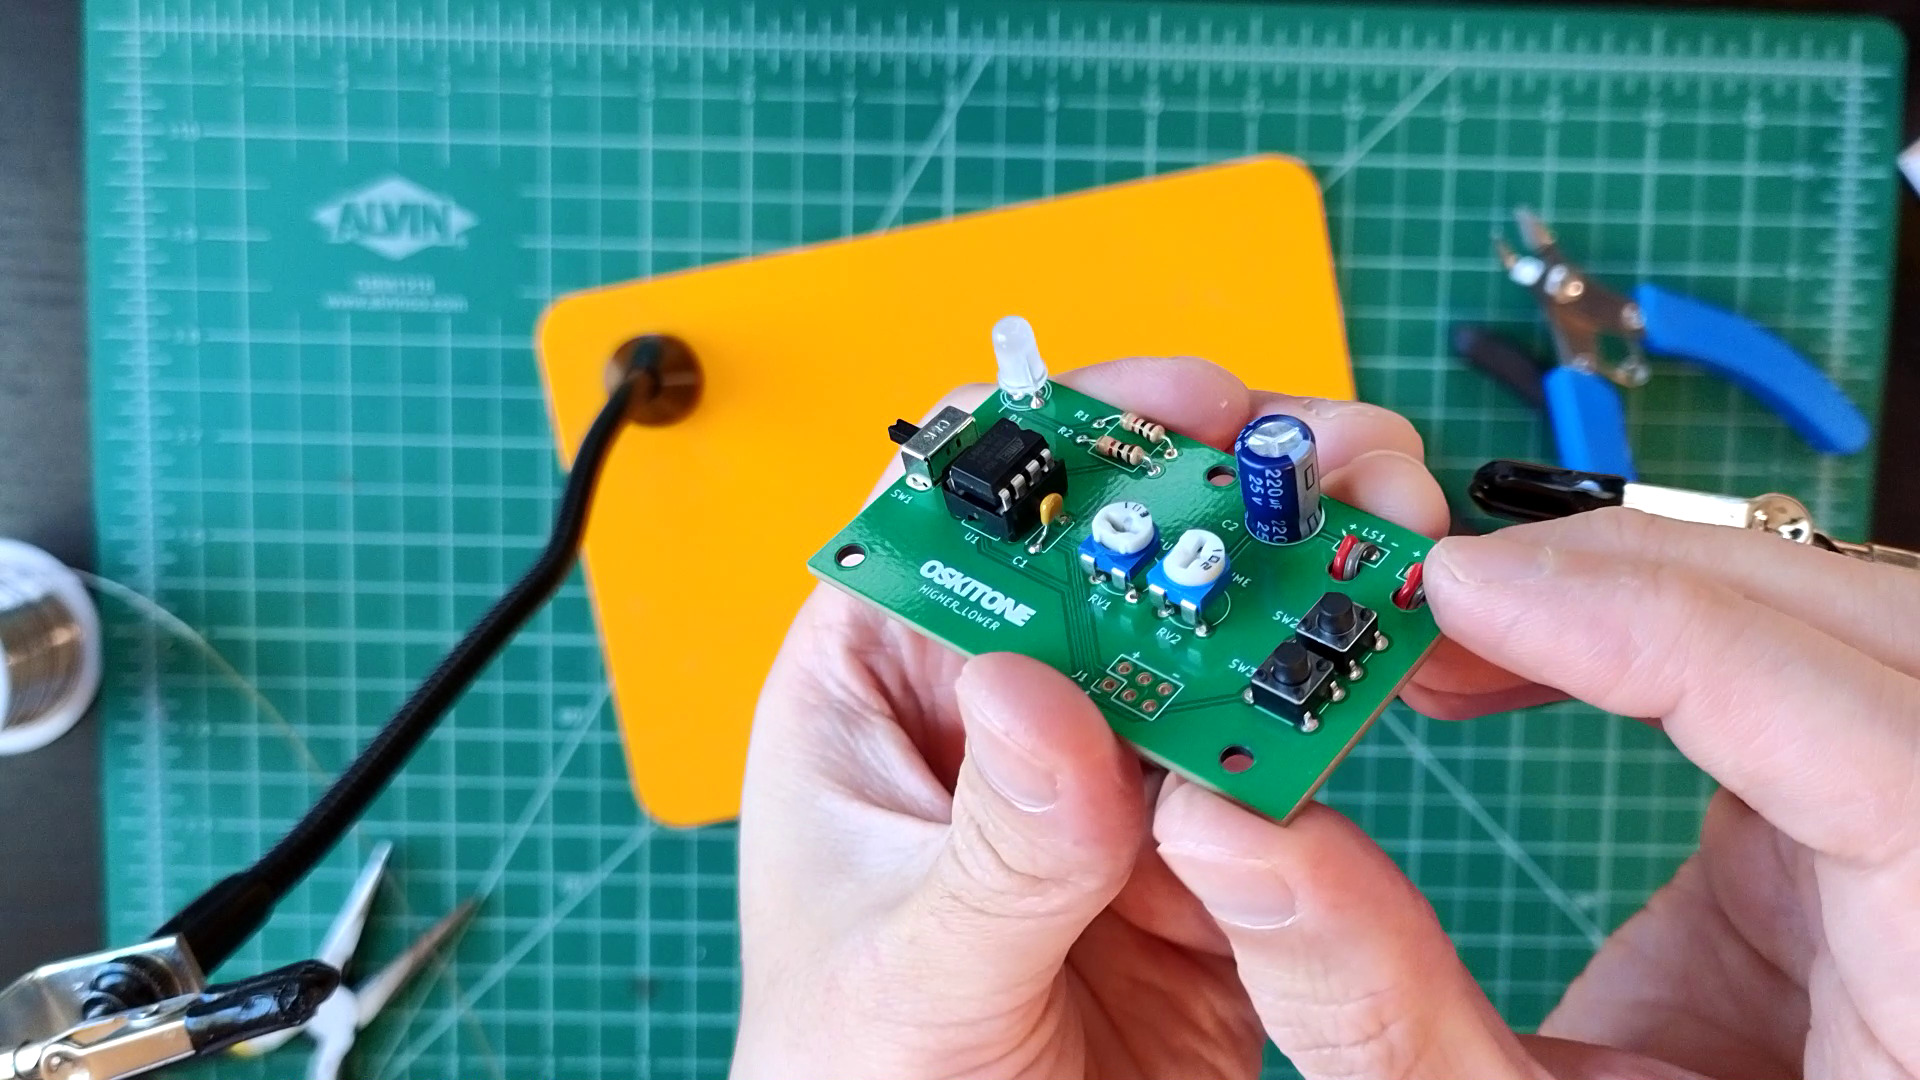
- Solder trimpot RV1 (10k, marked "103")
 Make sure it's pushed all the way into PCB before fully soldering.
Test
Changing RV1's value before powering the board changes the game's difficulty. Try different rotations and count the number of intro beeps before the theme song plays.
More beeps = harder game!
Not working as expected? Check the PCB troubleshooting section. Otherwise, continue.
How it works
We know that RV1 is a variable resistor or potentiometer, like RV2 for volume control. We also know that pins on the ATtiny85 can be wired as inputs, like SW2 and SW3 for game controls.
RV1 is tied to an input pin on the chip, but how does it work if the input is controlled by a pot instead of a button?
The first part of the answer is that a potentiometer is technically two variable resistors, and any two or more resistors can be wired as a circuit called a "voltage divider". The outer two legs of the pot connect to voltage and ground; depending on where it's turned, the middle leg is some voltage in between.
The second part of the answer is that there are two kinds of inputs on the ATtiny85:
- A digital input accepts either high ("+" or 3v from the batteries) or low ("-" or 0v).
- An analog input accepts the full range of possible voltages from high to low: 0v to 3v and all the semi-voltages in between. (How granular the possible values can be depends on a machine inside the chip called an Analog-to-Digital Converter or ADC.)
So RV2 is wired as a voltage divider running into an analog input. The chip's ADC maps the incoming analog voltage to five discrete possible values, 0 to 4, which the code uses to set how hard the game will be.
(And, as you may have guessed, the game control switch inputs are digital.)