Assemble battery pack
Your ribbon cable may have different colors from the pictures here, and that's okay! A common convention is to use the darker color for "-" and the lighter one for "+".
Steps
- Insert tabbed battery contact terminals
- The flat, button contact goes near "+". Its button should face inward towards where the battery will be.
- These tabbed contacts will have a tight fit! Use pliers to push them in if you need to.
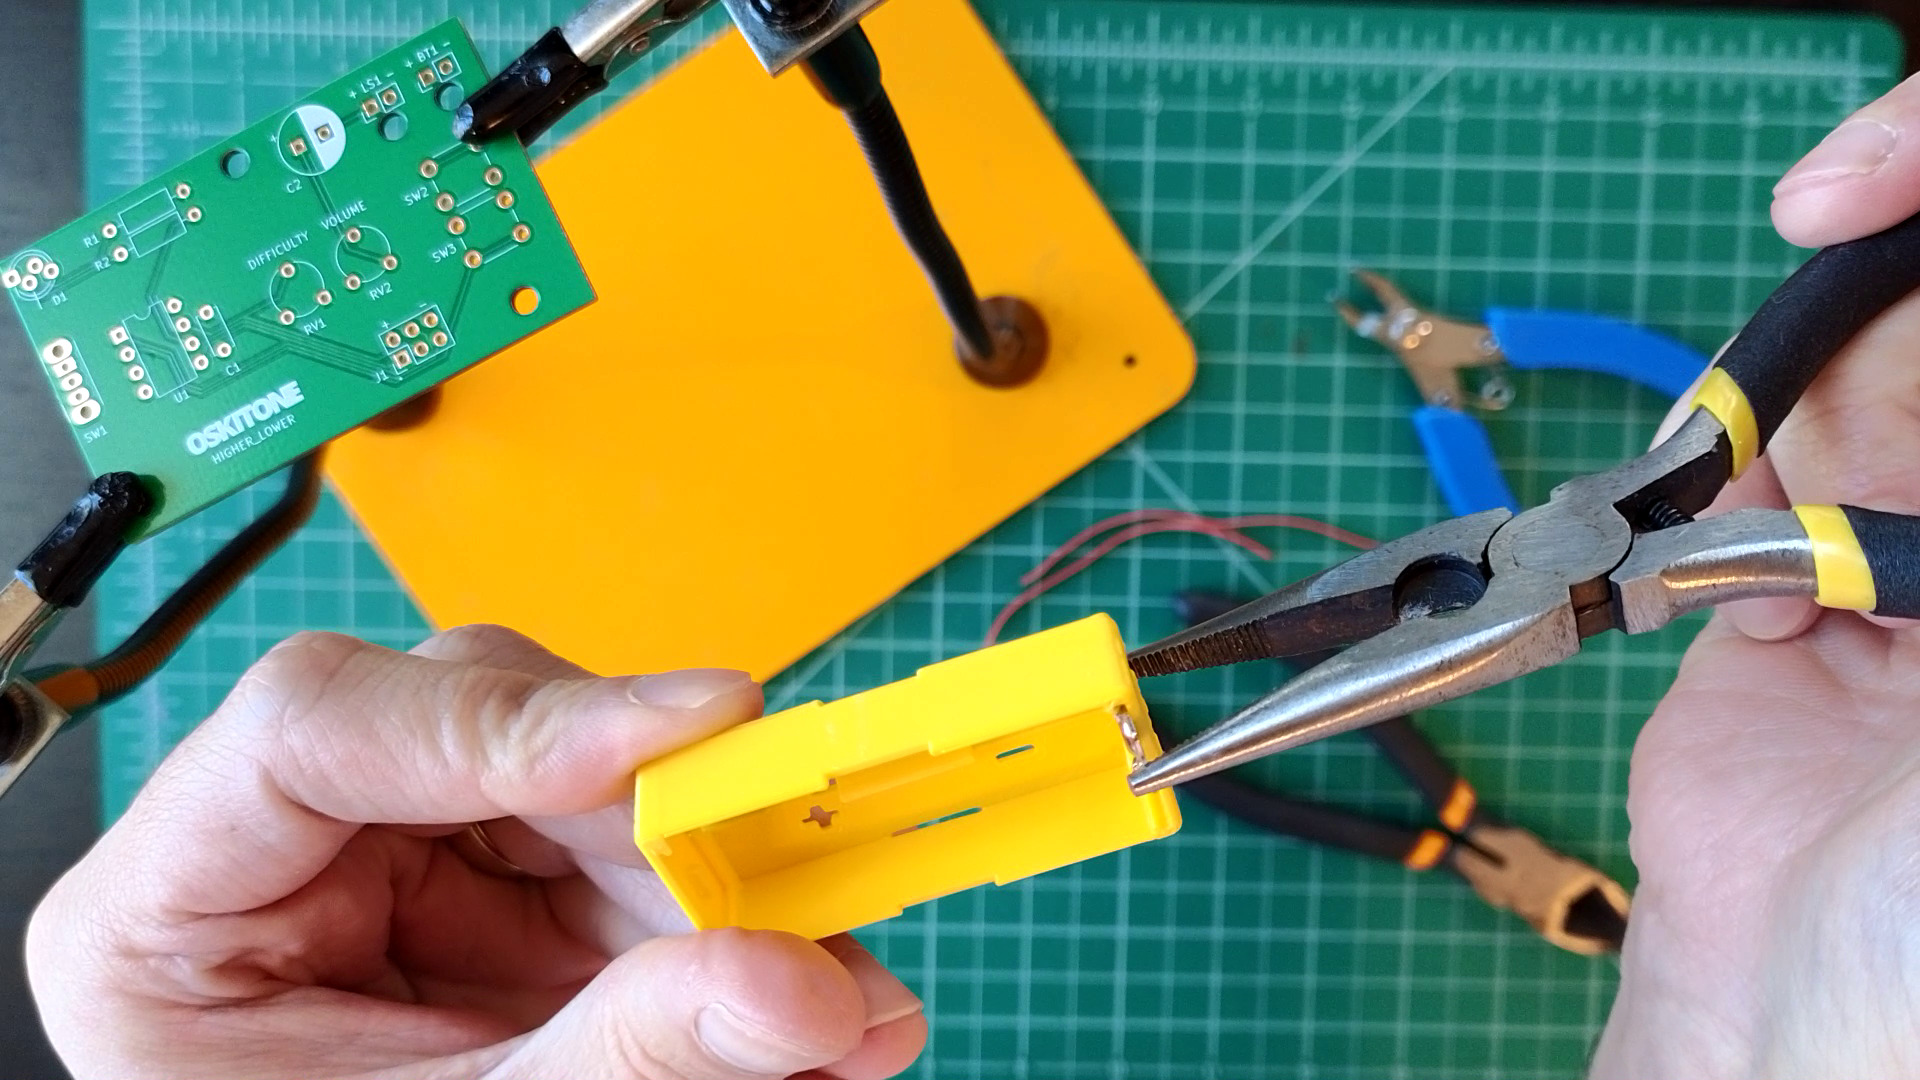
- The springed contact goes to the spot with a "-".
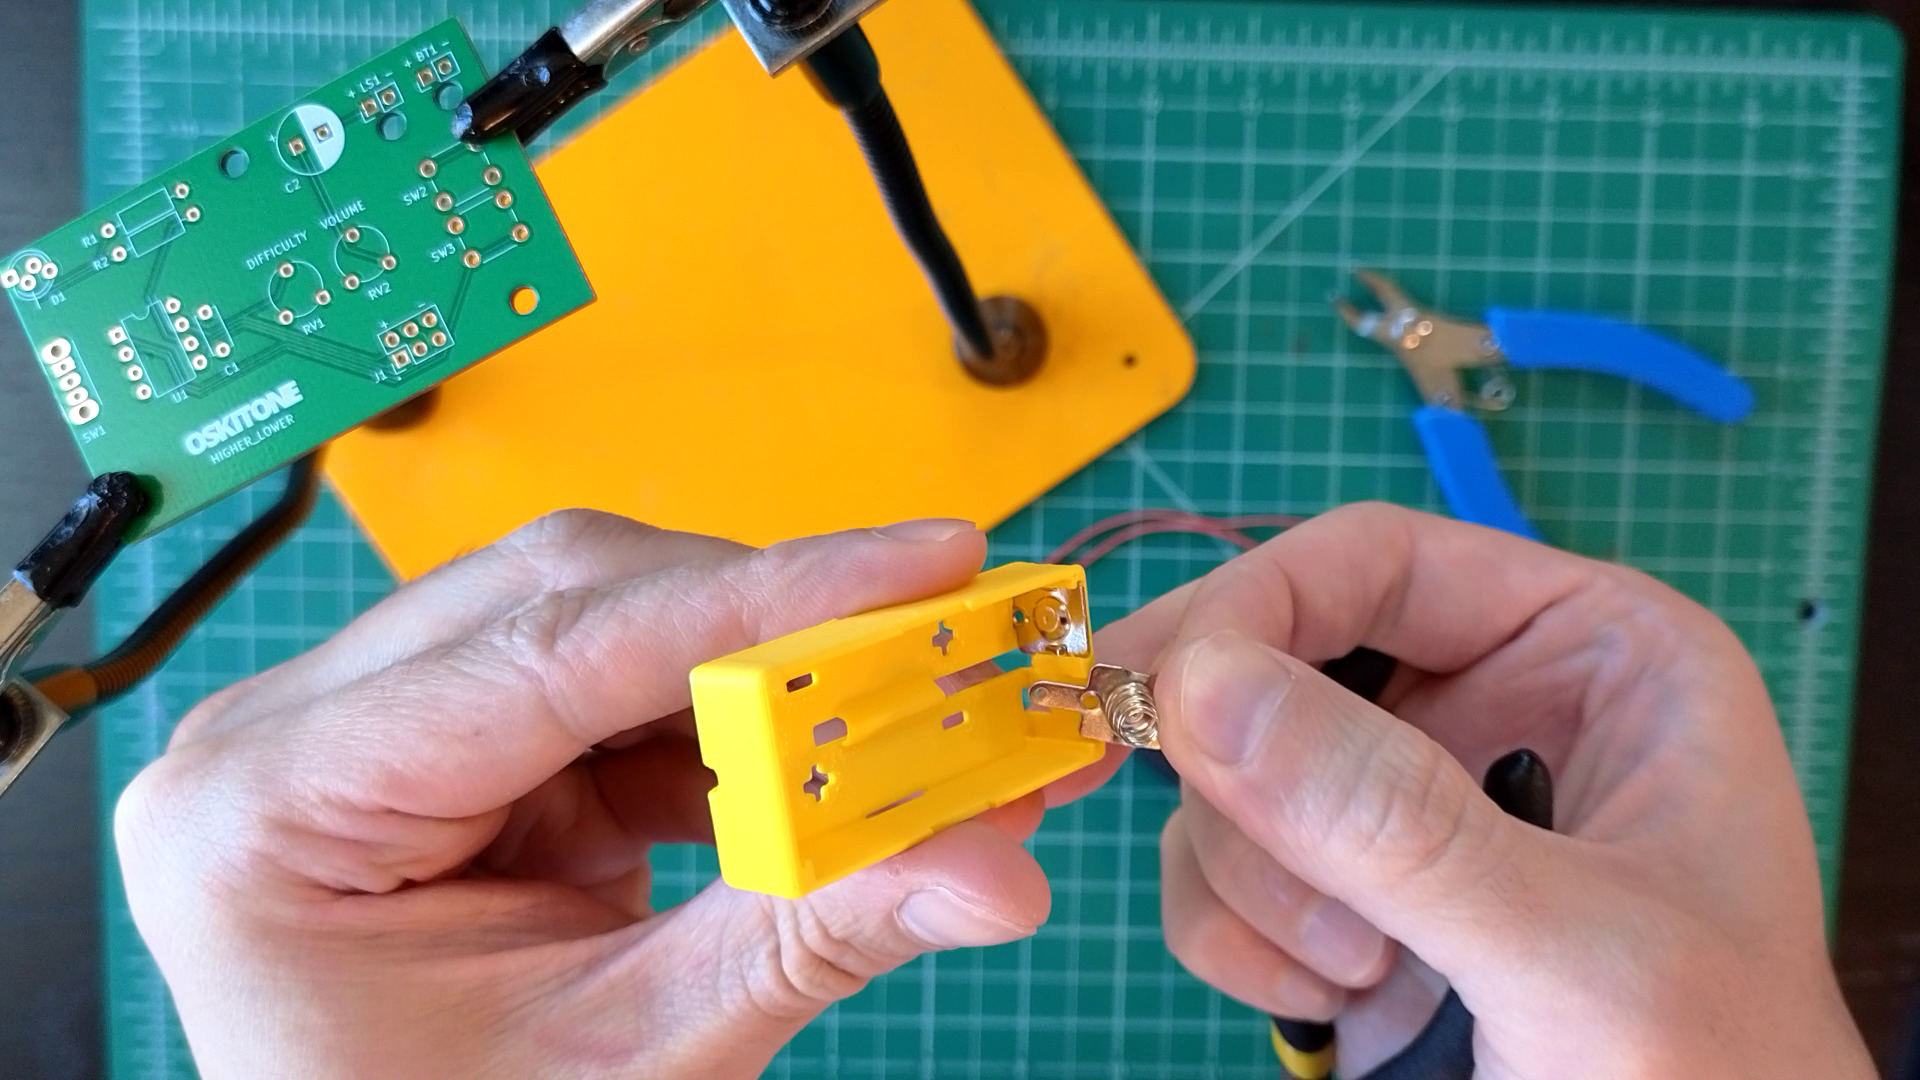
- Insert dual contact wire terminal
- This one is a made of a solid piece of wire. Again, spring goes to "-" and button to "+".

- This one is a made of a solid piece of wire. Again, spring goes to "-" and button to "+".
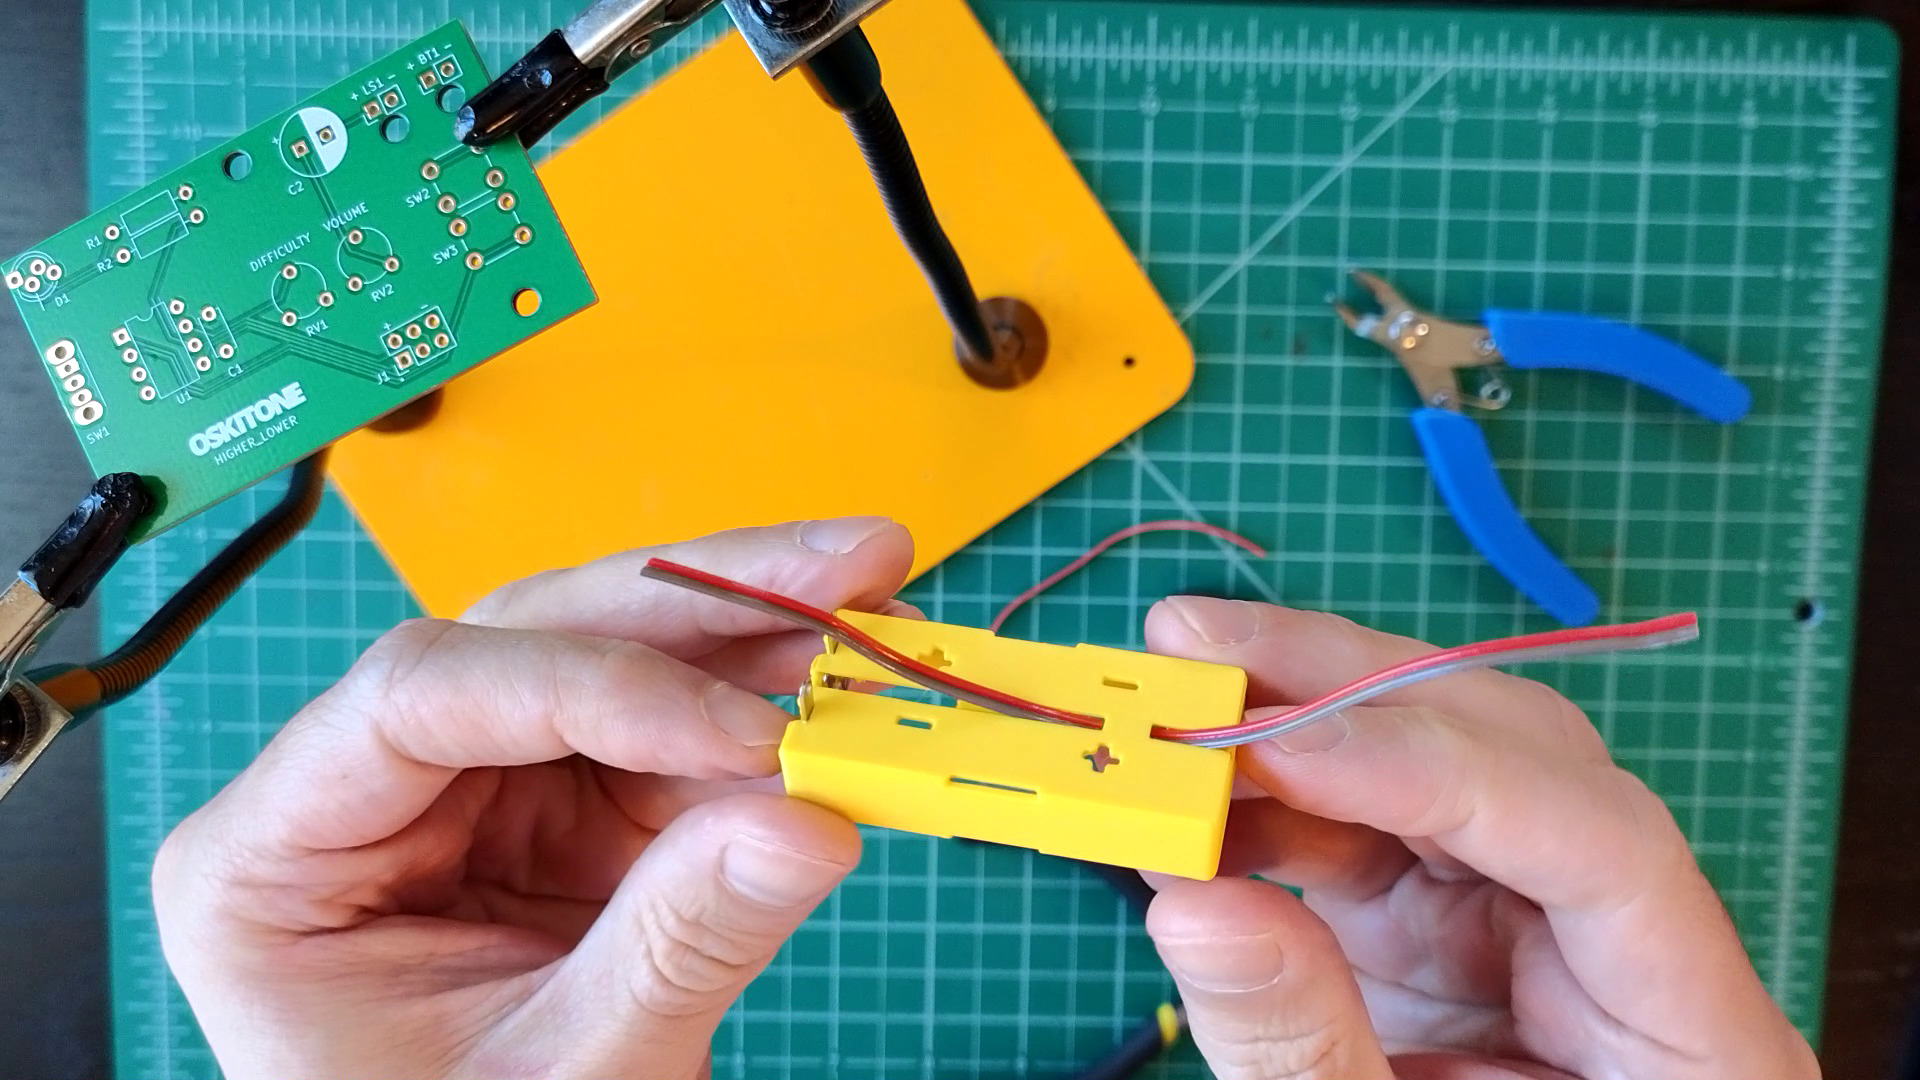
- Add wire
- Cut your ribbon cable in half so its two pieces measure about 5" each.
- Thread the 5" ribbon cable through the relief hitch on the bottom of the battery holder.

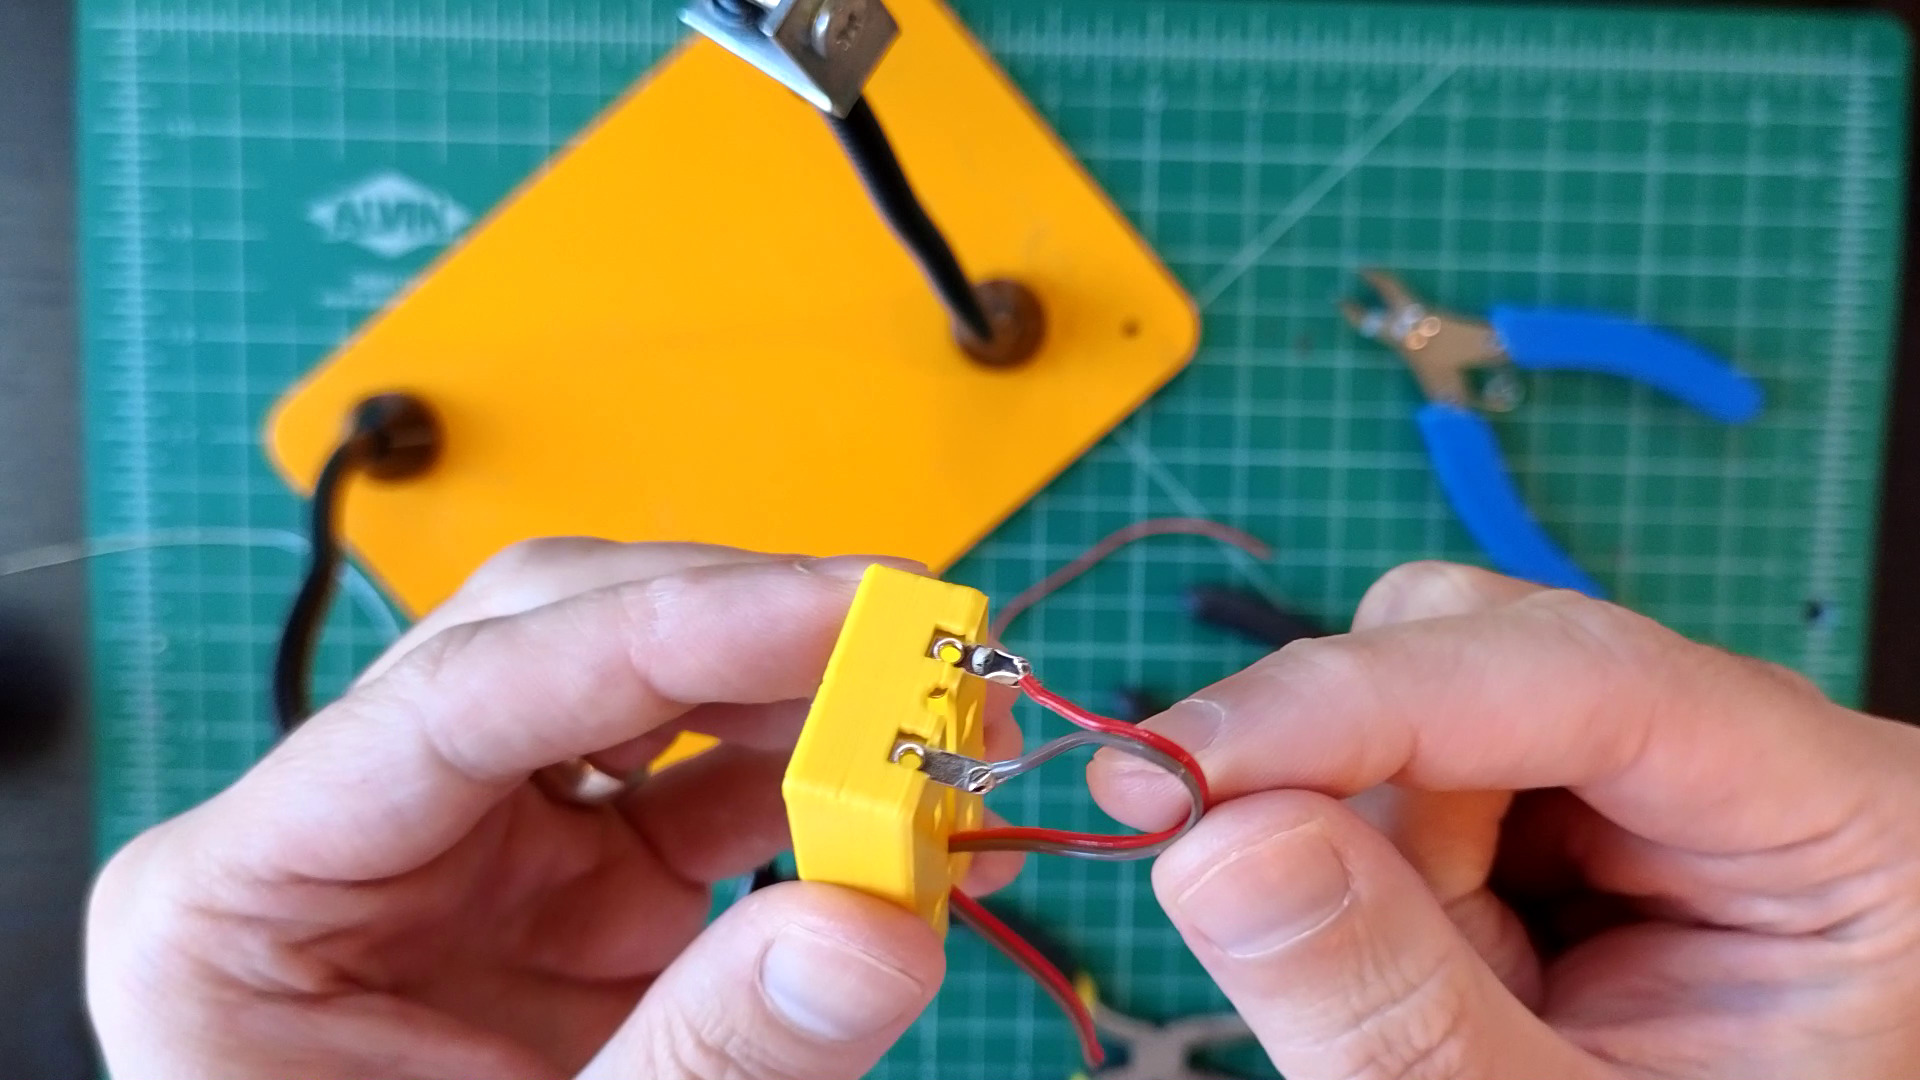
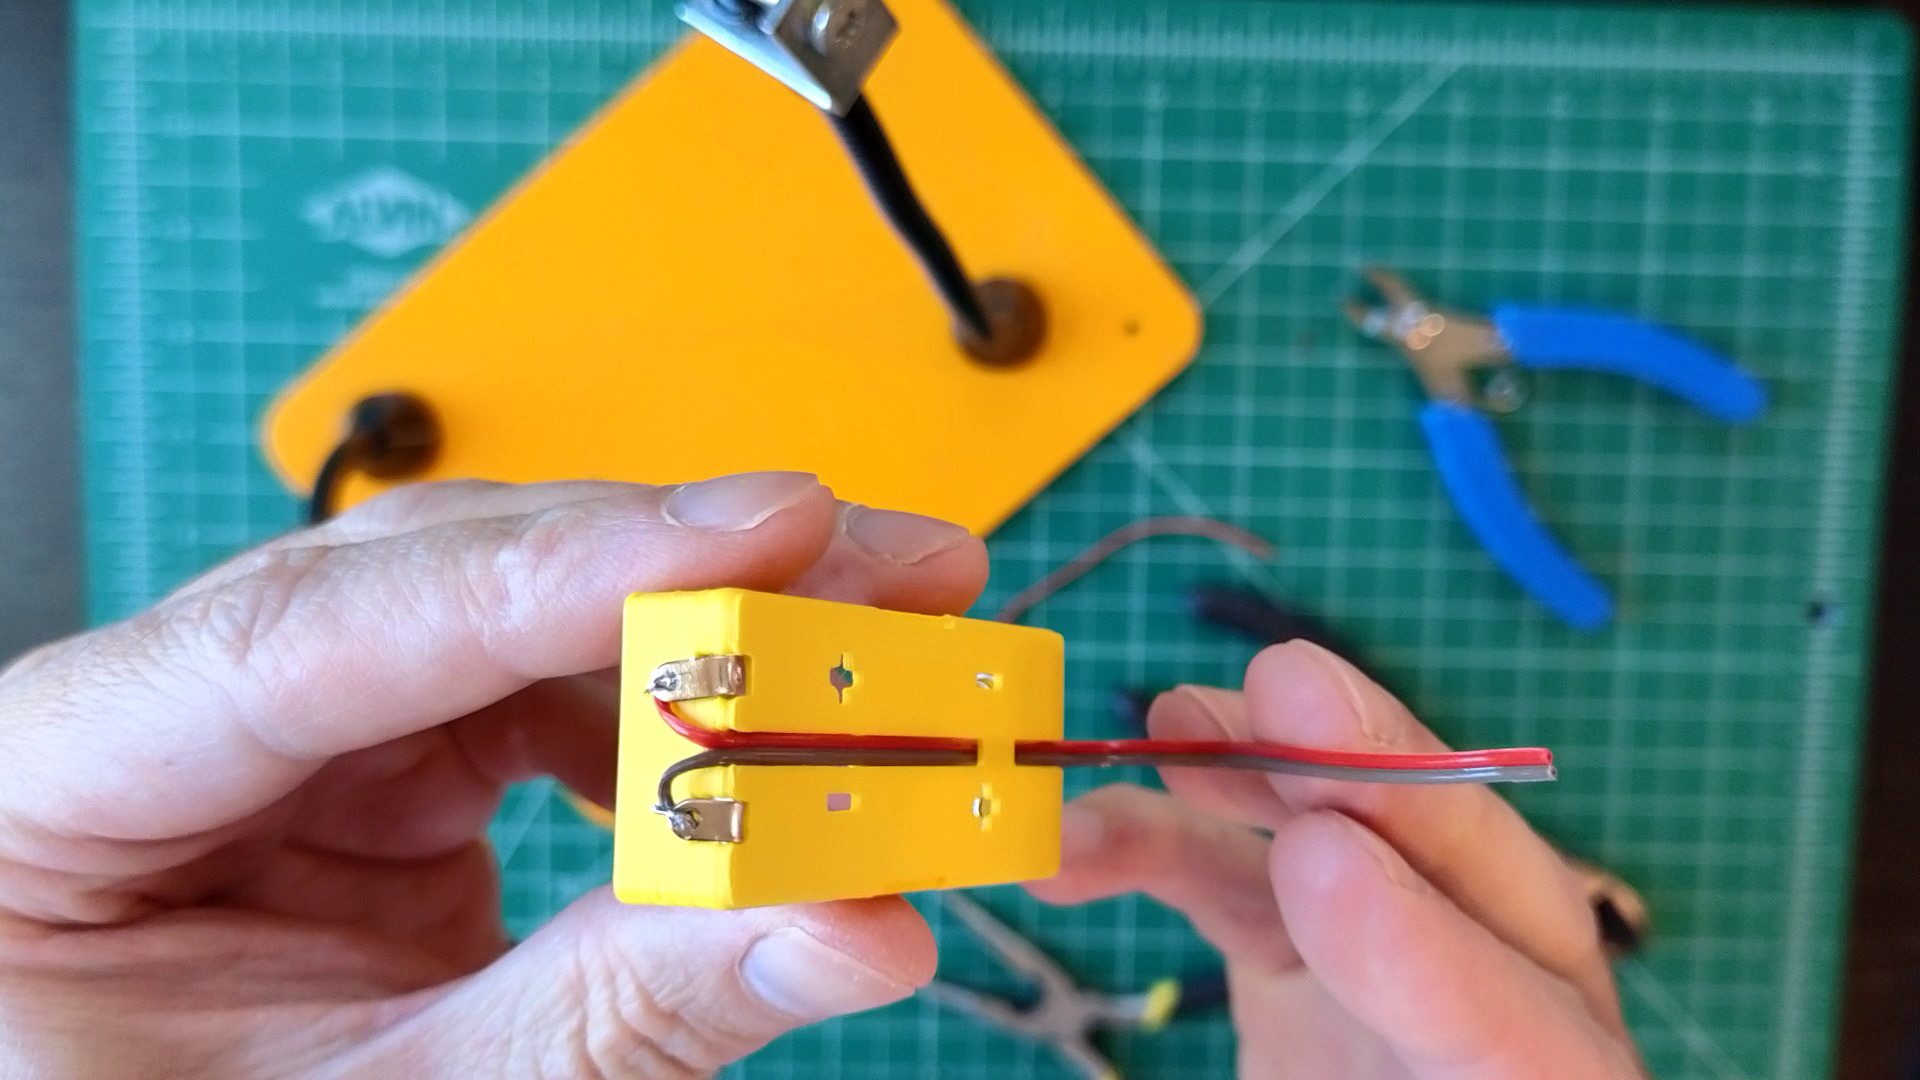
- Solder
- On the side of the cable closer to the battery contact tabs, separate the two wires and strip off 1/4" of insulation.
- Solder the darker wire to the "-" spring tab and the lighter wire to the "+" button tab. Try not to melt the battery holder's plastic!

- Bend soldered terminal tabs up.

- Pull the cable back and away from the soldered tabs until it's taut.

- Separate and strip the other side of wires.
- Make sure the two wires don't touch. Then, insert two AAA batteries, matching their "+" and "-" sides to the battery holder's labels.


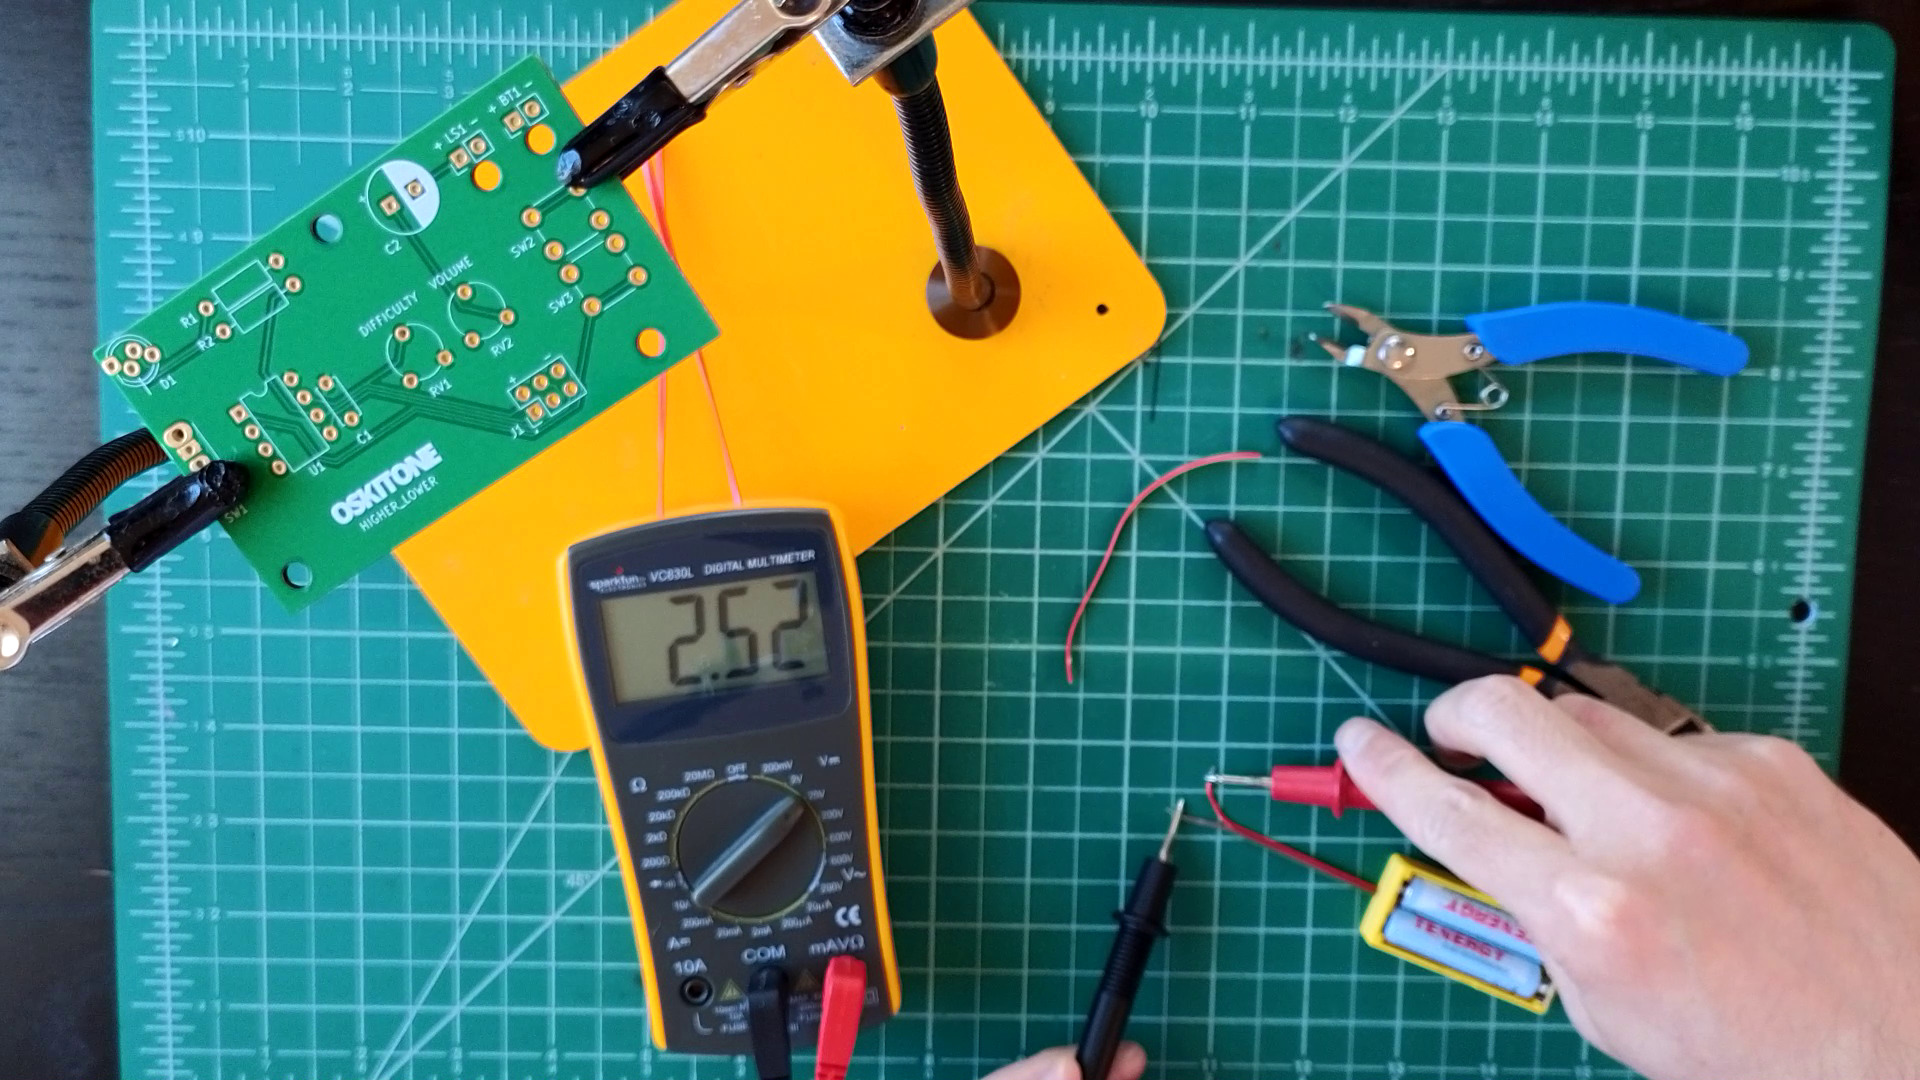
Test
Using a multimeter, measure the total voltage on those two wires. It should measure the sum of the two individual batteries' voltages — ideally 2.4 to 3, depending on what kind of batteries they are.
After testing, remove one or both batteries to prevent accidentally draining them if the battery holder's wires should touch.
If you're having trouble with your multimeter, try measuring each battery individually and see if they have voltage individually as you expect. Then install them into the battery pack and check their combined voltage.
Not working as expected? Check the PCB troubleshooting section. Otherwise, continue.
How it works
In this battery holder, the ribbon cable connects to two sides of the two different batteries with the tabbed terminals, which are connected to each other with the wire terminal.
Connecting batteries like this adds their voltages together. So if one fully charged AAA battery has 1.5 volts, then two will have 3v (shorthand for 3 volts), three will have 4.5v, and so on.
The game uses two AAA batteries, and the rechargeable Ni–MH ones I'm using in the picture have about 1.25v each, so the final output voltage is around 2.5v (1.25 × 2). Yours may add up to 3v or maybe even a little more, depending on the batteries' chemistry.
This kind of wiring is called "in serial." Think "one after the other," like episodes of a show or trains on a car. It's the most common way you'll see battery packs.
In contrast to serial wiring is "parallel," where all the "+" sides of the batteries connect and all the "-" sides separately connect. The output voltage is the same as just one of the batteries, but they last much longer. Parallel-wired battery packs are much less common.