Test
All done soldering! Let's test it.
- Reconnect the battery.
- Slide power switch.
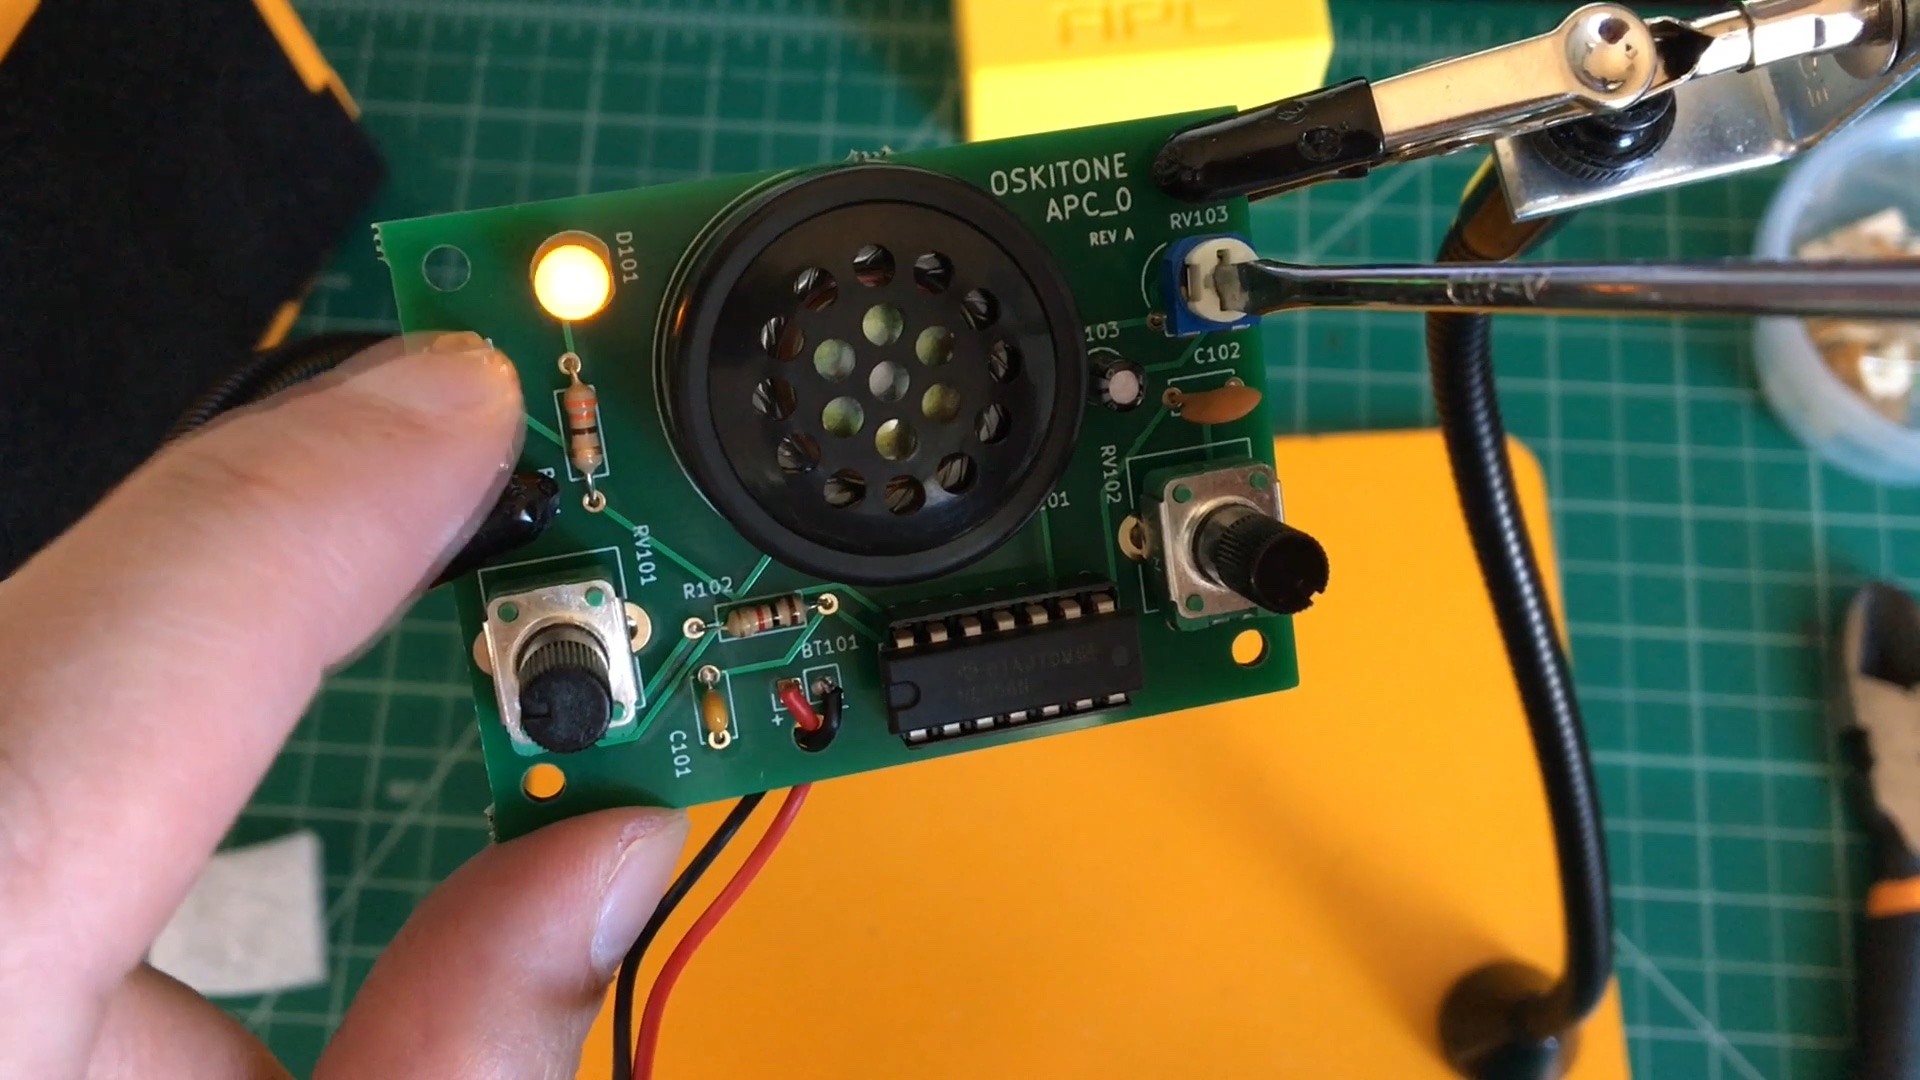
- Use a screwdriver to adjust the volume at RV103 and the two bigger potentiometers until you hear noises coming out of the speaker.
- If you hear noise, congrats! You successfully soldered your Oskitone APC!
- If you hear noise, congrats! You successfully soldered your Oskitone APC!
- If not, don't worry. It's time to debug:
- Check all your solder joints again
- Are the components with polarity (+ and - sides) right?
- Is the 556 chip pushed all they way into the socket? And none of its legs are bent?
- Try using a multimeter to confirm power and ground are at all the pins you'd expect, referring to the schematic.
Next, let's get the soldered PCB assembled into its enclosure...