Final Assembly
Steps
- Insert switch clutch into its cavity in the enclosure top.
- It will fit in with room to slide back and forth.
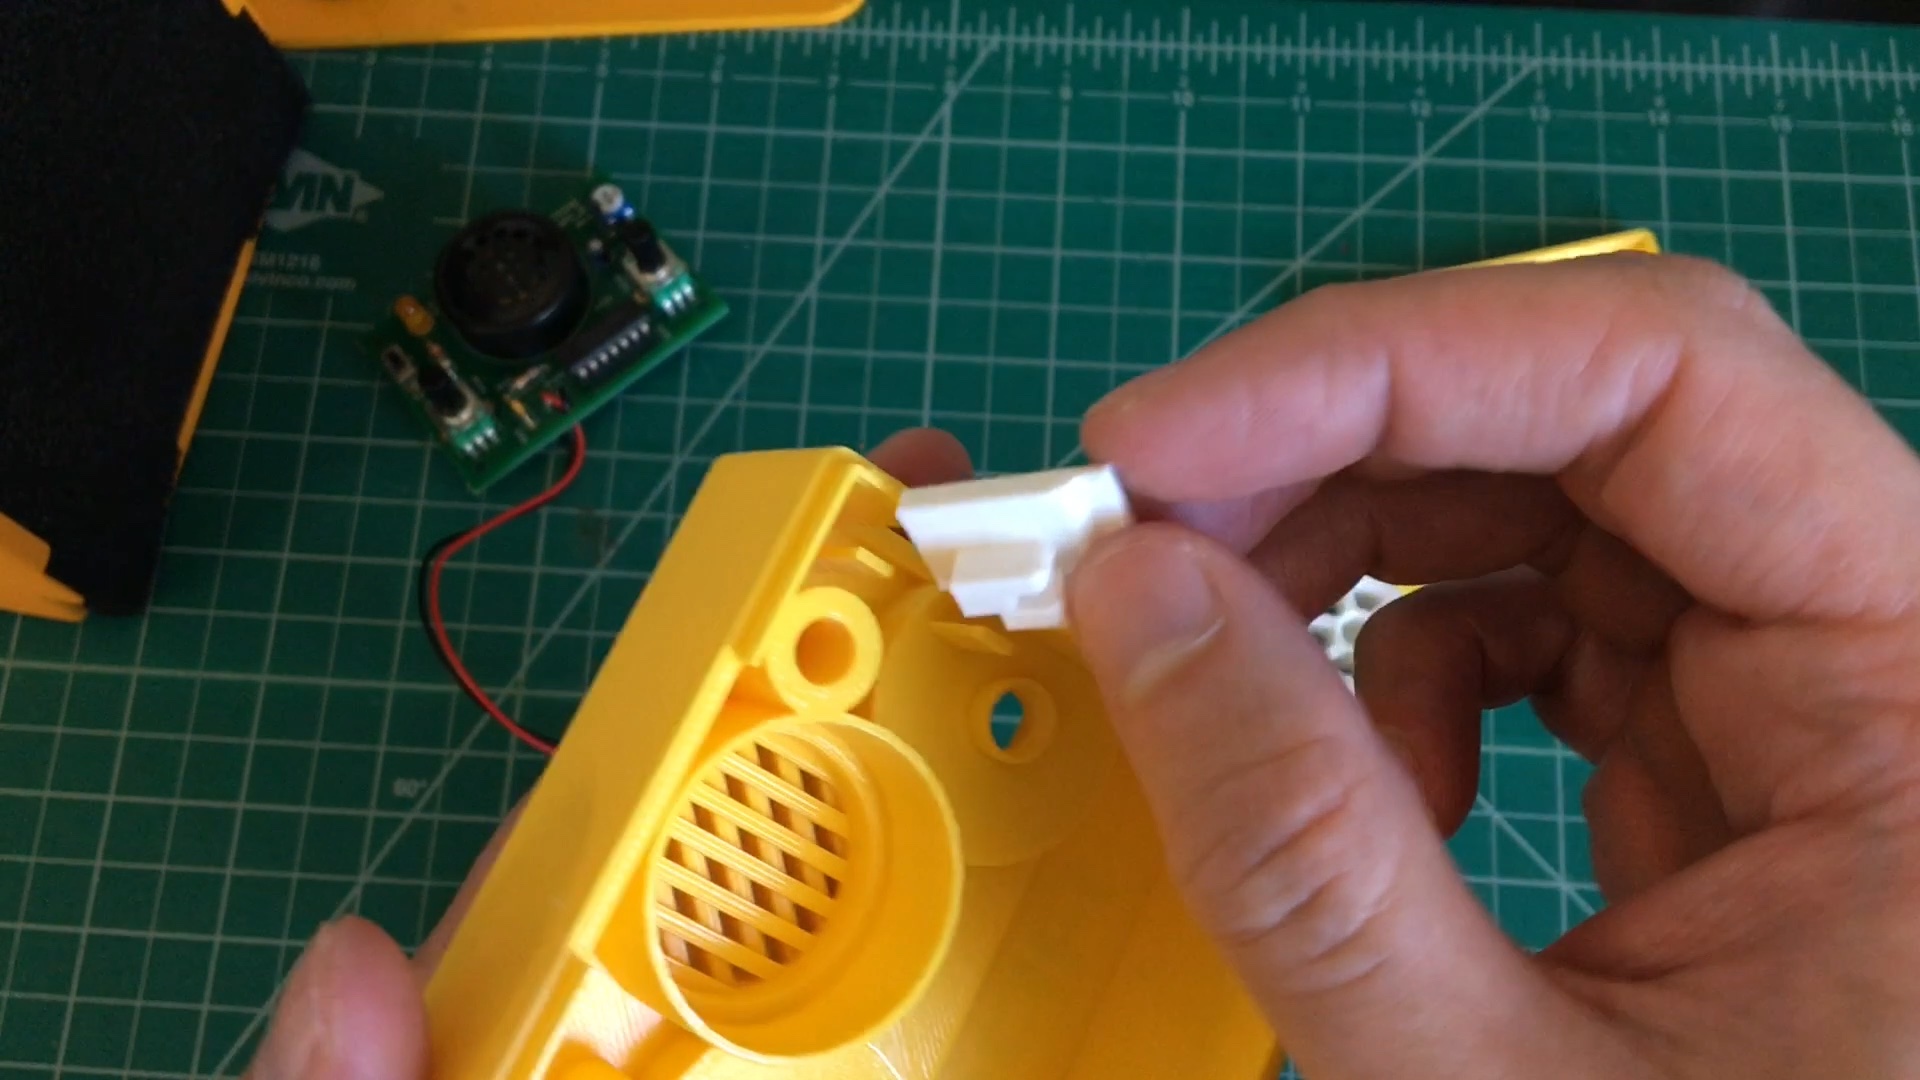
- It will fit in with room to slide back and forth.
- Insert PCB into enclosure top.
- It should fit perfectly without too much force. Wiggle the switch clutch around if it's not in the right place.
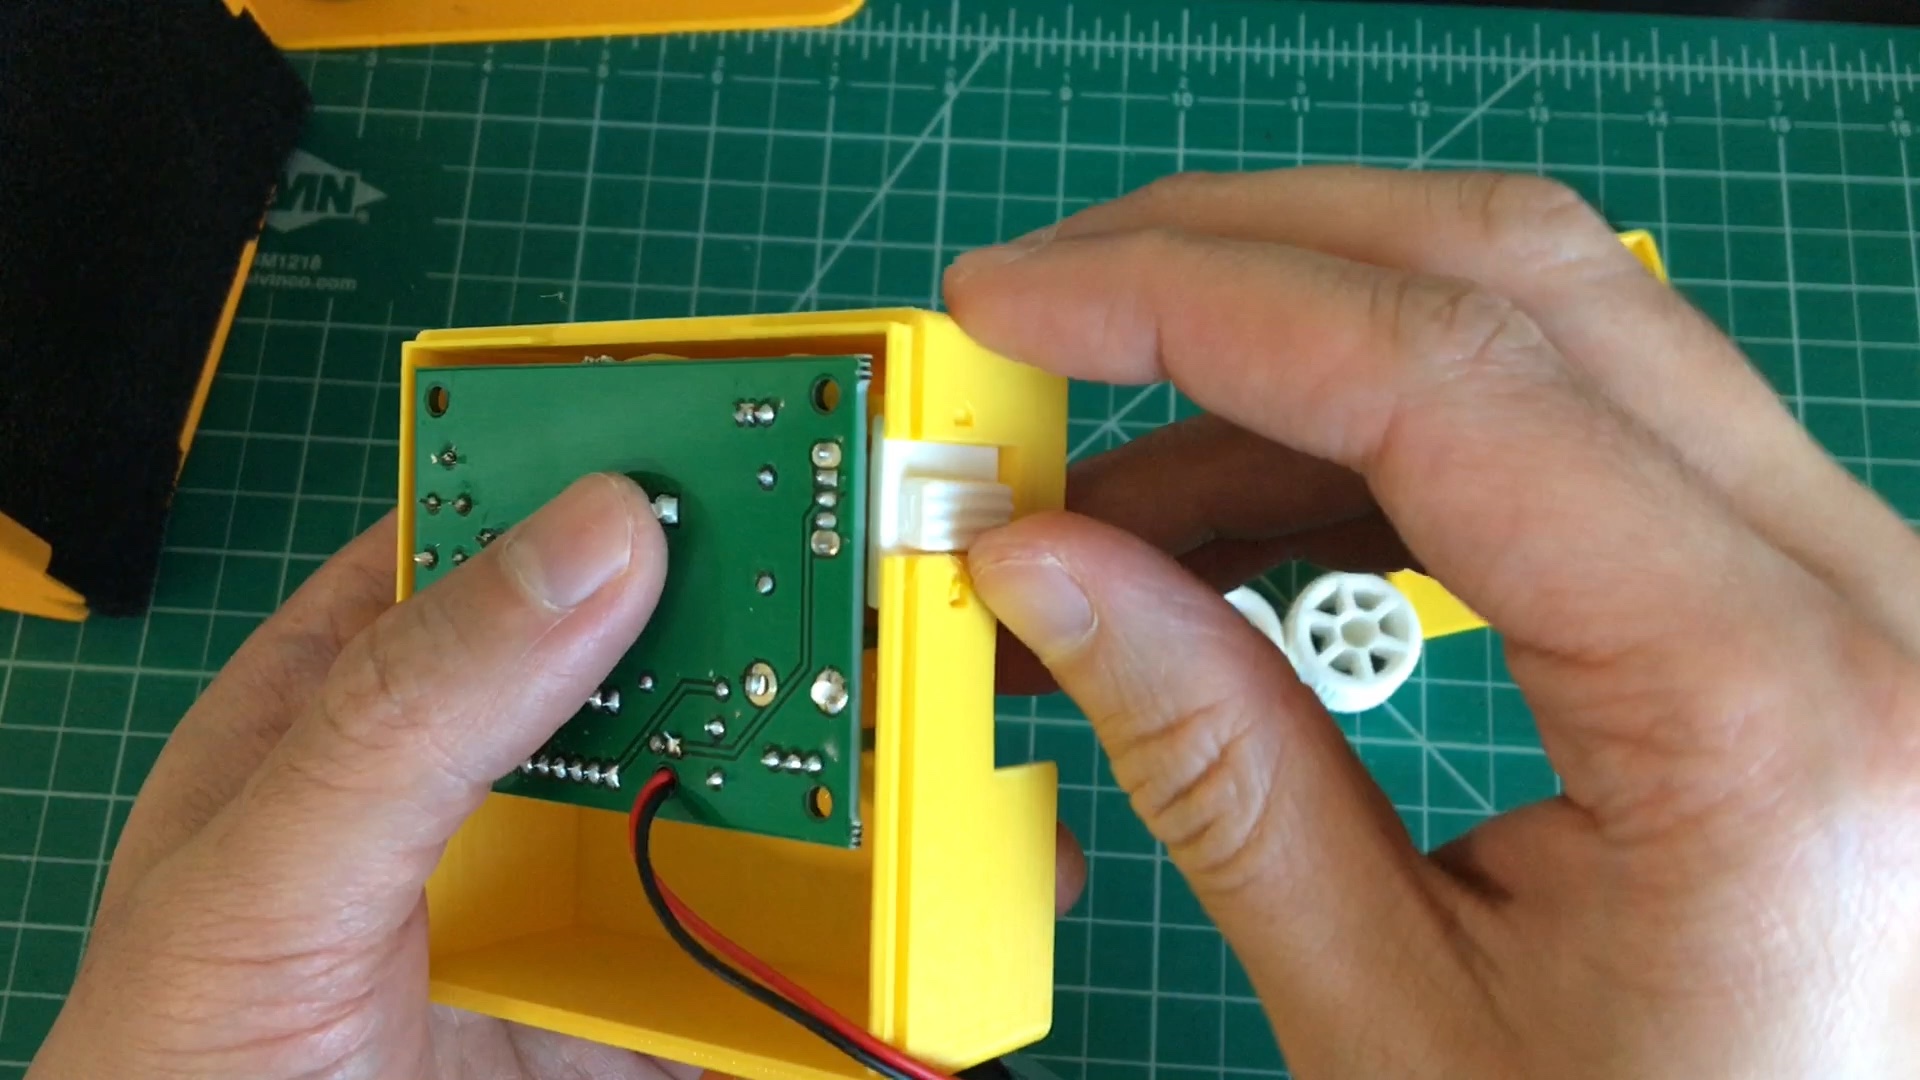
- It should fit perfectly without too much force. Wiggle the switch clutch around if it's not in the right place.
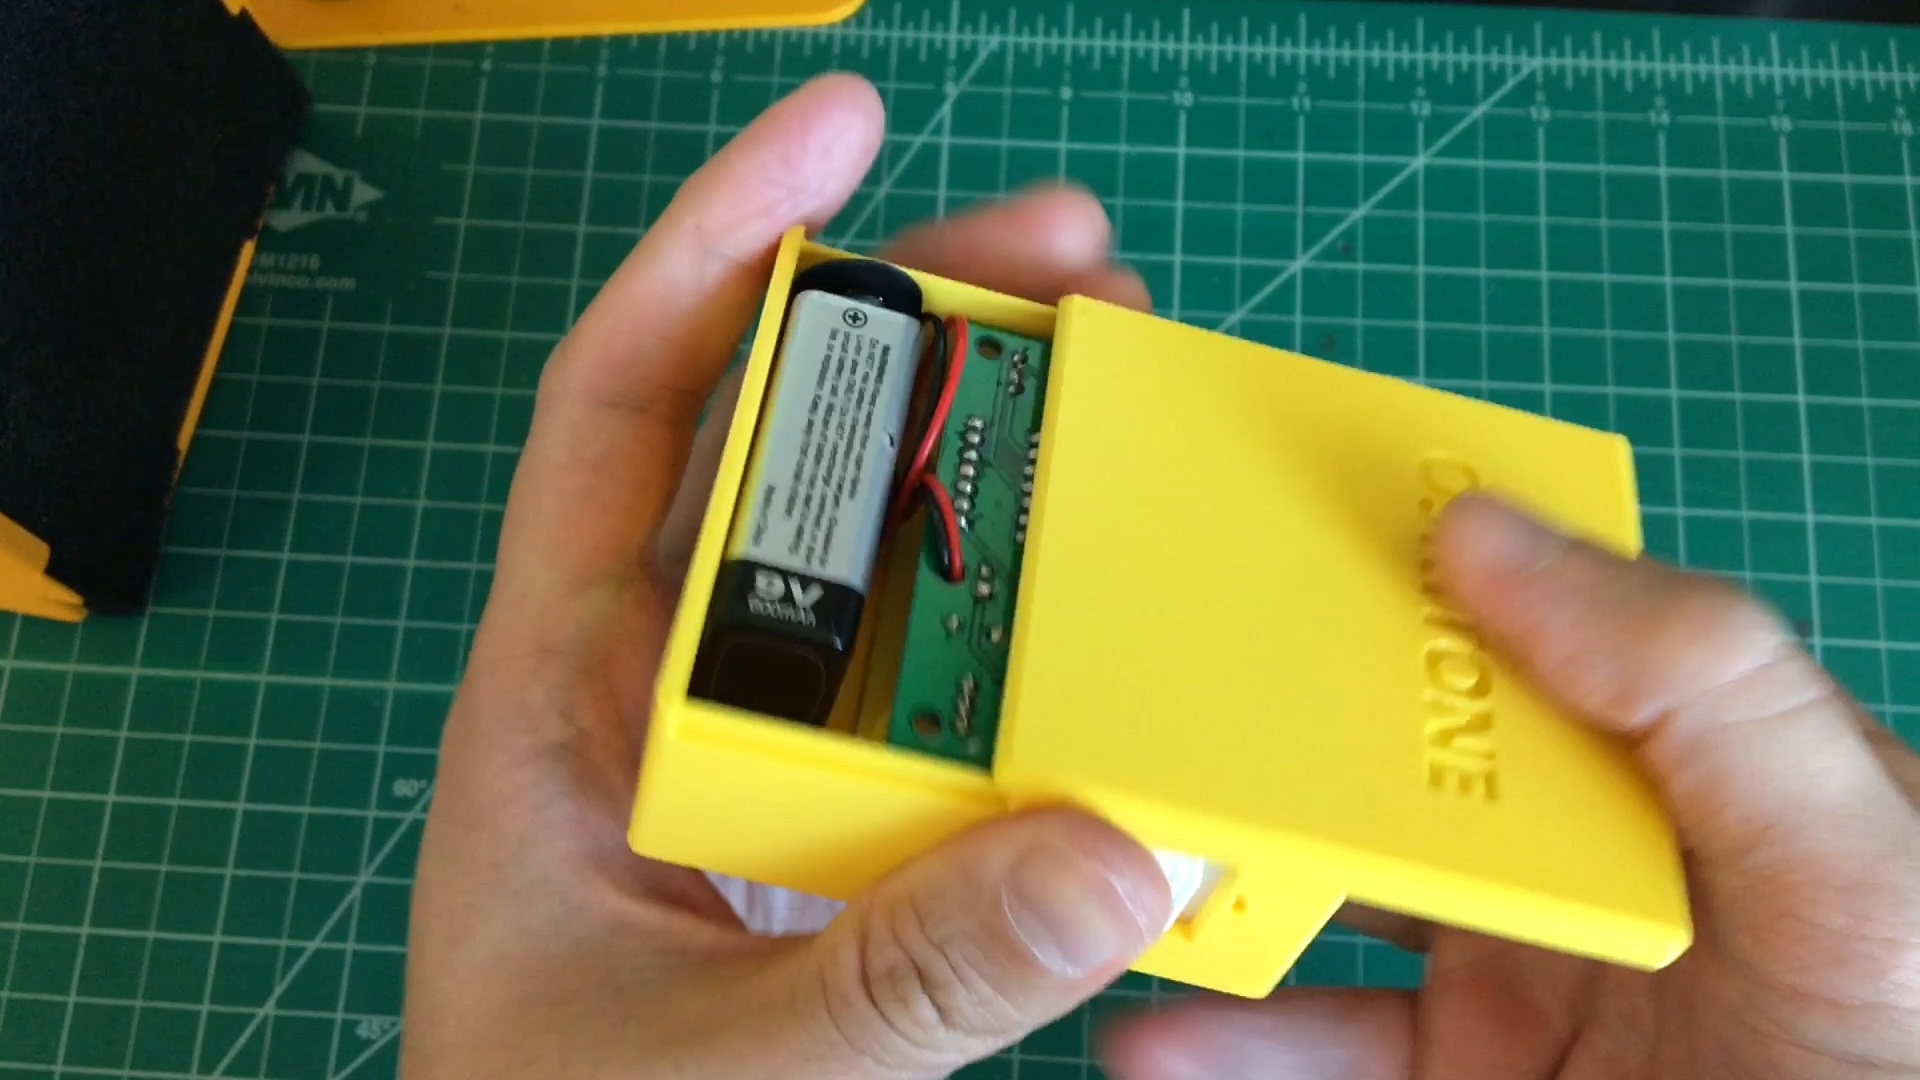
- Insert battery into its spot in the enclosure bottom.
- Its wires can be tucked under the PCB

- Its wires can be tucked under the PCB
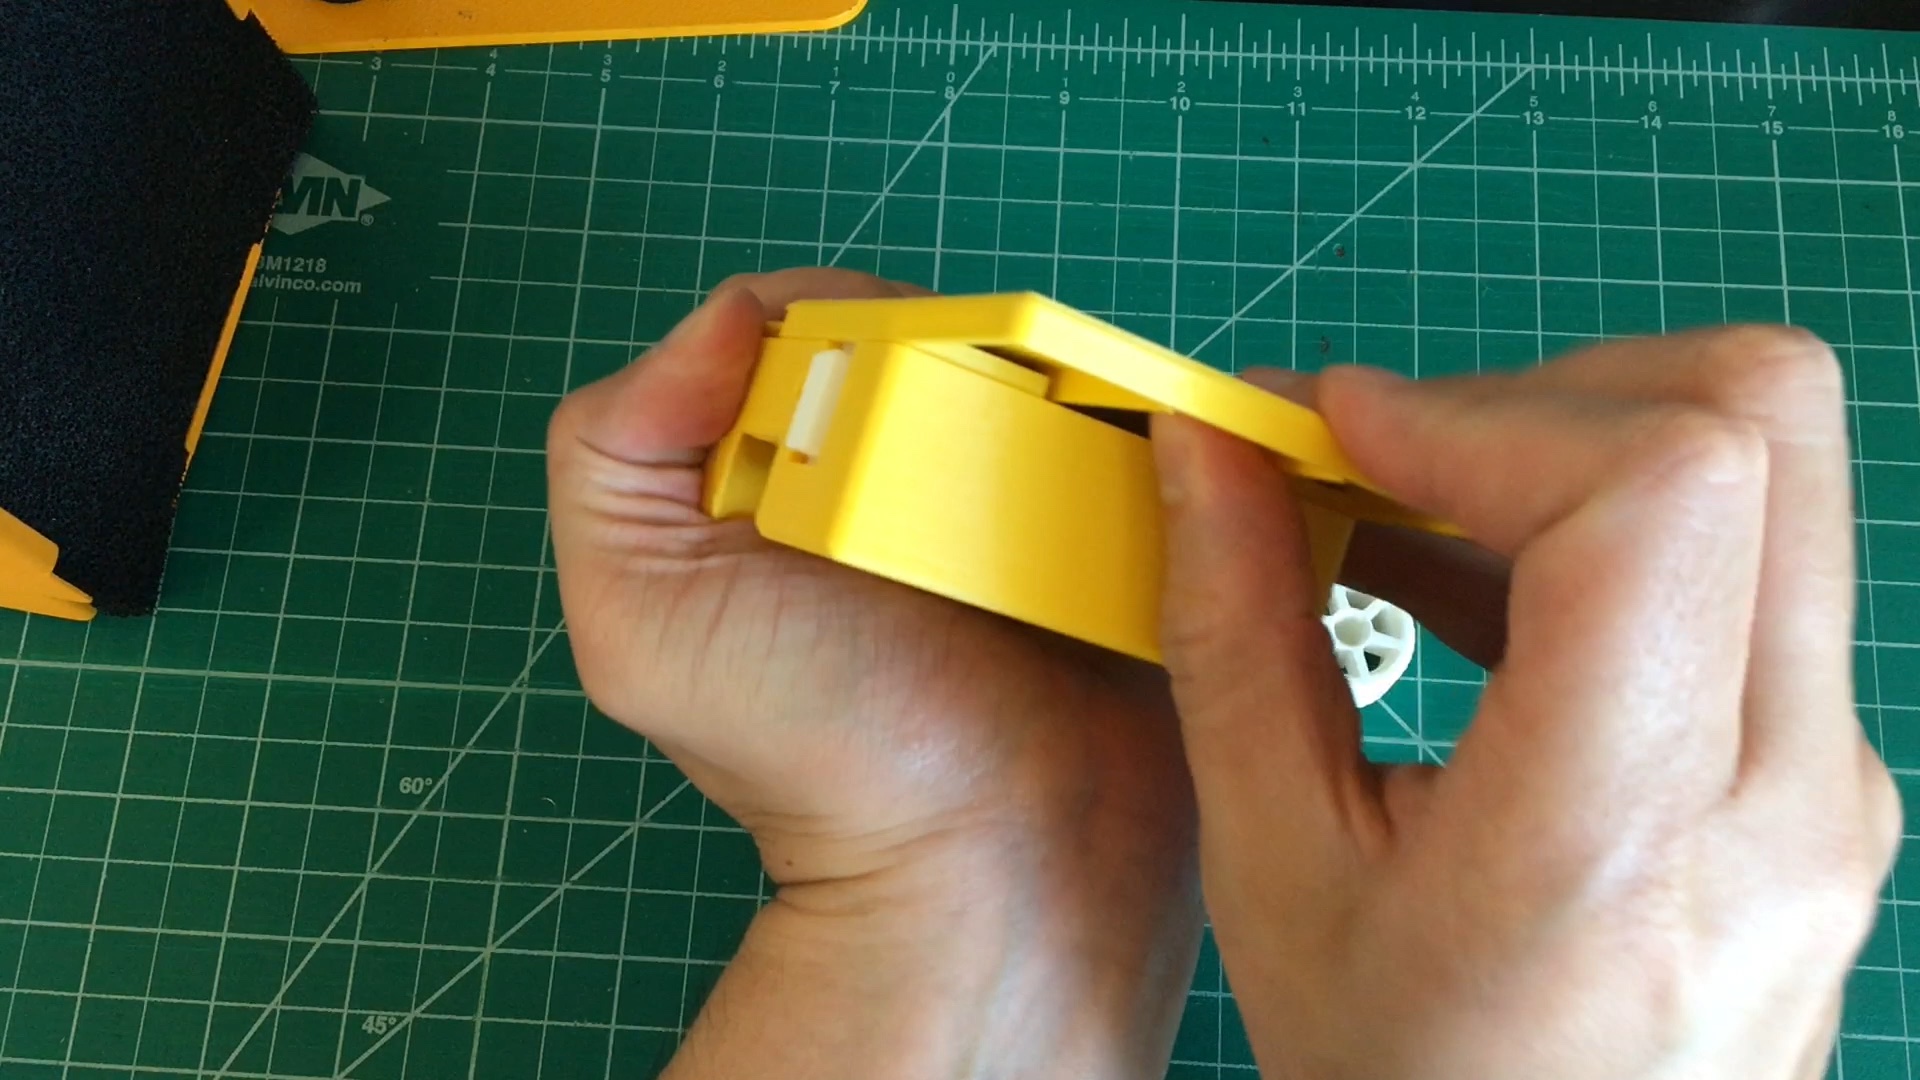
- Slide enclosure bottom onto enclosure top.
- This will hold the battery and PCB in place.
- Troubleshooting: enclosure halves are getting stuck and can't slide together all the way
- Make sure the PCB is pushed into the enclosure top all the way. Then, when sliding the enclosure bottom on, try bending it slightly out where its rails meet the PCB.
- Make sure the PCB is pushed into the enclosure top all the way. Then, when sliding the enclosure bottom on, try bending it slightly out where its rails meet the PCB.
- This will hold the battery and PCB in place.
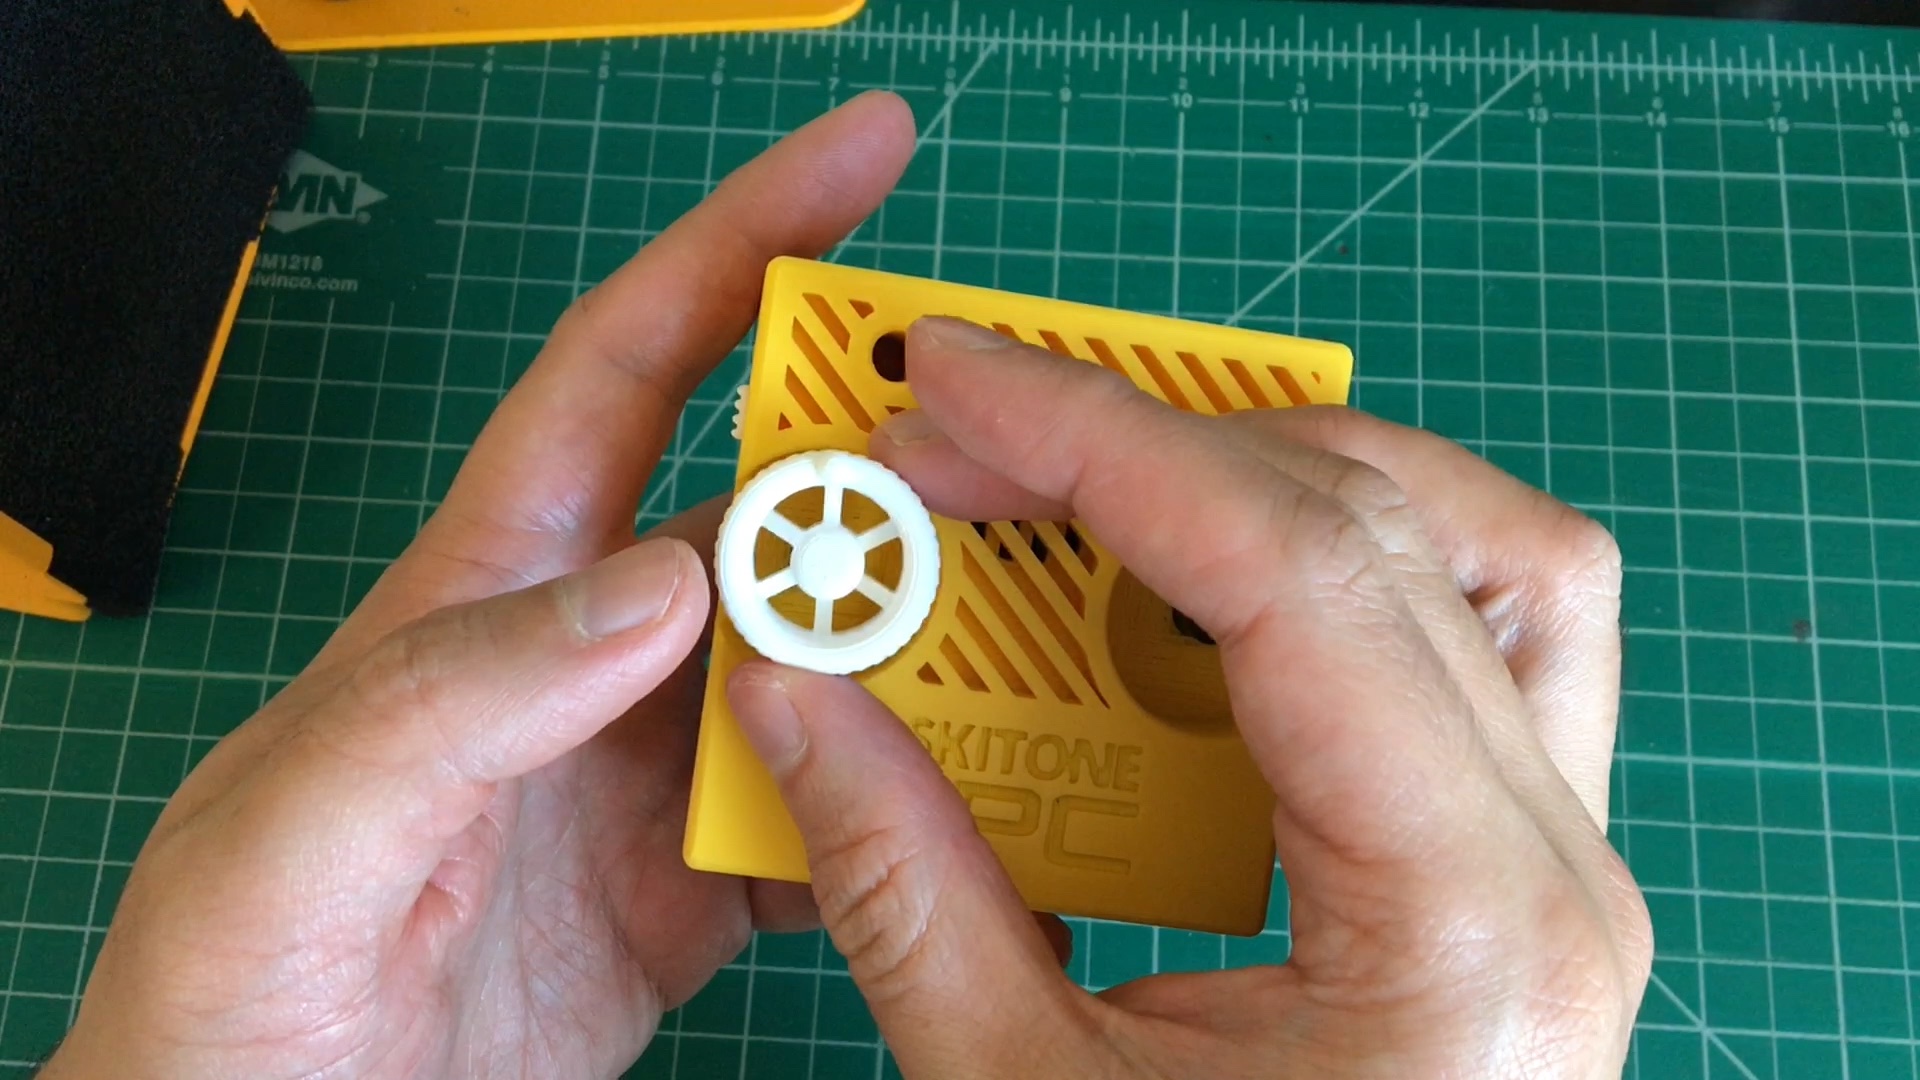
- Fit wheels into their cavity wells on the enclosure top and onto the pot shafts.
- They should also fit perfectly without too much force.
- Troubleshooting: Wheels aren't popping on all the way:
- Use a butter knife (or similar flat tool like a flathead screwdriver or paint spatula) to pop the wheel off its pot, then press it back on. Sometimes it just takes another try!
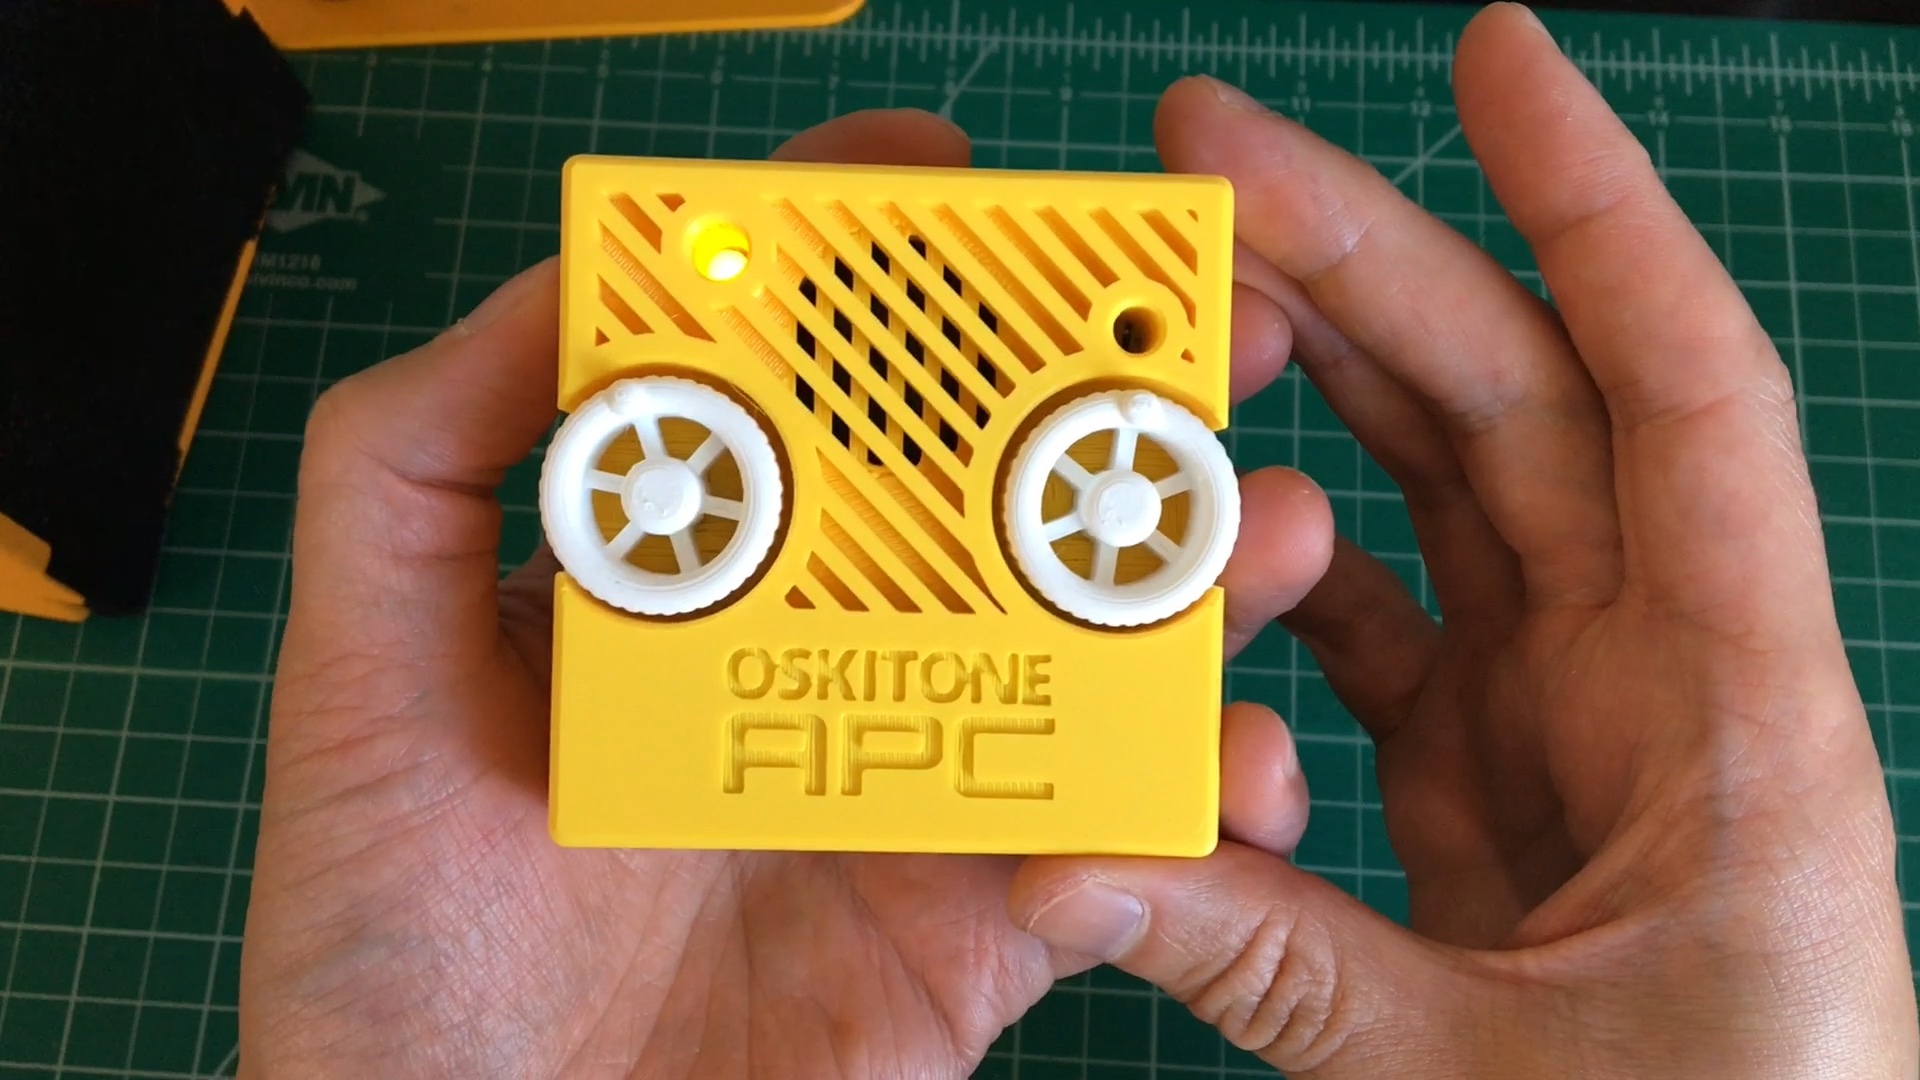
- They should also fit perfectly without too much force.
You're done! Excellent work!
What's next
Feedback
When you can, please let me know how it went for you:
- What did you like? Did you have fun?!
- Not including printing time, about how long did it take?
- How'd the kit show up? Were there any parts missing or damaged? Or any problems with the instructions?
I act and rely on customers' feedback to make the next products even better. Even just knowing that you got it done successfully is valuable feedback, so I do want to hear from you. Thank you so much!
Share your make
Do you like your APC? I'd love to have you share that!
- If you 3D-printed it at home, share your make on the Printables or Thingiverse page where you downloaded the models. It's a good signal to other potential makers to see successful makes.
- Tell your friends, post on social, etc. You know the deal! Tag
@oskitonefor extra good luck.
Follow along
I run an informal email list to update folks on projects, notify when new products hit the store, and get early feedback and share ideas. If you're interested in what's next with Oskitone, it's the best way to stay updated.
Powered by Buttondown. Read previous emails in the archive here.
And, of course, follow @oskitone on Instagram.