Oskitone Space Dice Assembly Guide
Purchase a kit: https://www.oskitone.com/product/space-dice-diy-electronics-kit
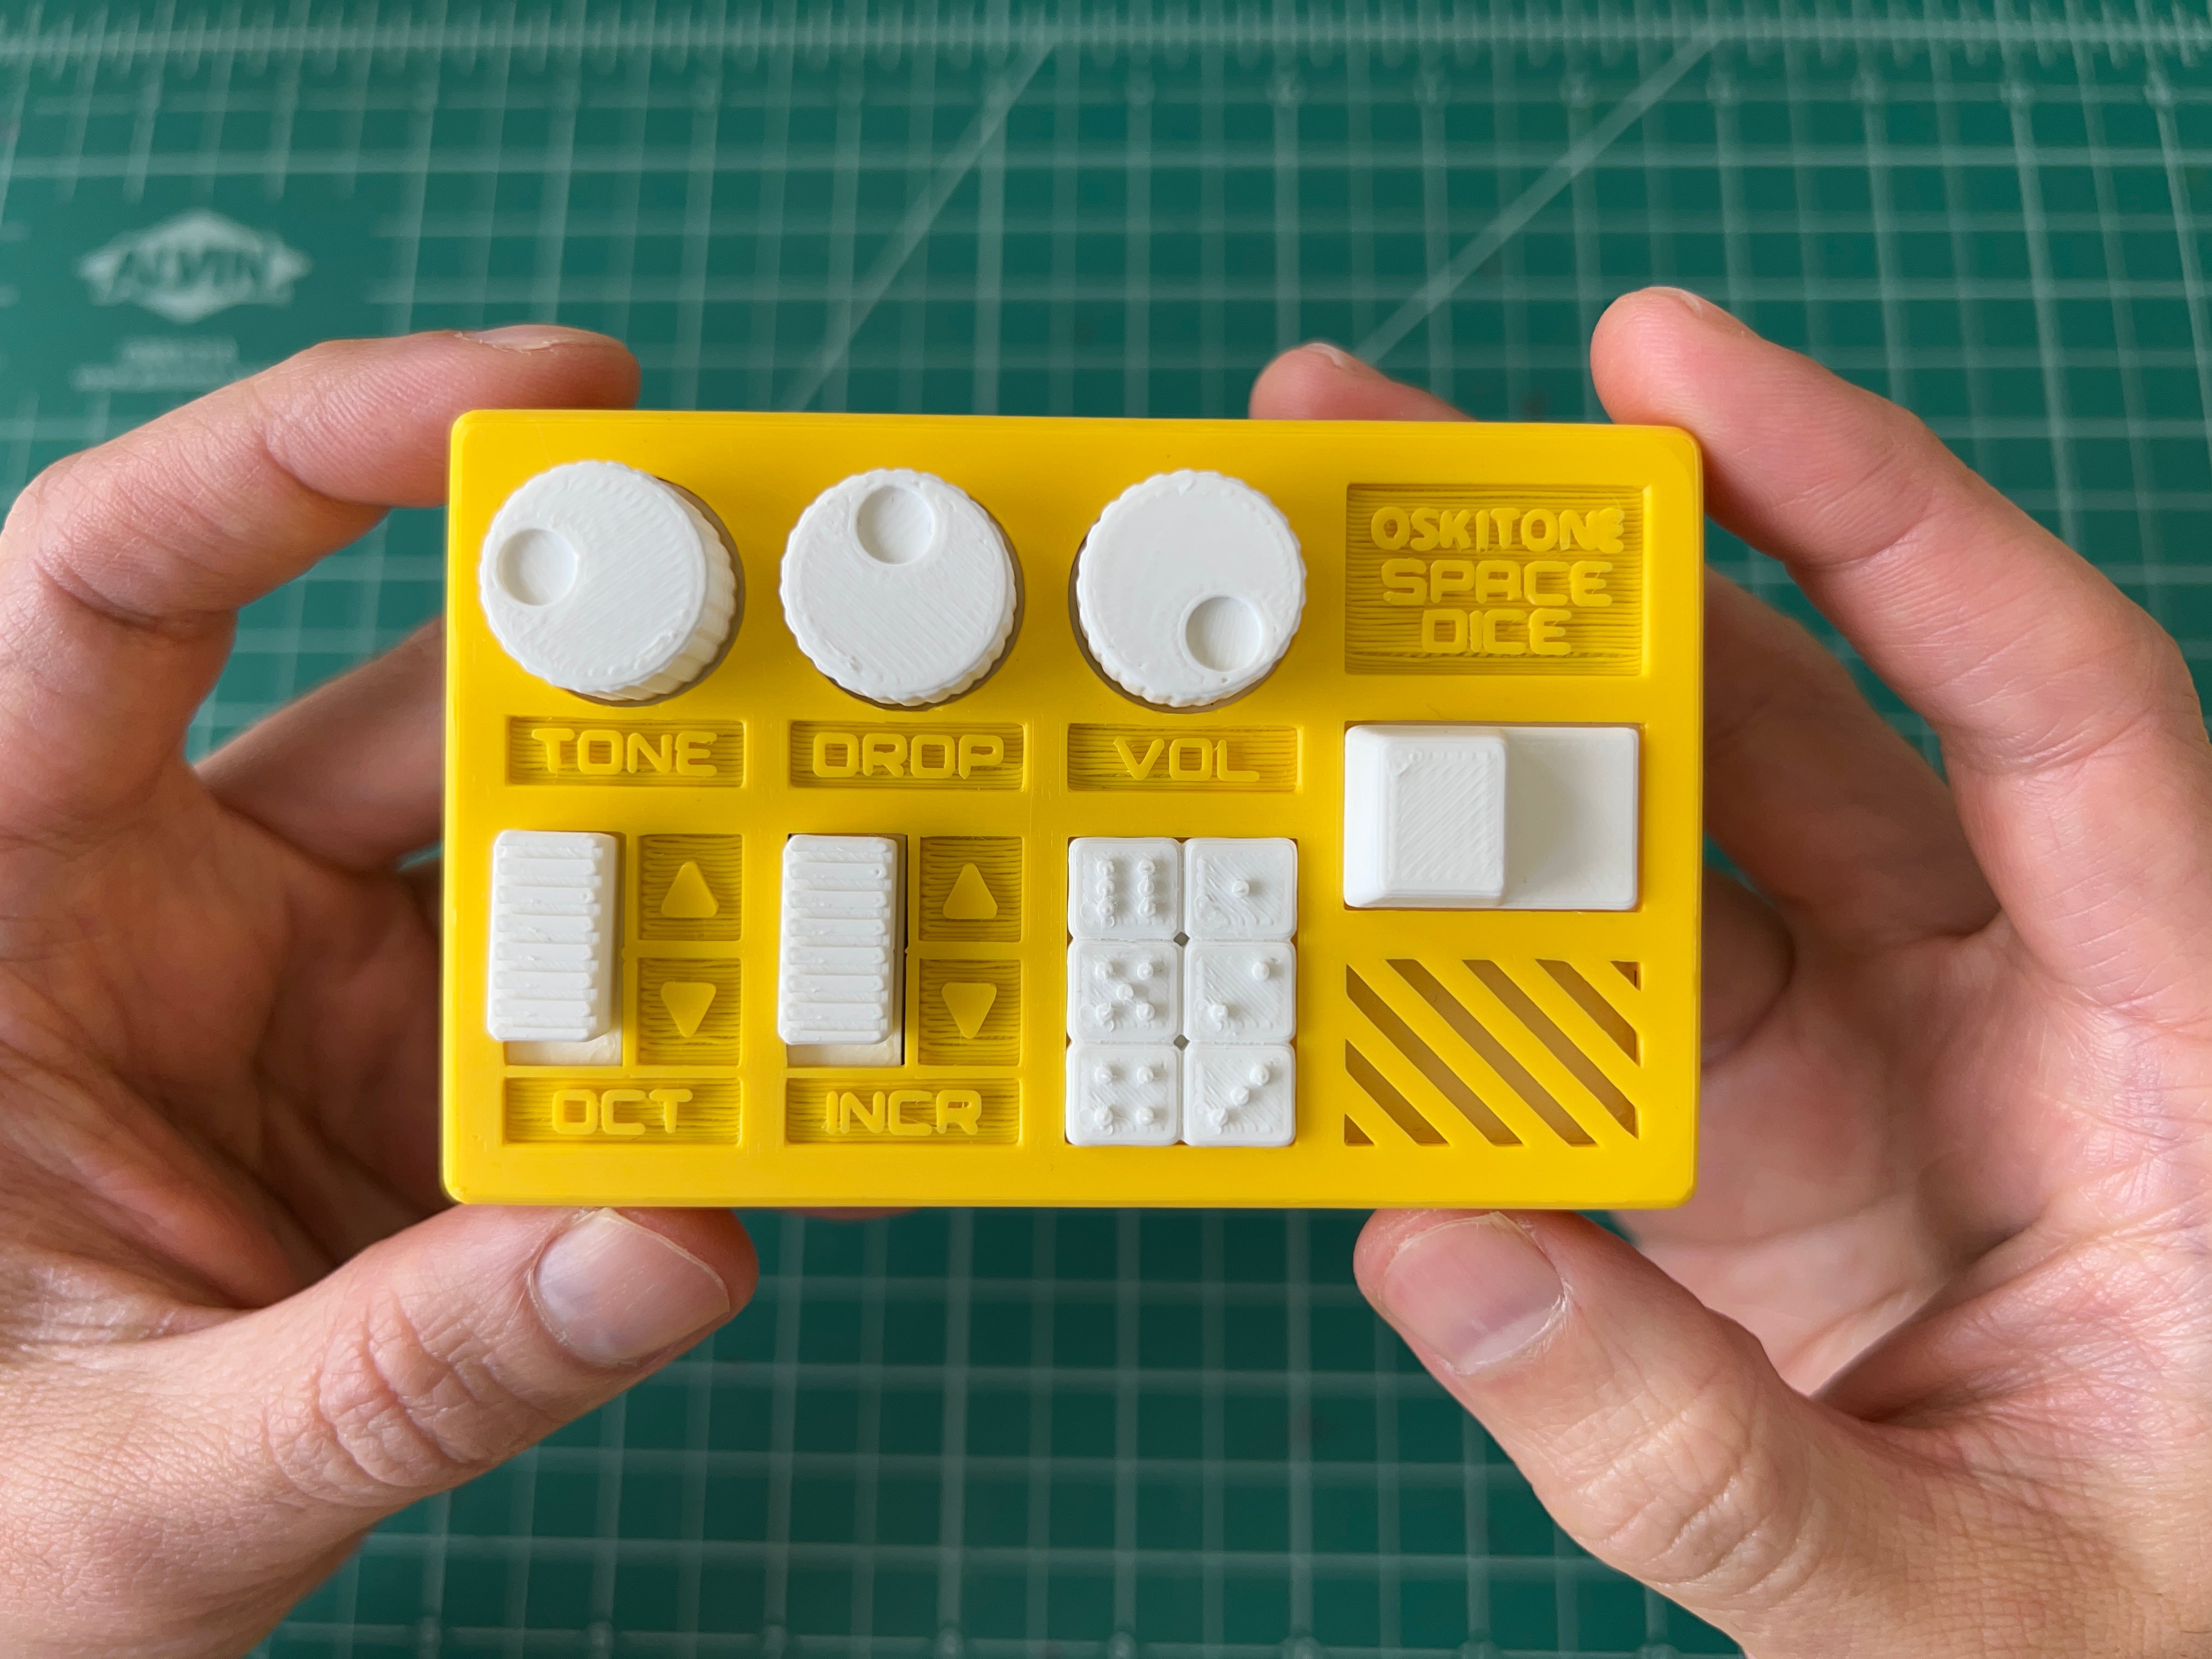
What you'll be making
Space Dice is a combination space laser noise and electronic dice machine.
Electronics hobbyists have been cutting their teeth on electronic dice circuits for years. In them, you press a button and get a random number, usually between one and six like a six-side die (1D6).
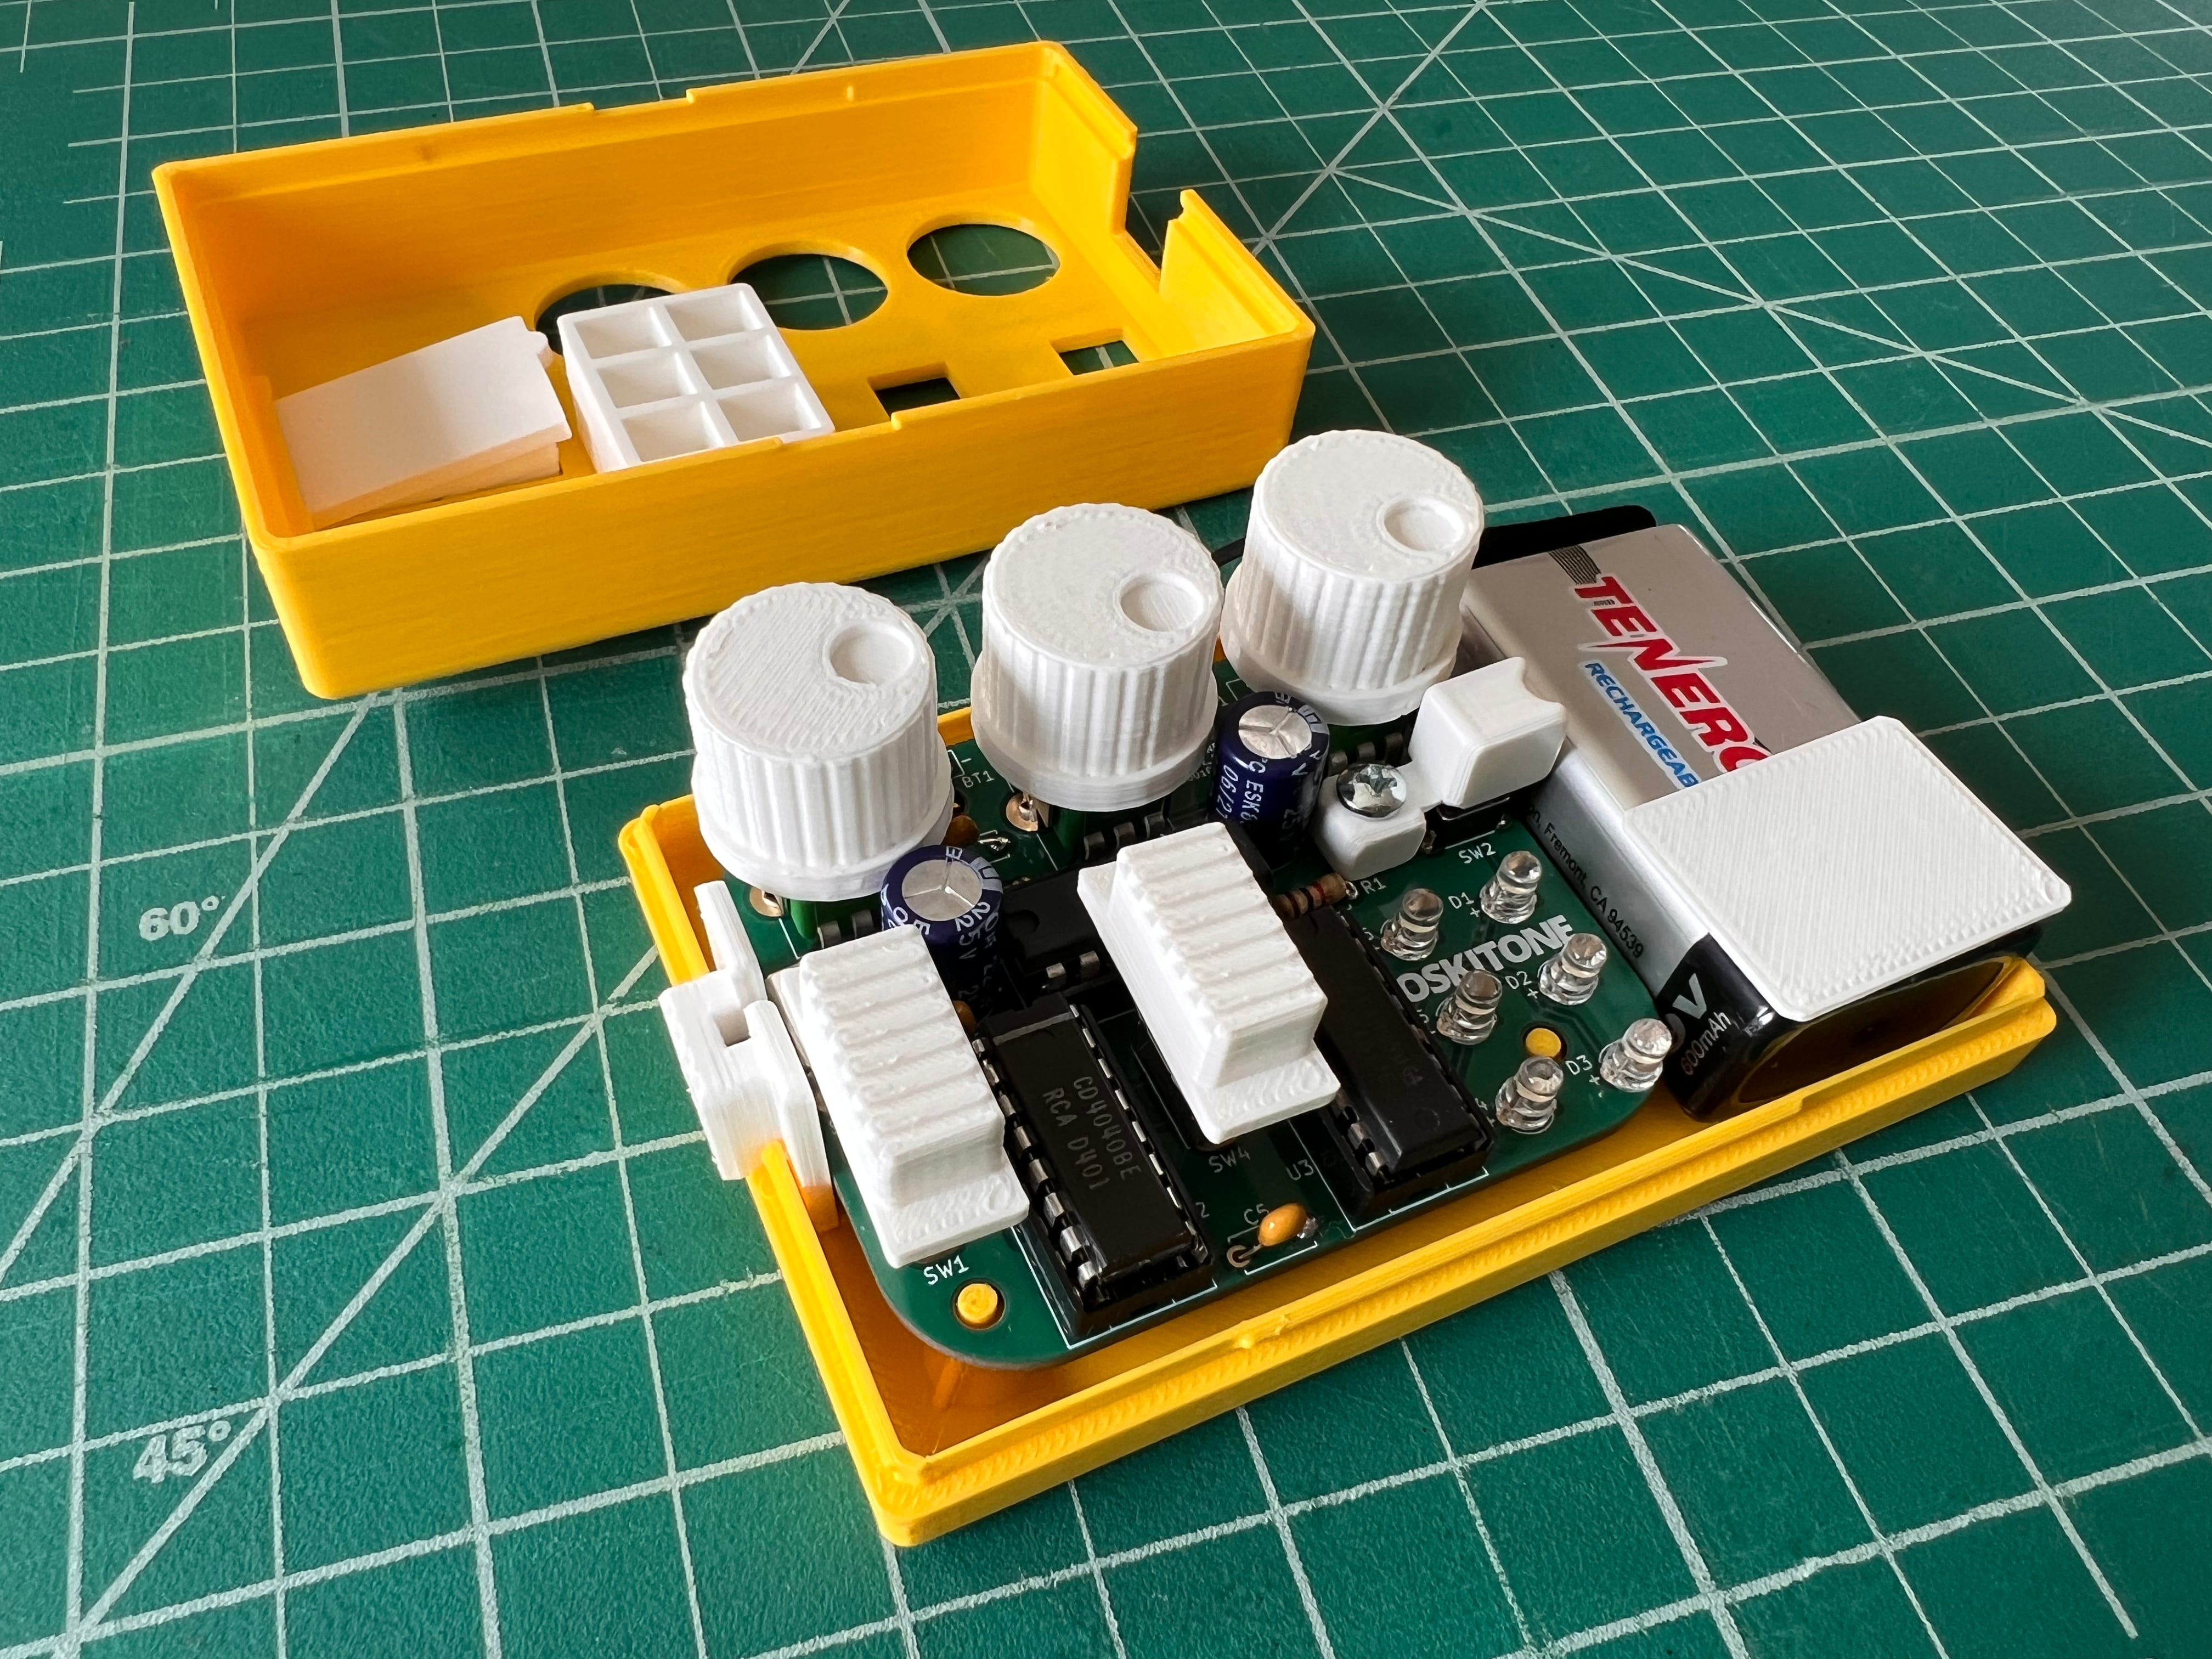
Space Dice extends on that with unnecessary sound effects, 3D printing, and knob/switch controls for tone frequency, drain time, octave, counting time, and volume. It is as much fun as I could fit in an enclosure the size of an Altoids tin.
This guide walks you through how to solder and assemble it, step by step. It will take 30 minutes or so, not counting 3D-printing time.
Background
I used to teach a virtual DIY synth/electronics workshop, building noisy glitch machines on breadboards for a couple months then having a big show-and-tell at the end. It was lovely.
One of my favorite topics was unexpected behavior. Your circuit's doing a thing you didn't intend. Why? Is it reproducible? Useful?
My other favorite was "randomicity," the state of being random. How do machines pick random numbers and how are their approaches different from ours as fleshy humans? It's a surprisingly fun topic!
Anyway, Space Dice is sort of the product of those explorations. Make a machine that counts, stop it arbitrarily, muse on whether or not it qualifies as random. Then exploit some unexpected behavior to listen to it and imitate science fiction foley.
Here's where I'll link to a blog post with lots more background info and design notes... Later!
Smart, but not that kind of smart
There's no code in this kit. No Arduino, no Raspberry Pi, no microcontroller. (Not that there's anything wrong with that!)
Instead, Space Dice is implemented entirely in 4000-series CMOS chips, a 50+ year old grab bag of integrated circuits that's persisted well beyond any other tech from the same era. This series of chips has logic gates, shift registers, switches, latches, timers, counters, LED/LCD drivers, you name it.
Each chip is like a single function, except instead of a line of code it's a physical block of microscopic transistors etched in silicon. Said another way, you don't program these chips themselves, you program with them.
And Space Dice's functionality uses these three:
| Chip | Purpose | Usage |
|---|---|---|
| CD4017 | Decade counter with 10 sequential outputs | LED cycler |
| CD4040 | Binary counter with 12 bit outputs | Prescaler, octave generation |
| CD4093 | Quad NAND logic gate | Oscillator, audio booster |
A very good question would be "how is this any better than using, say, an Arduino or a Raspberry Pi or ESP32 or any other thing that's come out in the intervening fifty years since these chips first came out?".
The answer to that hypothetical I will leave as an exercise to the reader.
Disclaimers
You've been warned!
This kit requires through-hole soldering and takes about 30min to assemble. If you bought it without 3D-printed parts, you will need to print them yourself.
Not a toy. Choking hazard. Small parts. Not for children under 3 years.
About this guide
To save cost, trees, and frustration from outdated information, printed instructions are not included by default with Oskitone kits. This online guide will always be up to date and the best source of information for how to assemble your new toy.
Thank you for understanding!
If you run into any problems with your build or something in the guide seems incorrect, please please email me to let me know! I'll do my best to help you, and your feedback will help improve the guide and other future Oskitone designs.