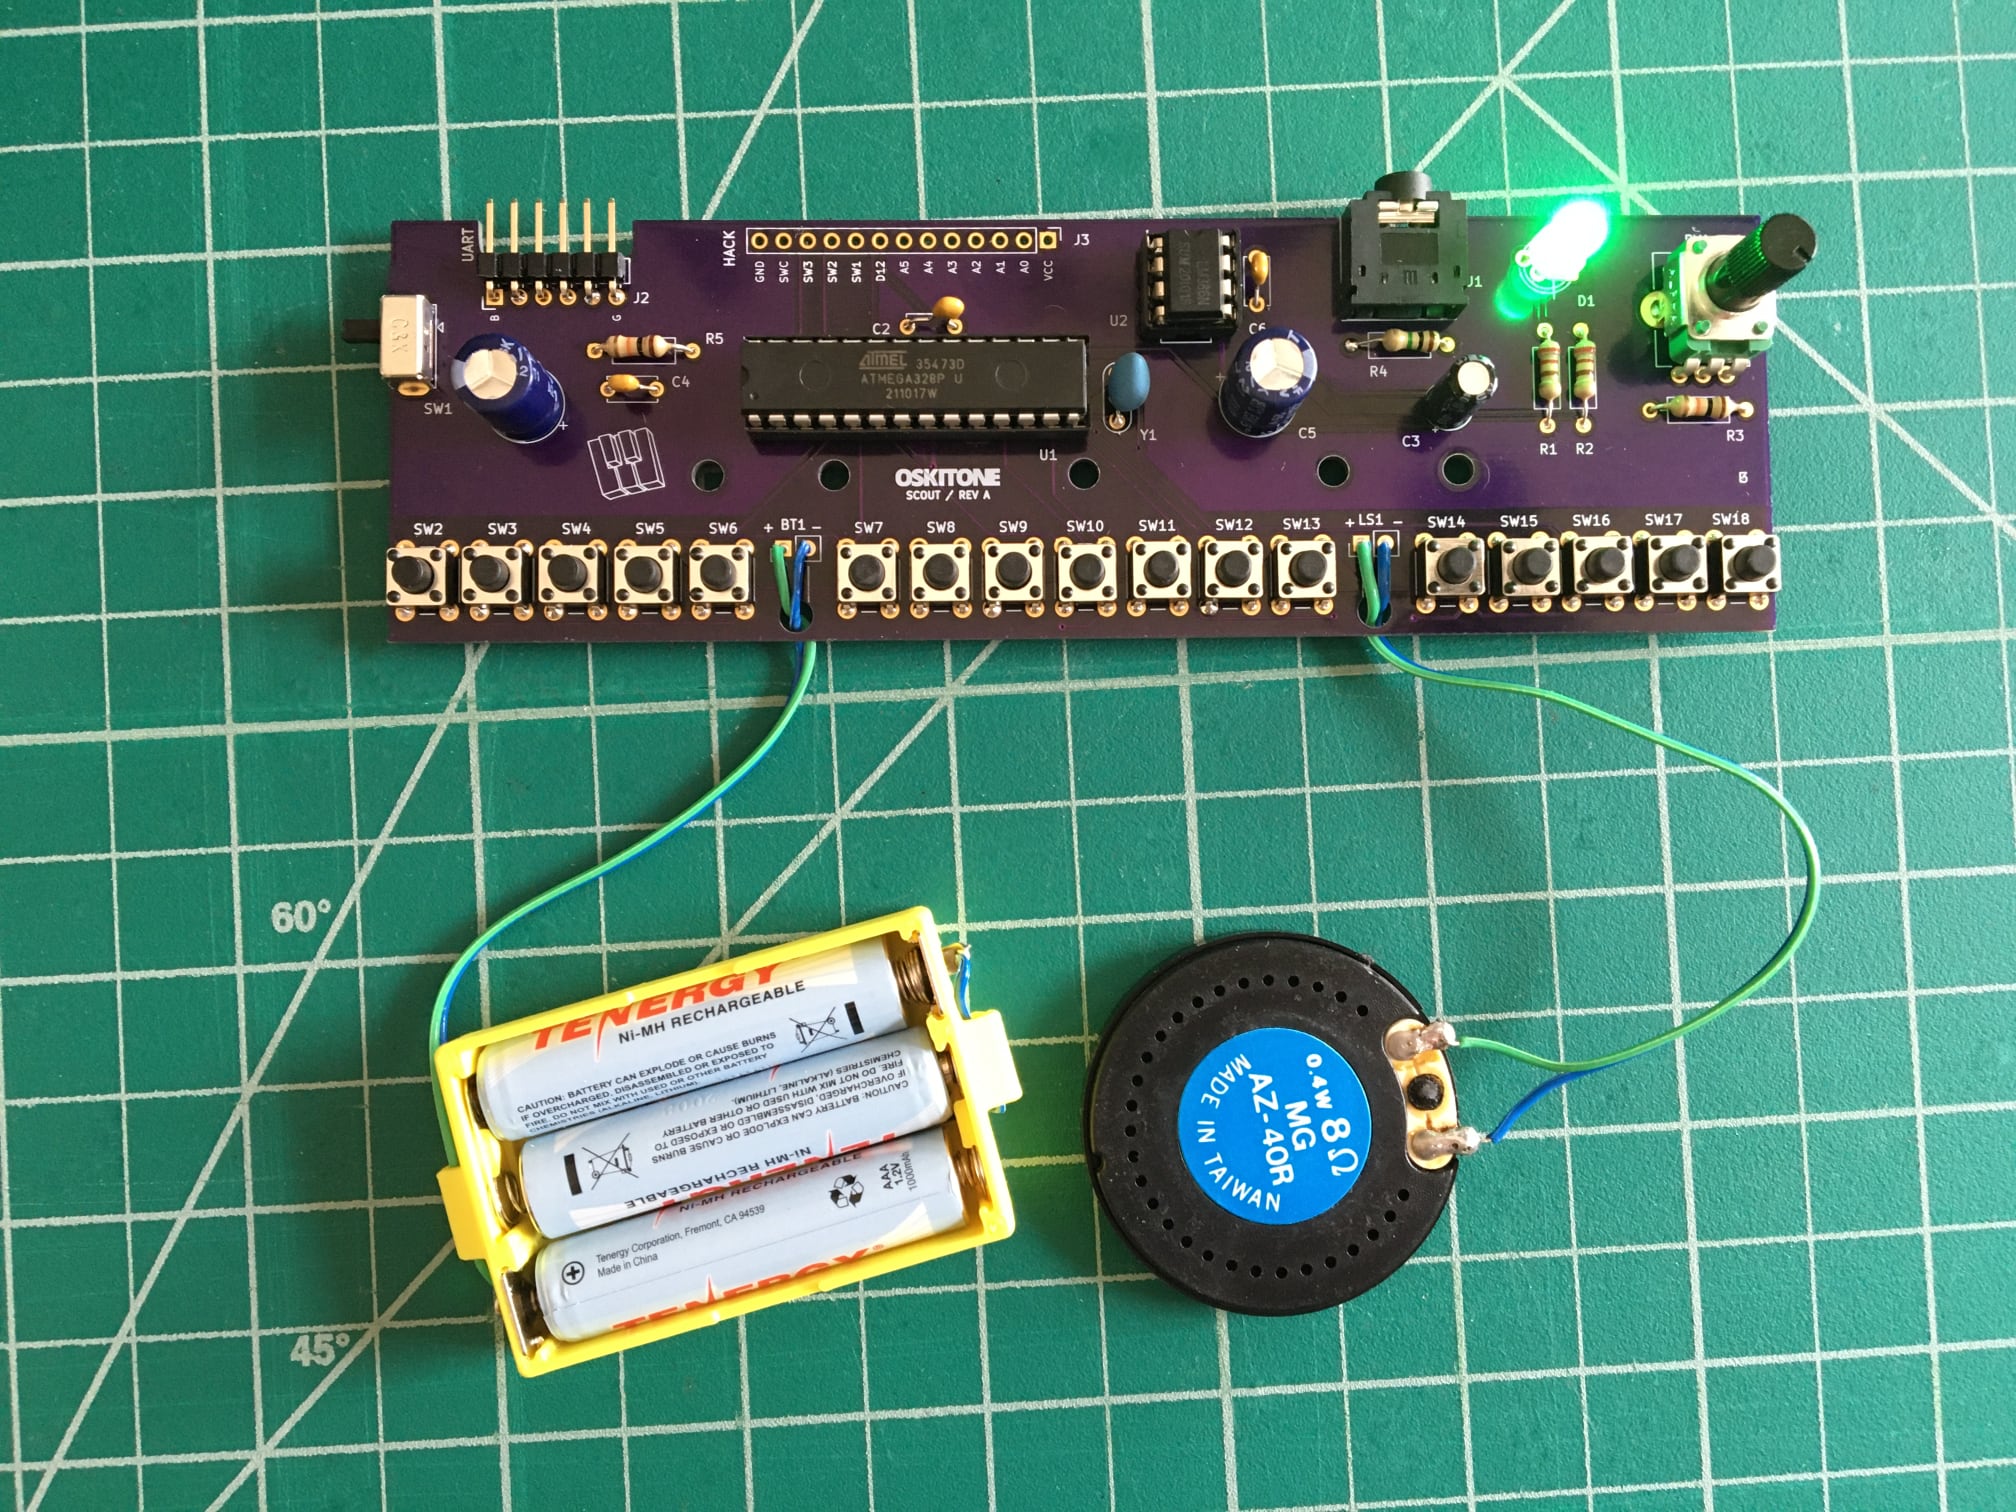
Oskitone Scout Assembly Guide
🌜
🌞
Oskitone Scout Assembly Guide
    • Getting Started
      • What You'll Be Making
      • Inventory
    • 3D-Printing
      • 3D-Printing Parts and Slicing
      • 3D-Printing Post-Processing
    • PCB Assembly
      • General tips and getting started
      • Assemble battery pack
      • Power up
      • Boot the microcontroller
      • Get logical
      • Make some noise
      • Get loud
      • More notes
      • Get louder
      • Prep for hacking
    • Assembly
      • Assemble top
      • Assemble bottom
      • Final assembly
      • Care
    • Hacking
      • Hacking
    • Appendix
      • Annotated BOM
      • PCB troubleshooting
      • Assembly troubleshooting
      • Opening the enclosure
      • Schematics
      • Source and License

    Prep for hacking

    note

    If you have no intention of ever changing the Scout's code, you can skip this part and it will work perfectly fine. But, you know, you're here, so you might as well!

    Steps#

    1. Solder J2 header and C4 (.1uF, marked 104) cap.
      • Try to get J2's pins parallel to the PCB and sticking straight out.

    Test#

    See "Hacking" section on how to use this!

    090200@0.5x.jpg

    Previous
    « Get louder
    Next
    Assemble top »
    • Steps
    • Test
    Copyright © 2022 Oskitone. Built with Docusaurus.