Final Assembly
Almost there! Let's finish up.
caution
Take your time here. If the 3D-printed parts aren't fitting well together, don't force them -- you may accidentally break something. Instead, check for leftover support material that needs to be removed and gently carve it away with a utility knife.
Steps#
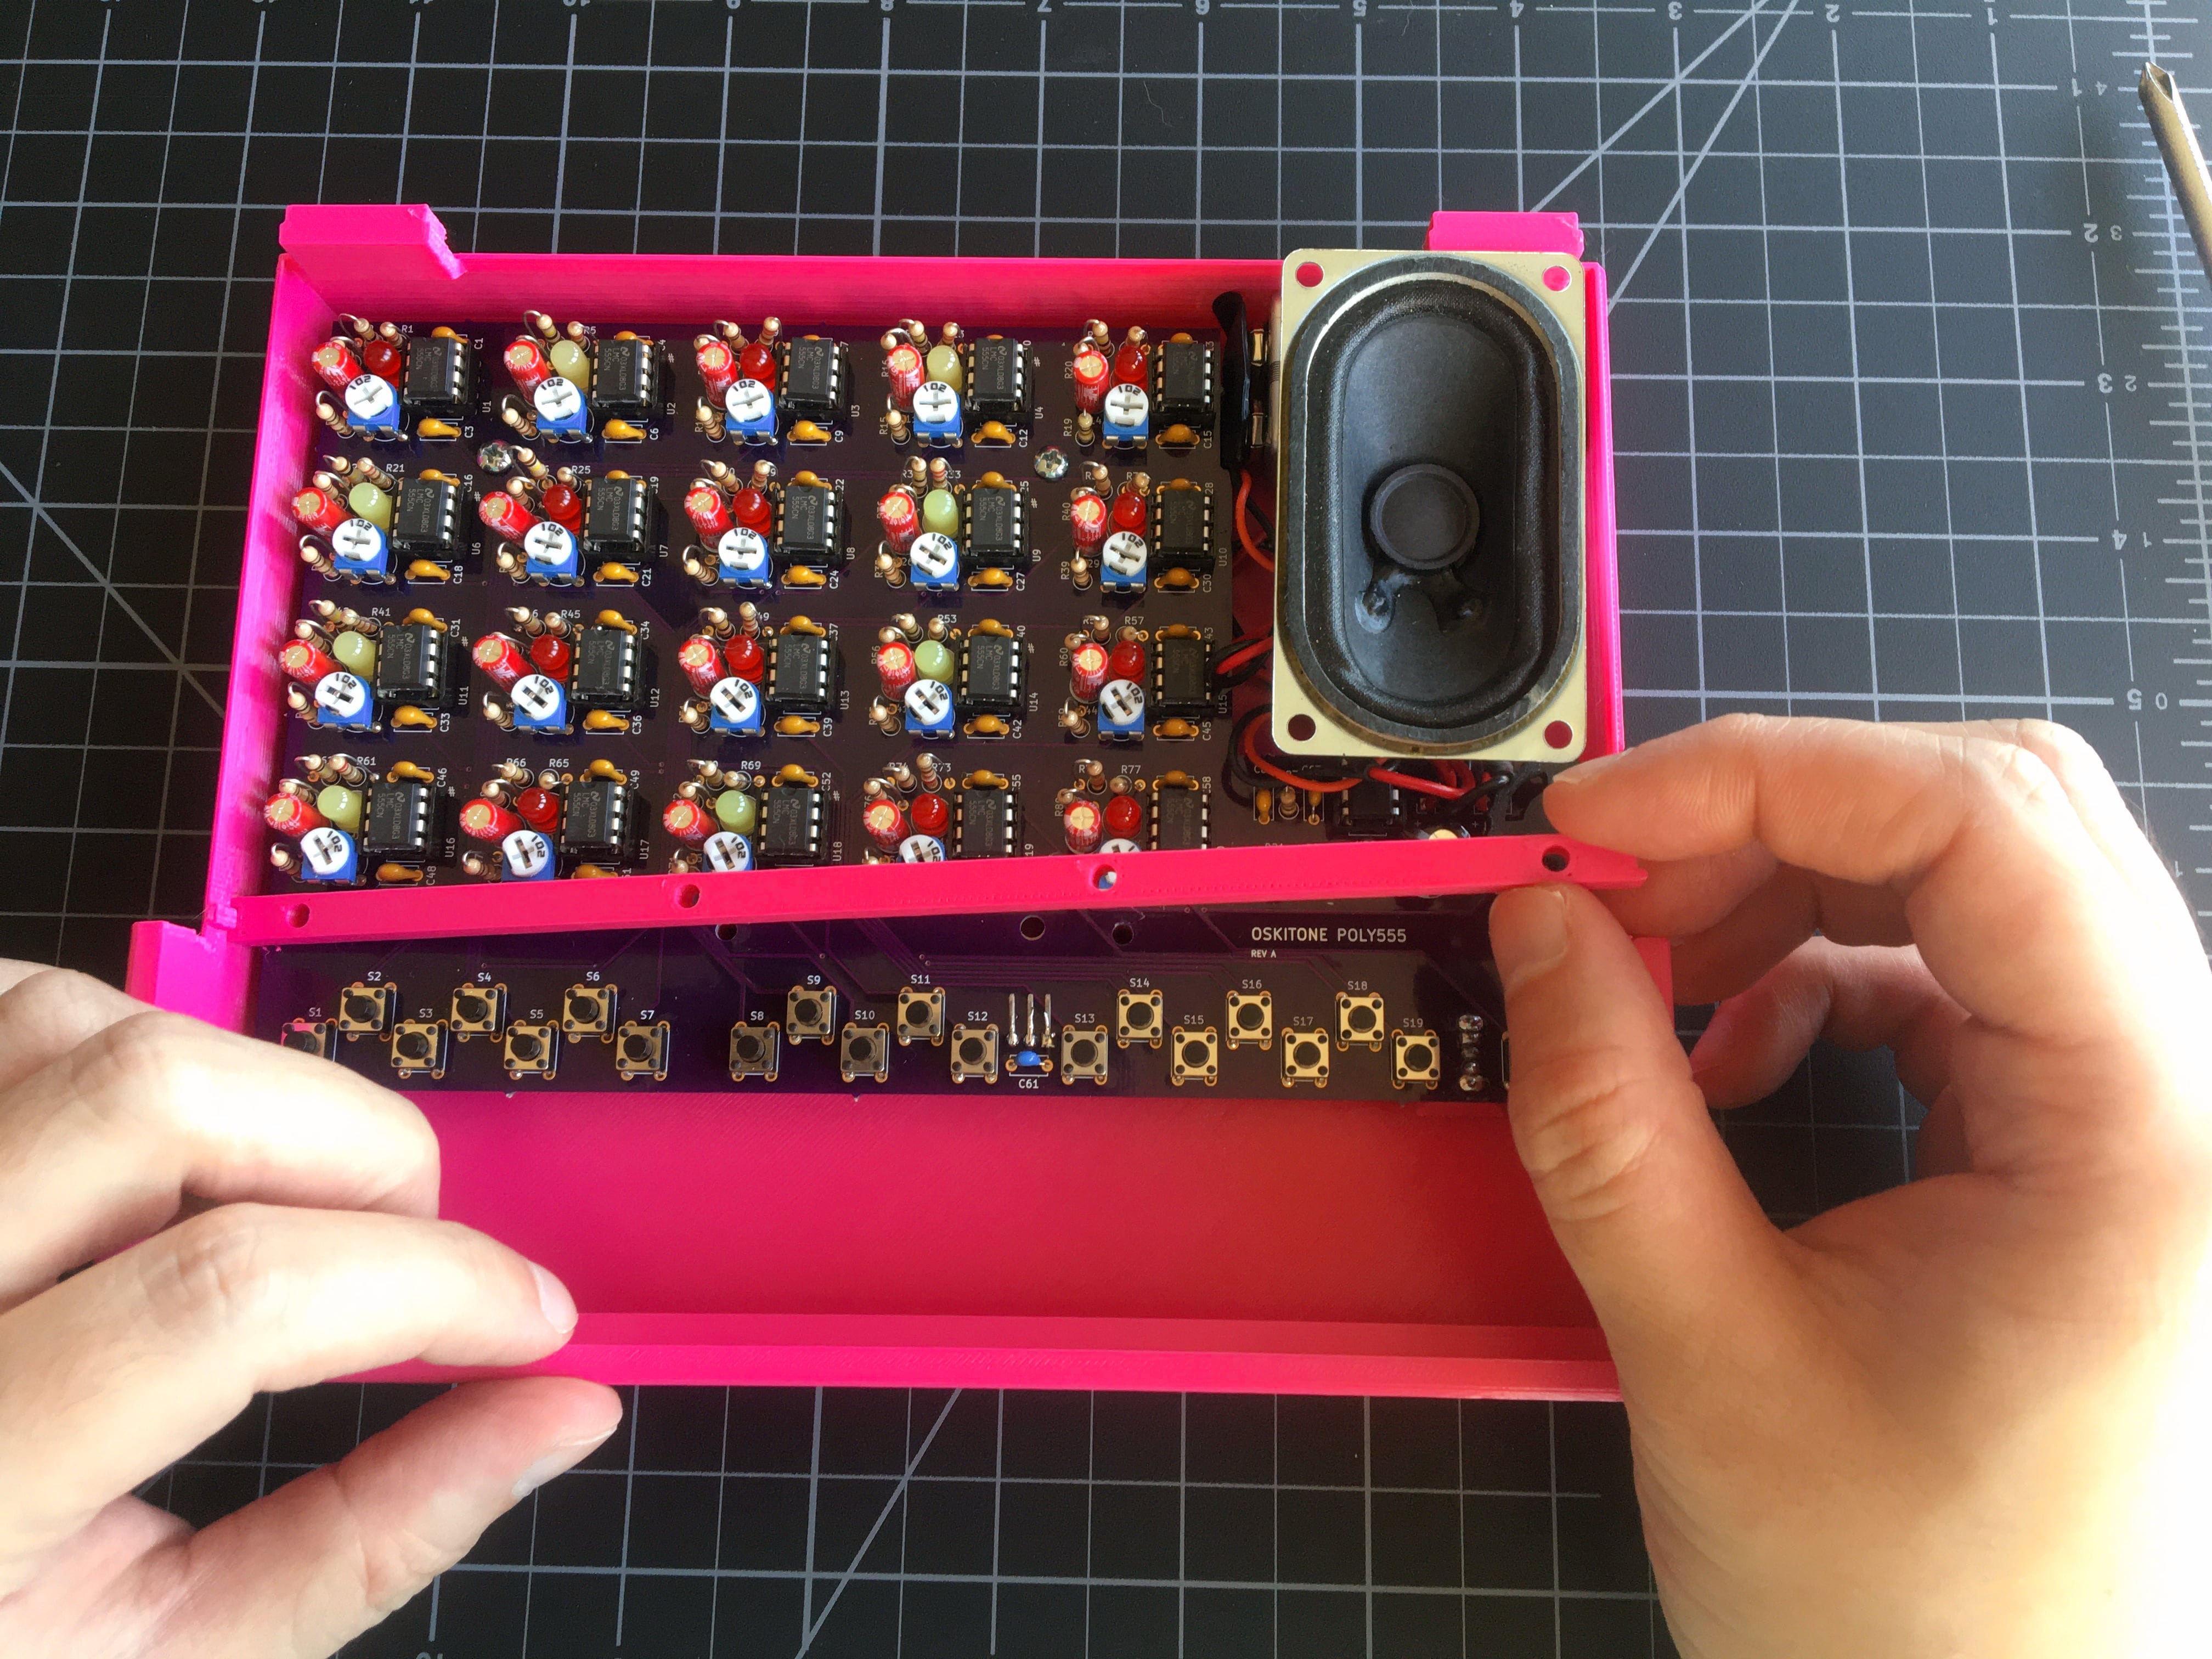
- Affix PCB
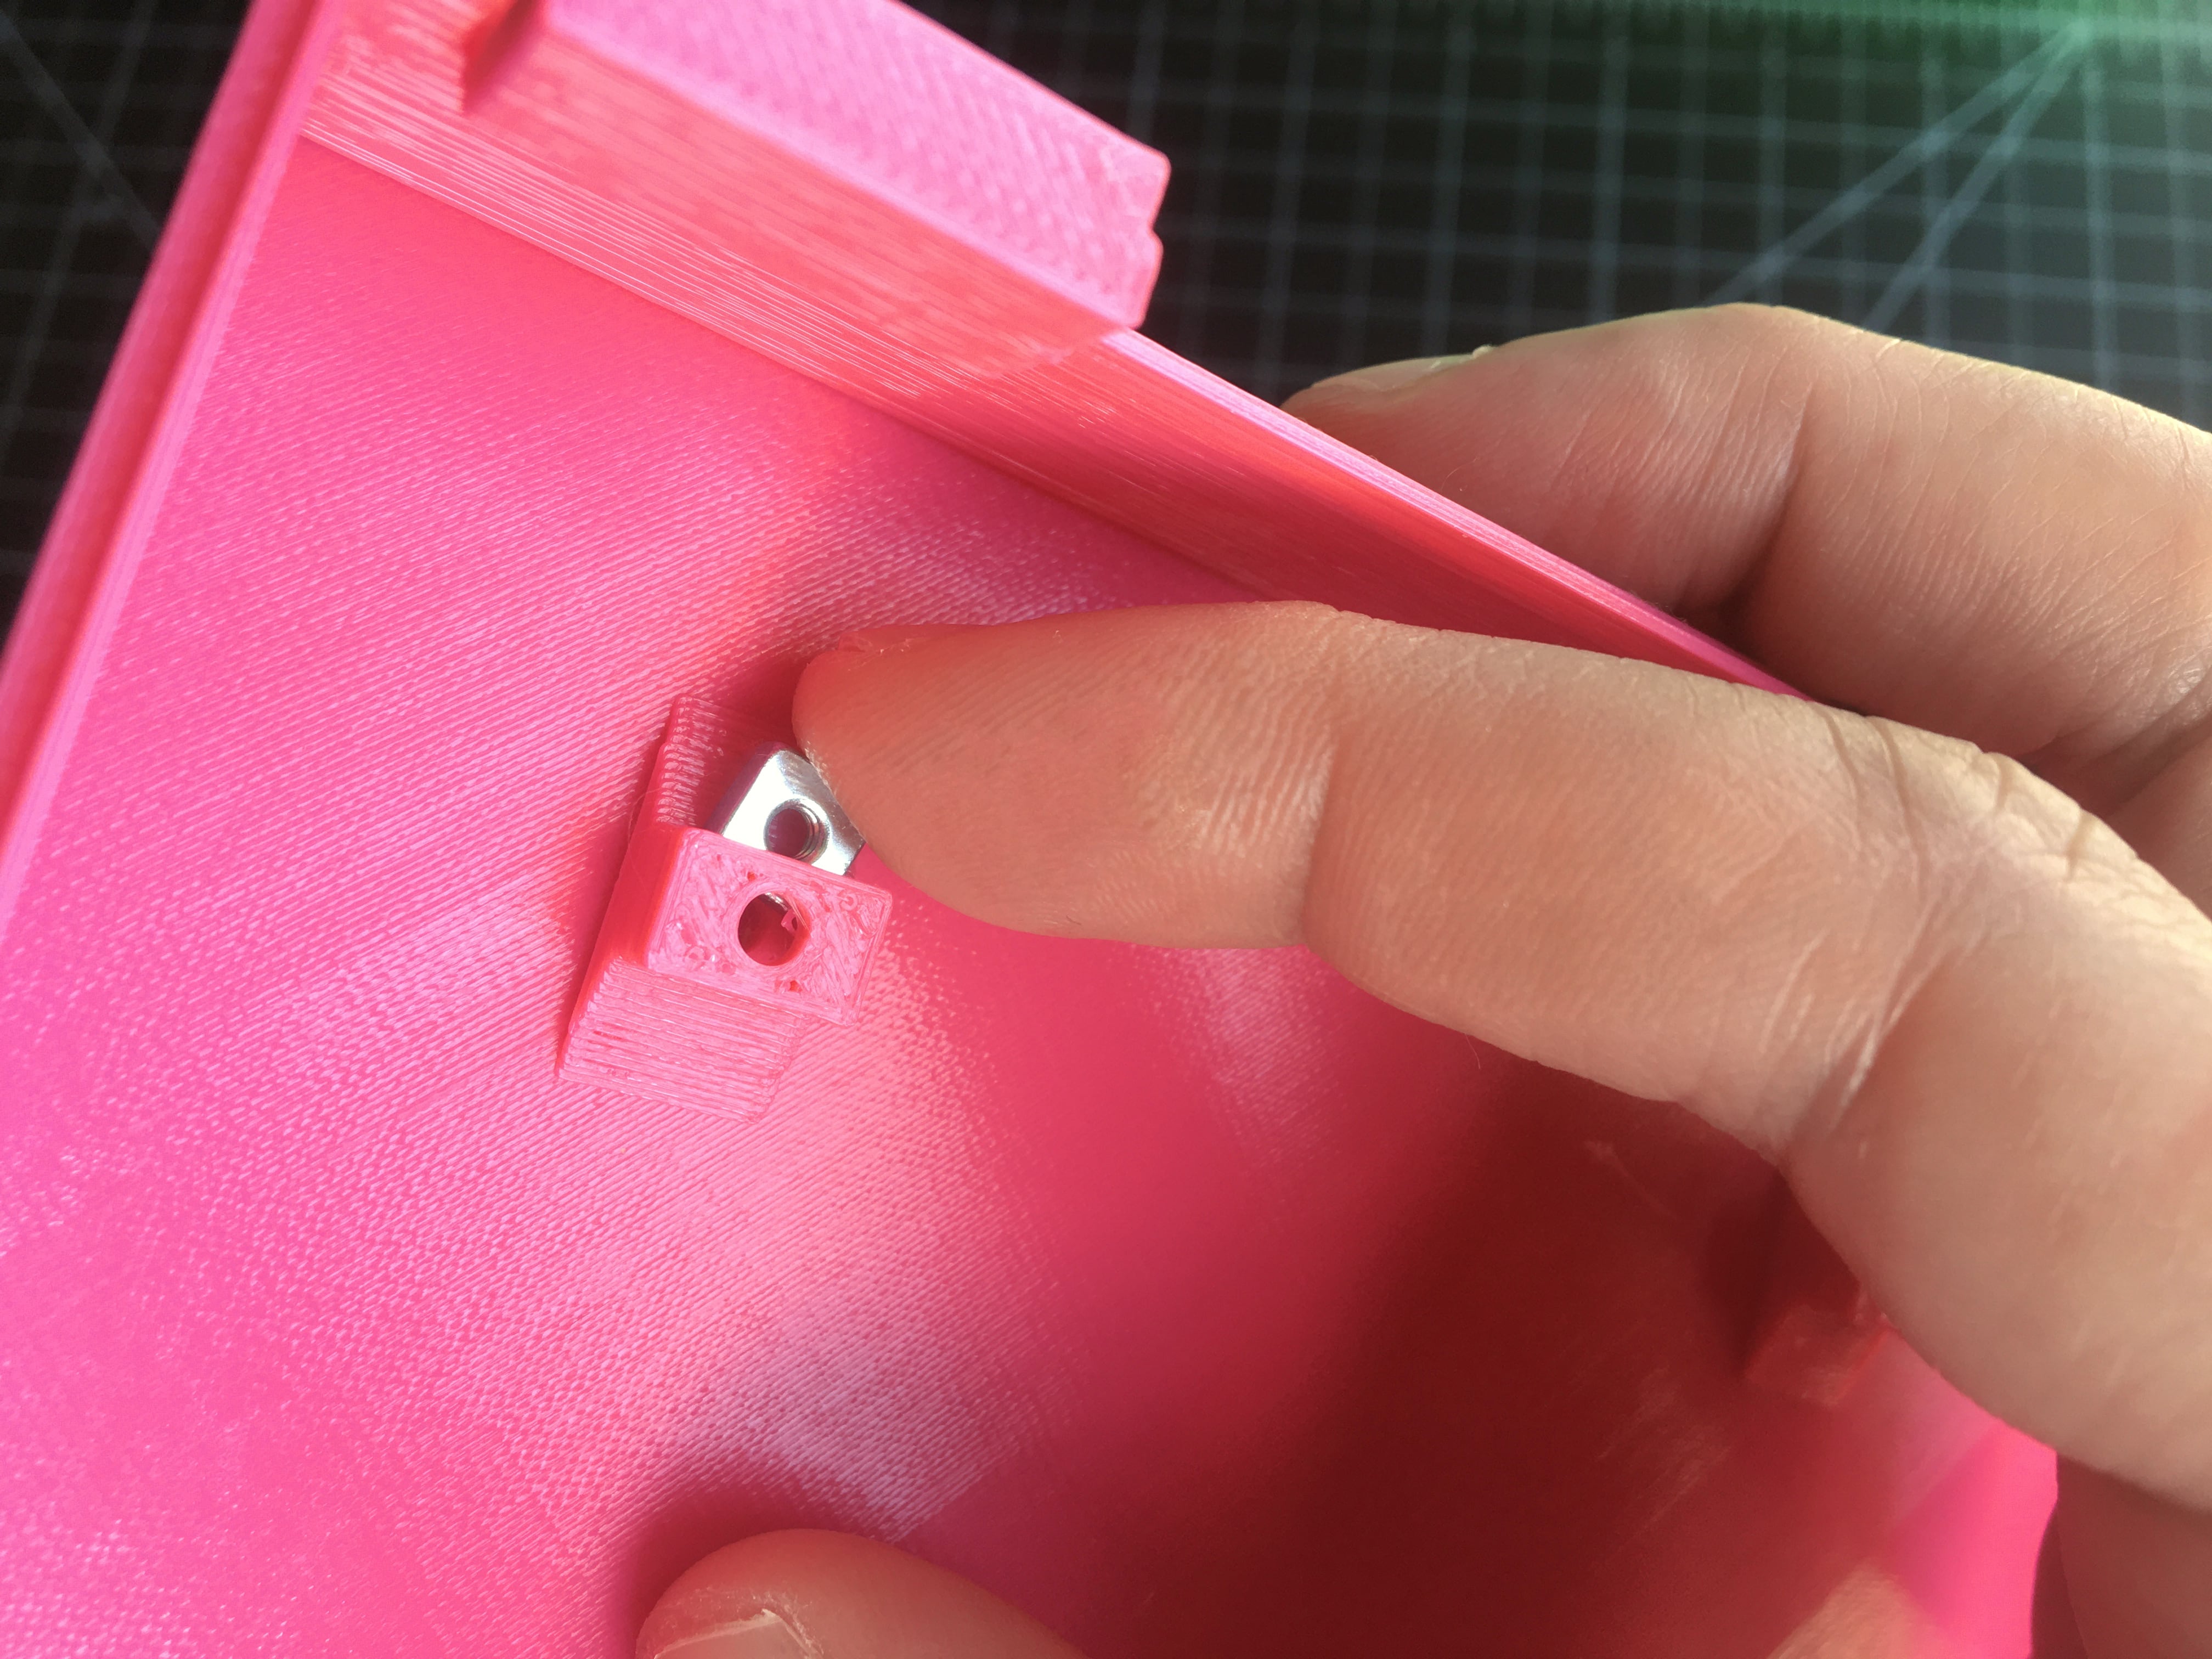
- Slide 2 square nuts into the back PCB posts on the enclosure bottom half.
- Place the finished PCB into the enclosure bottom half, fitting the switch into its cavity.
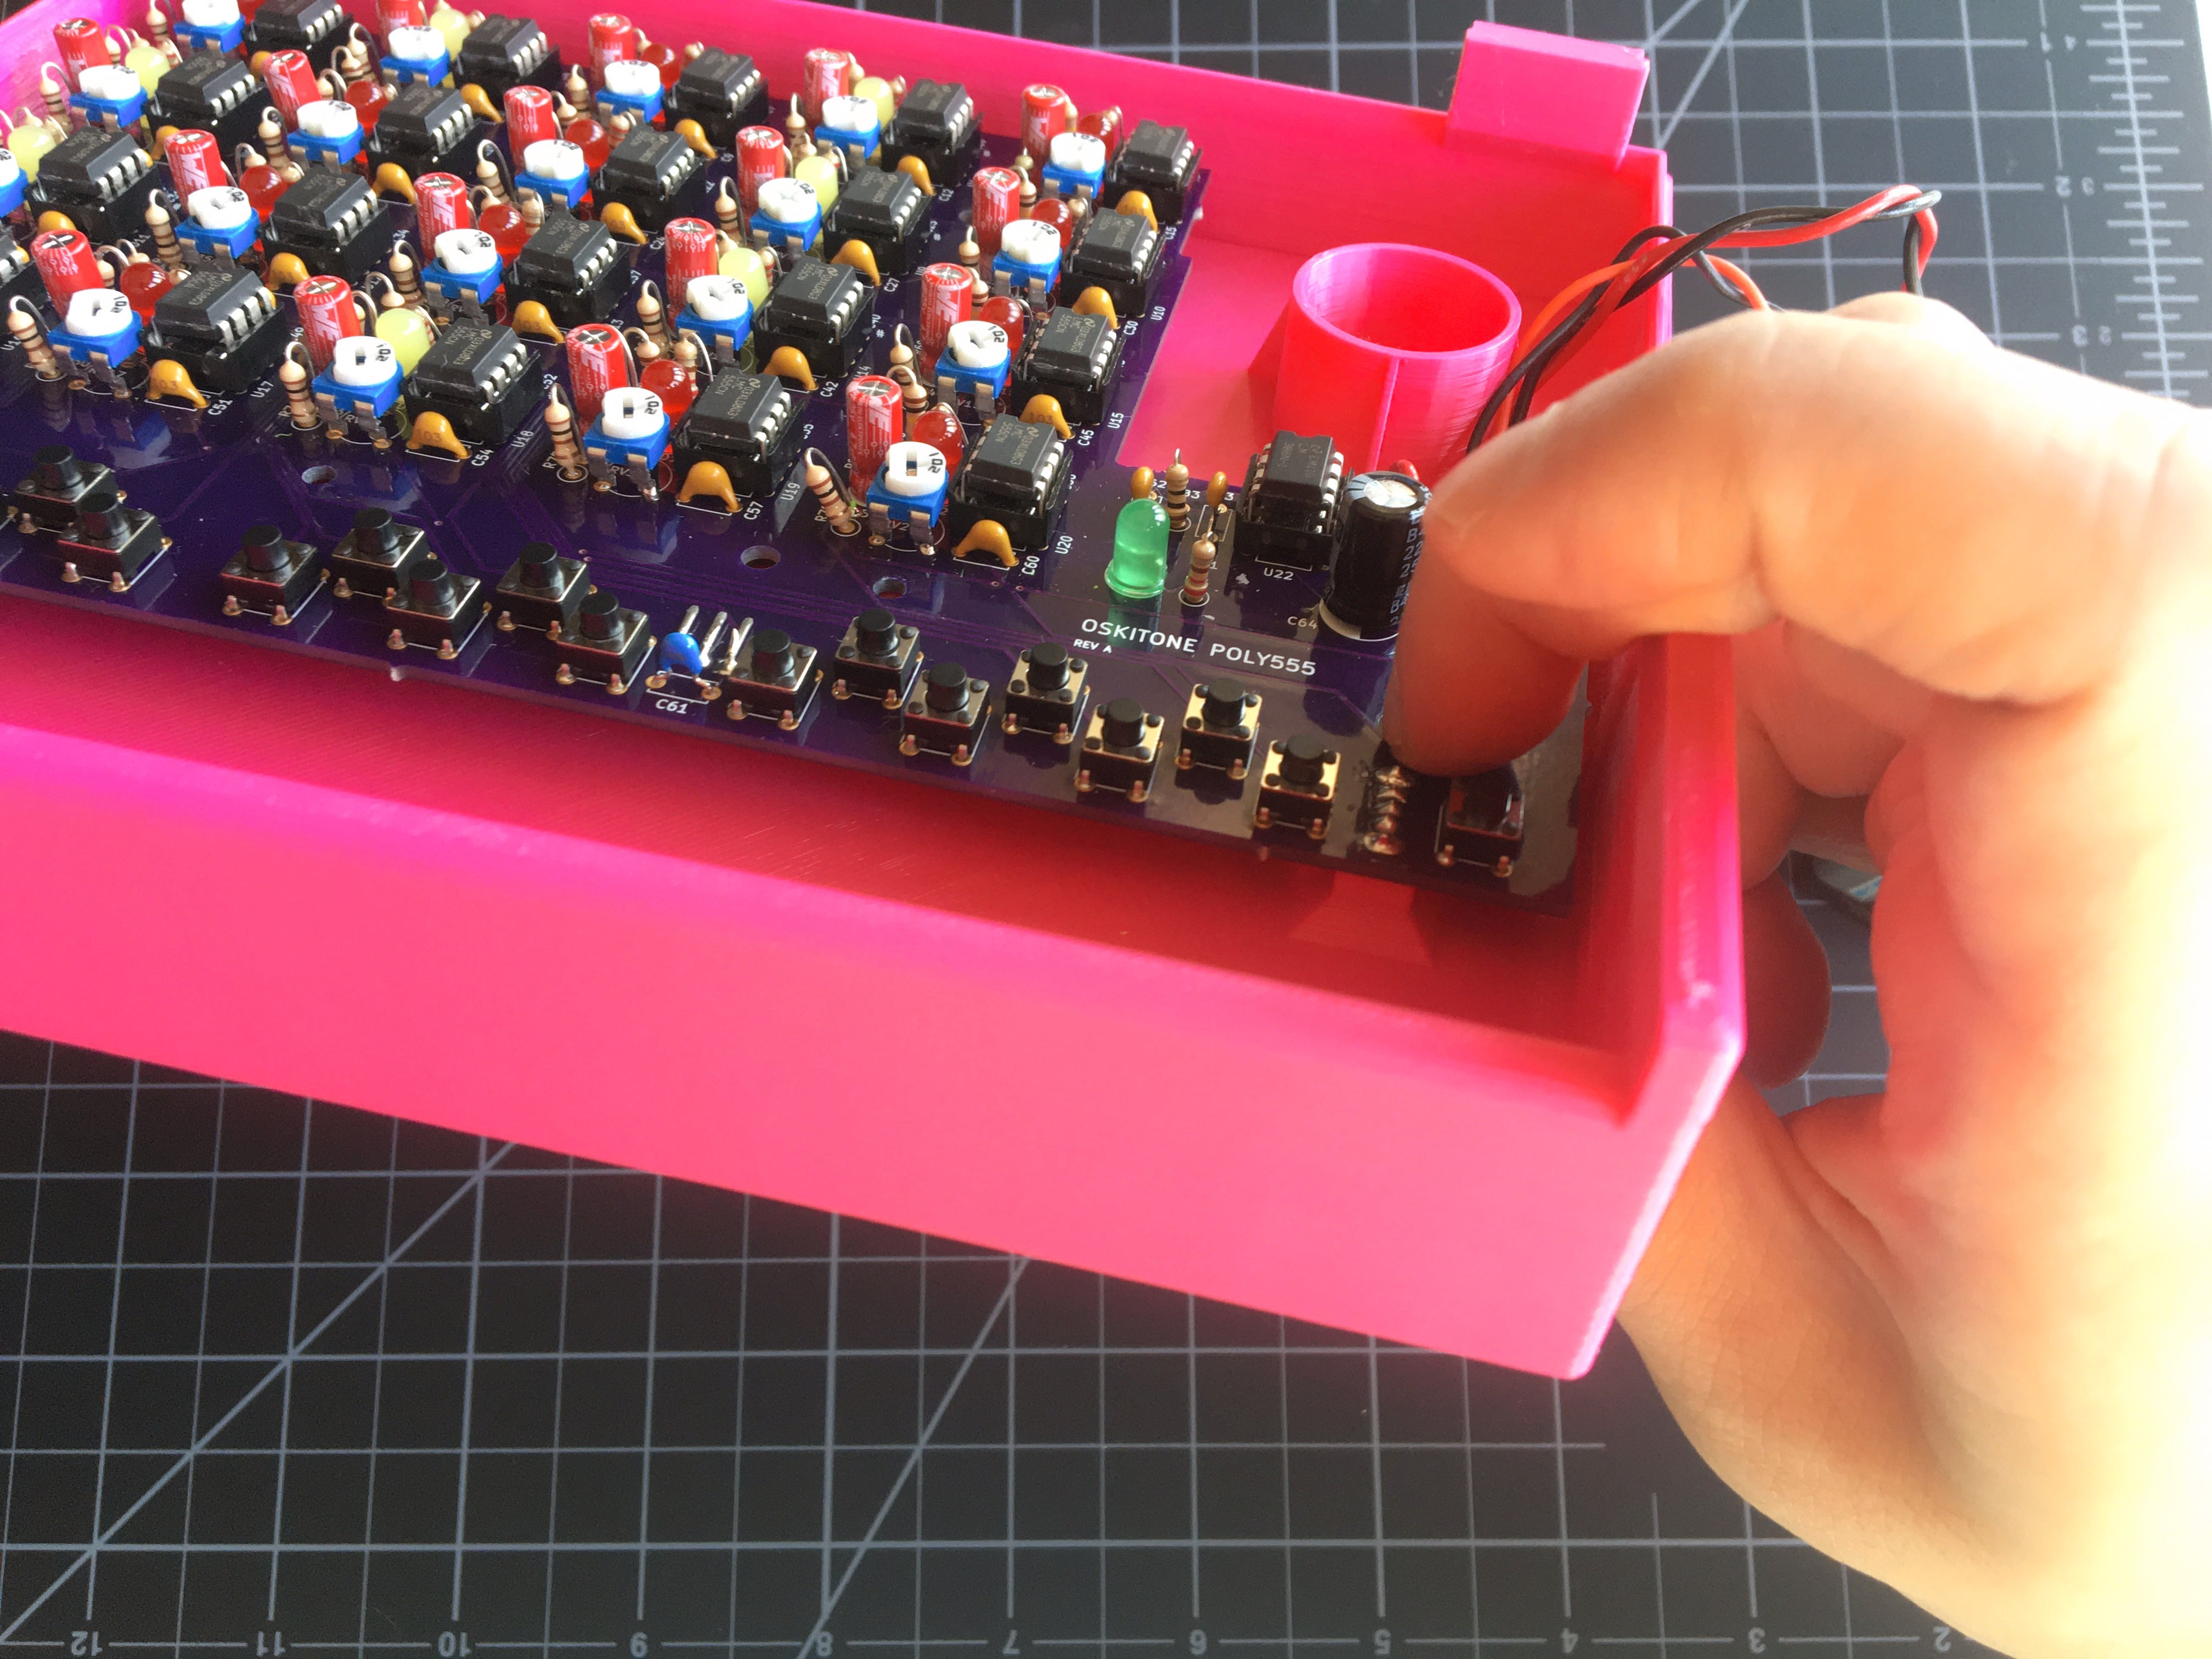
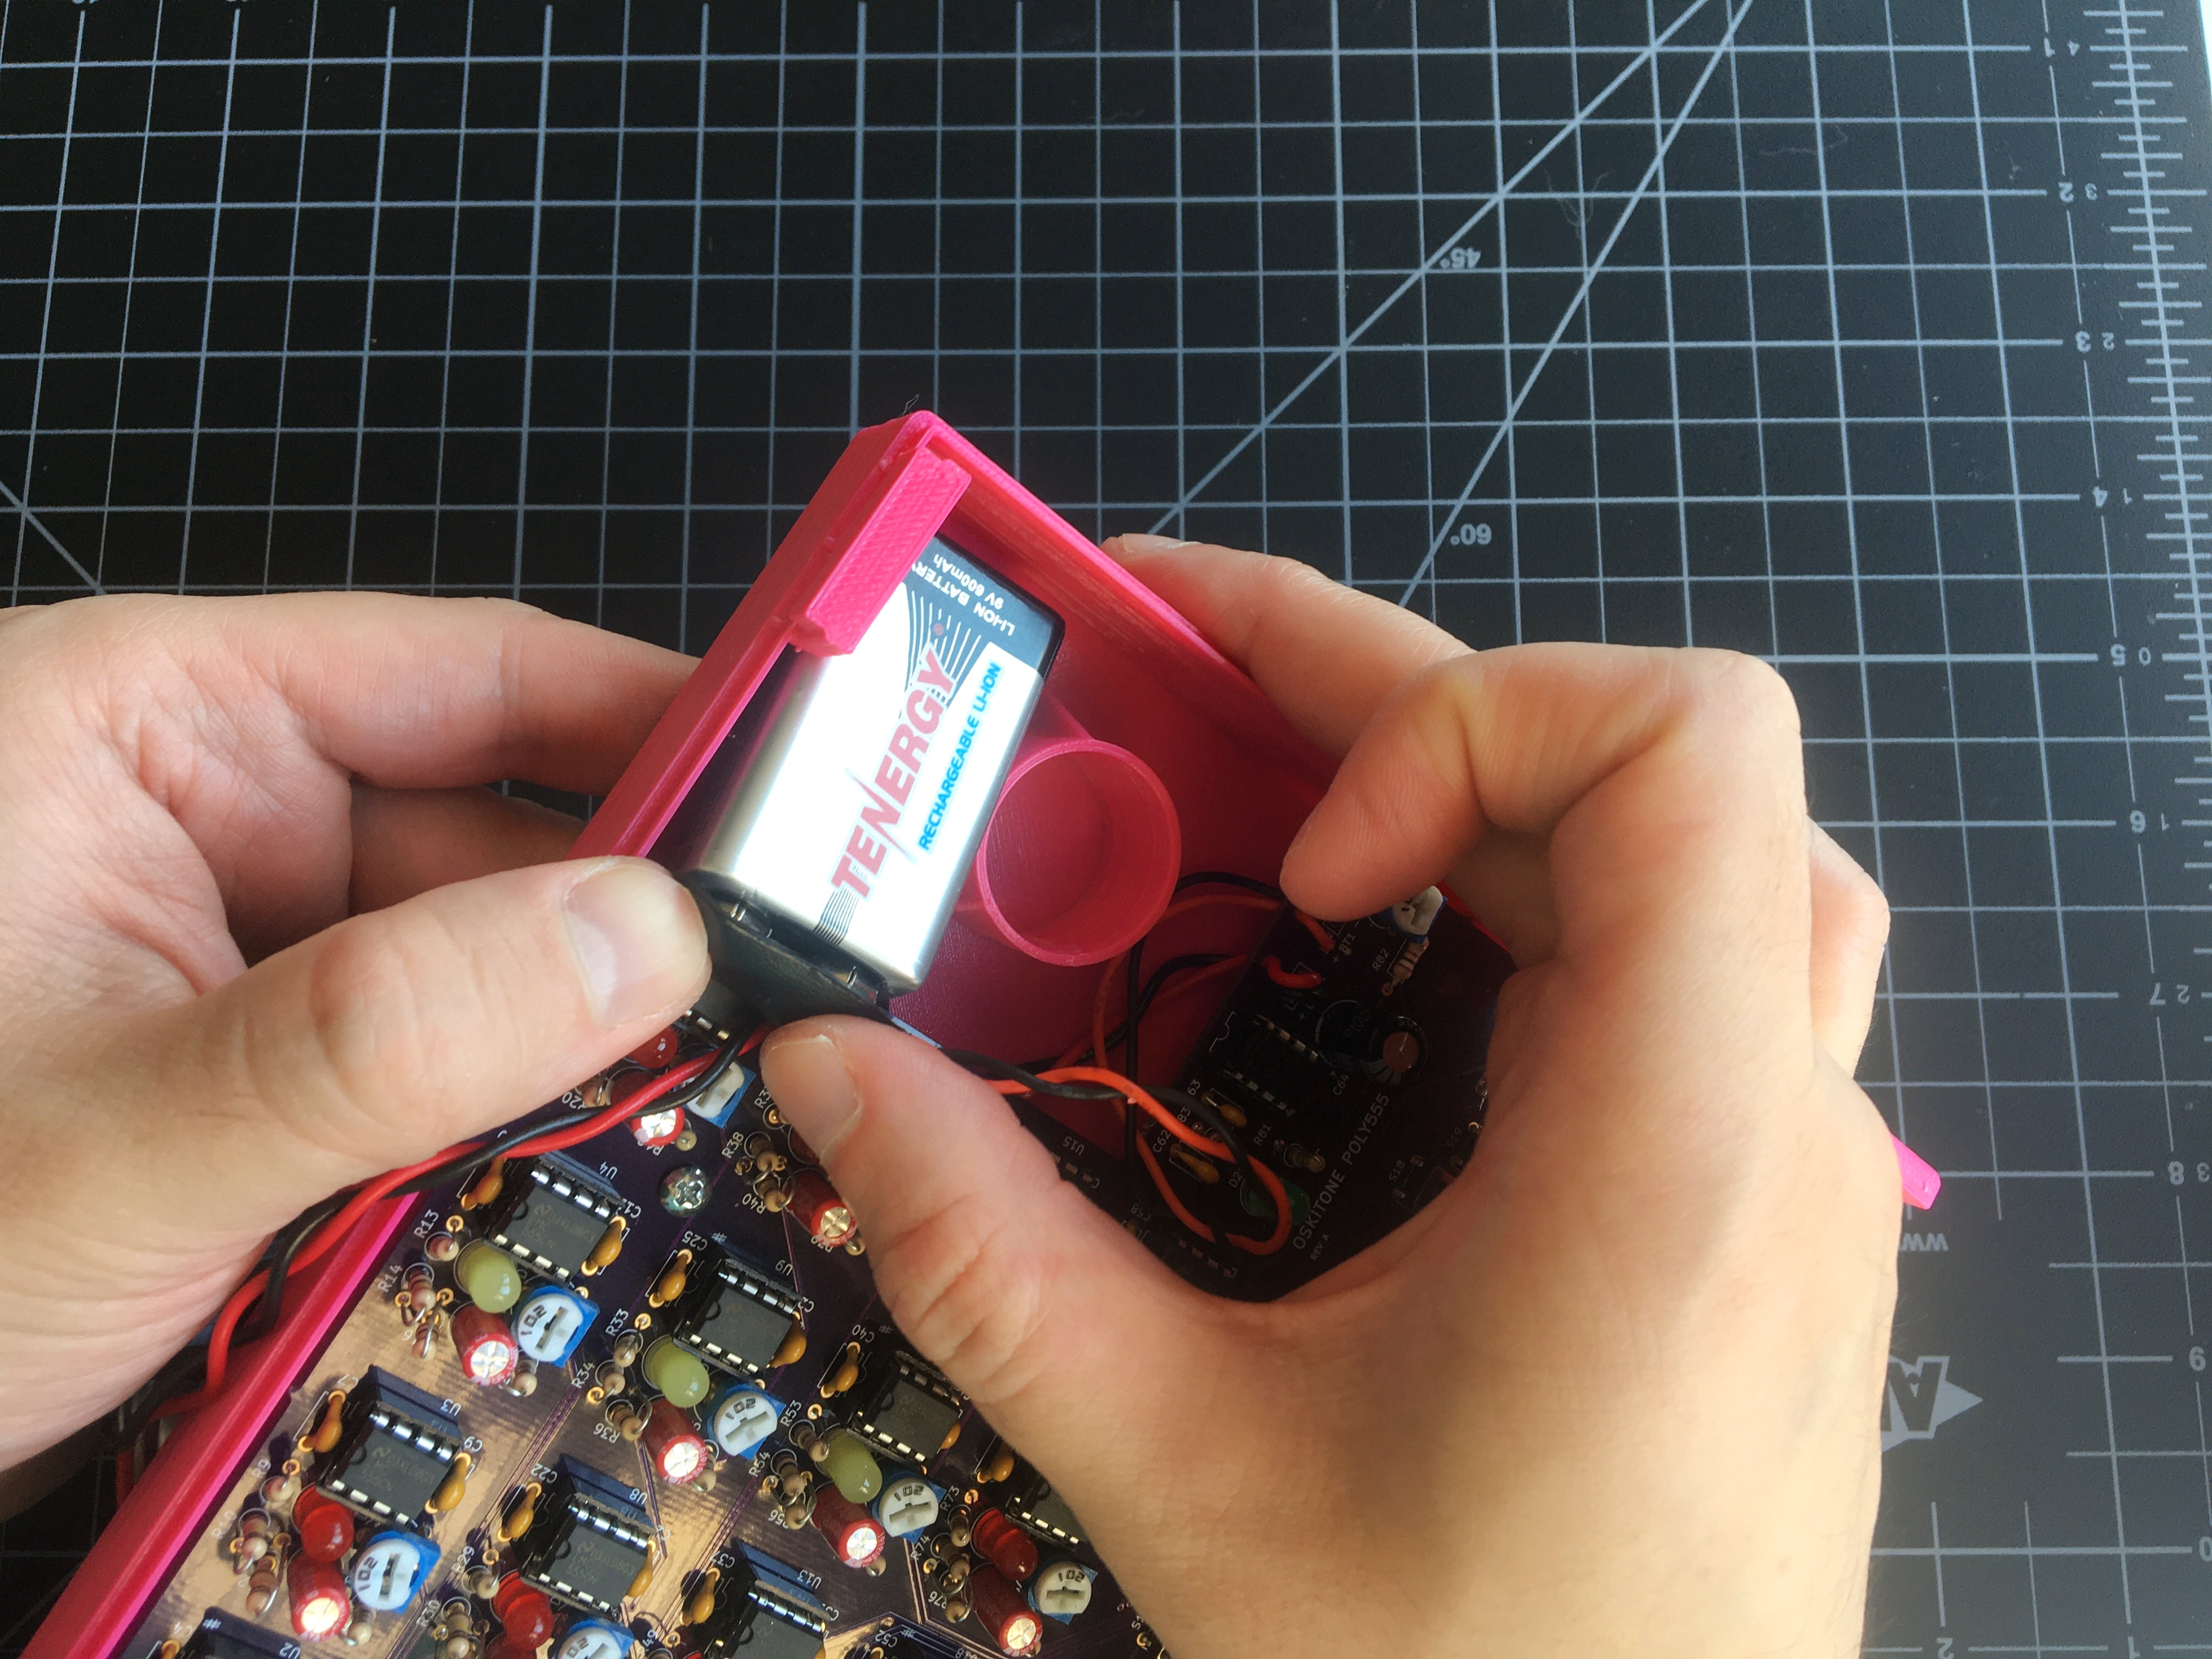
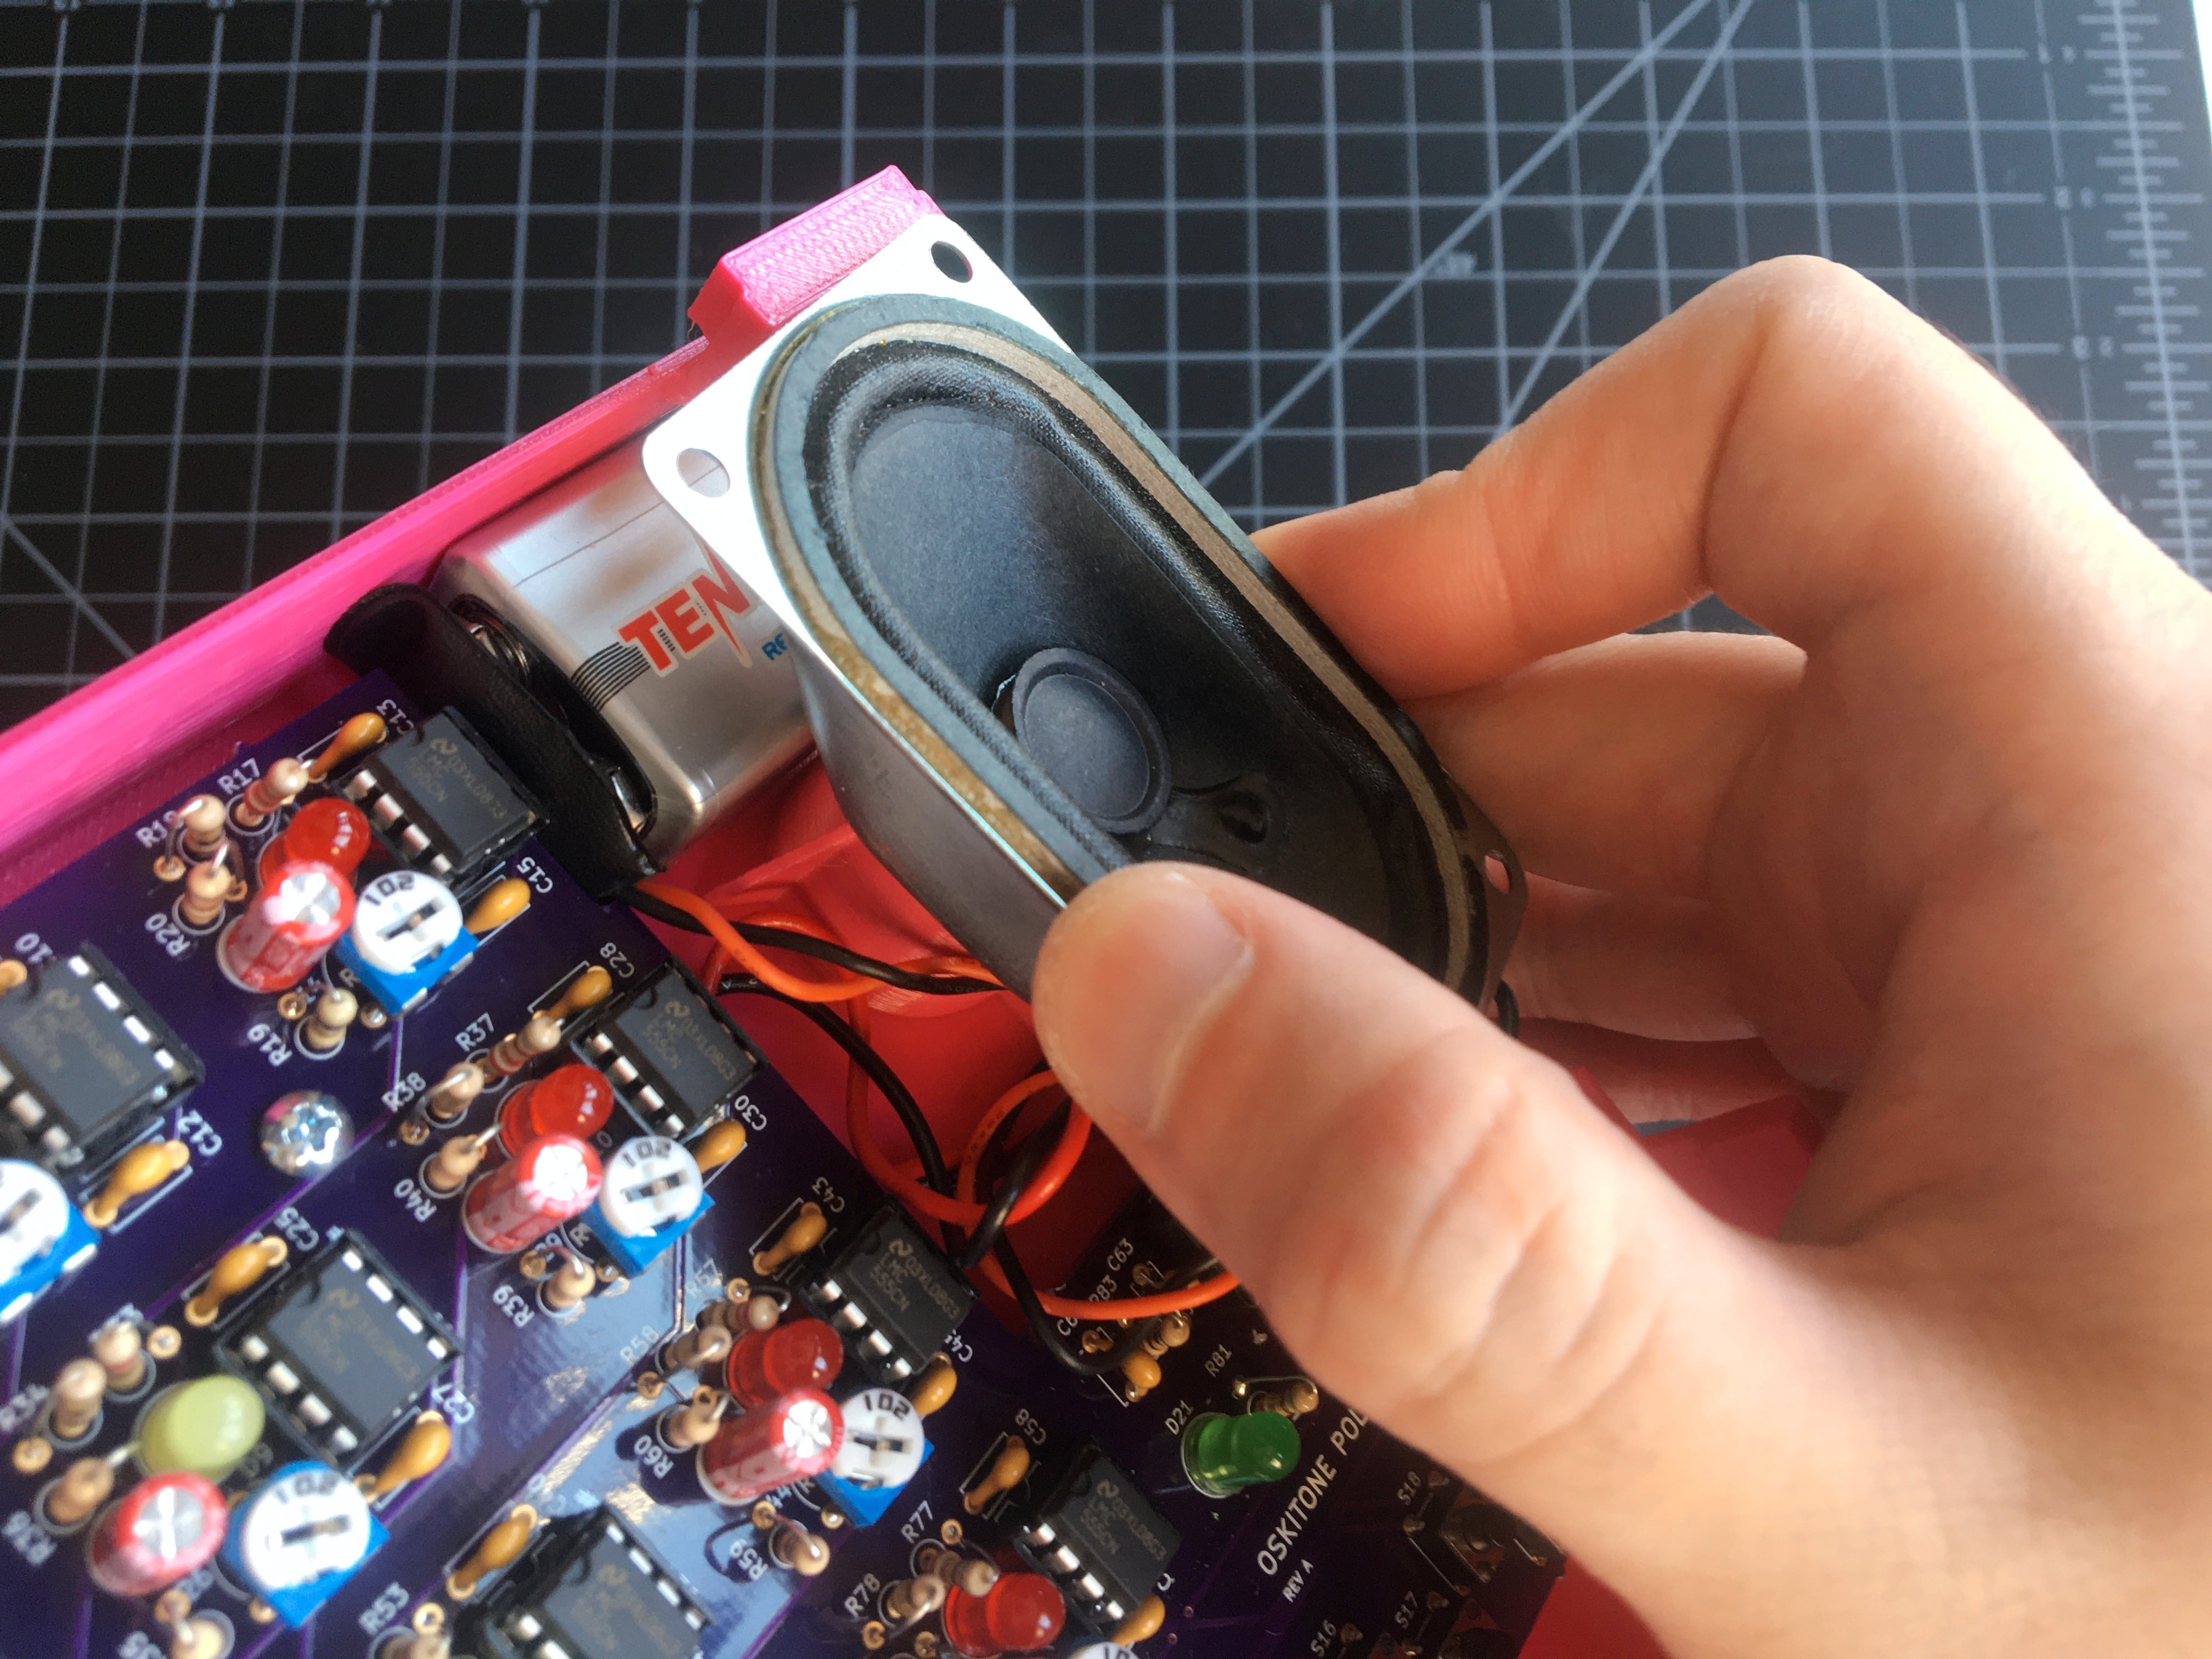
- Slide 9v battery into its space behind the speaker. It will be a tight fit.
- Fit speaker into its container ring above battery. Try to hide any excess wire from the speaker under the PCB.

- Secure PCB into place with 2 1/4" screws. Don't overtighten!
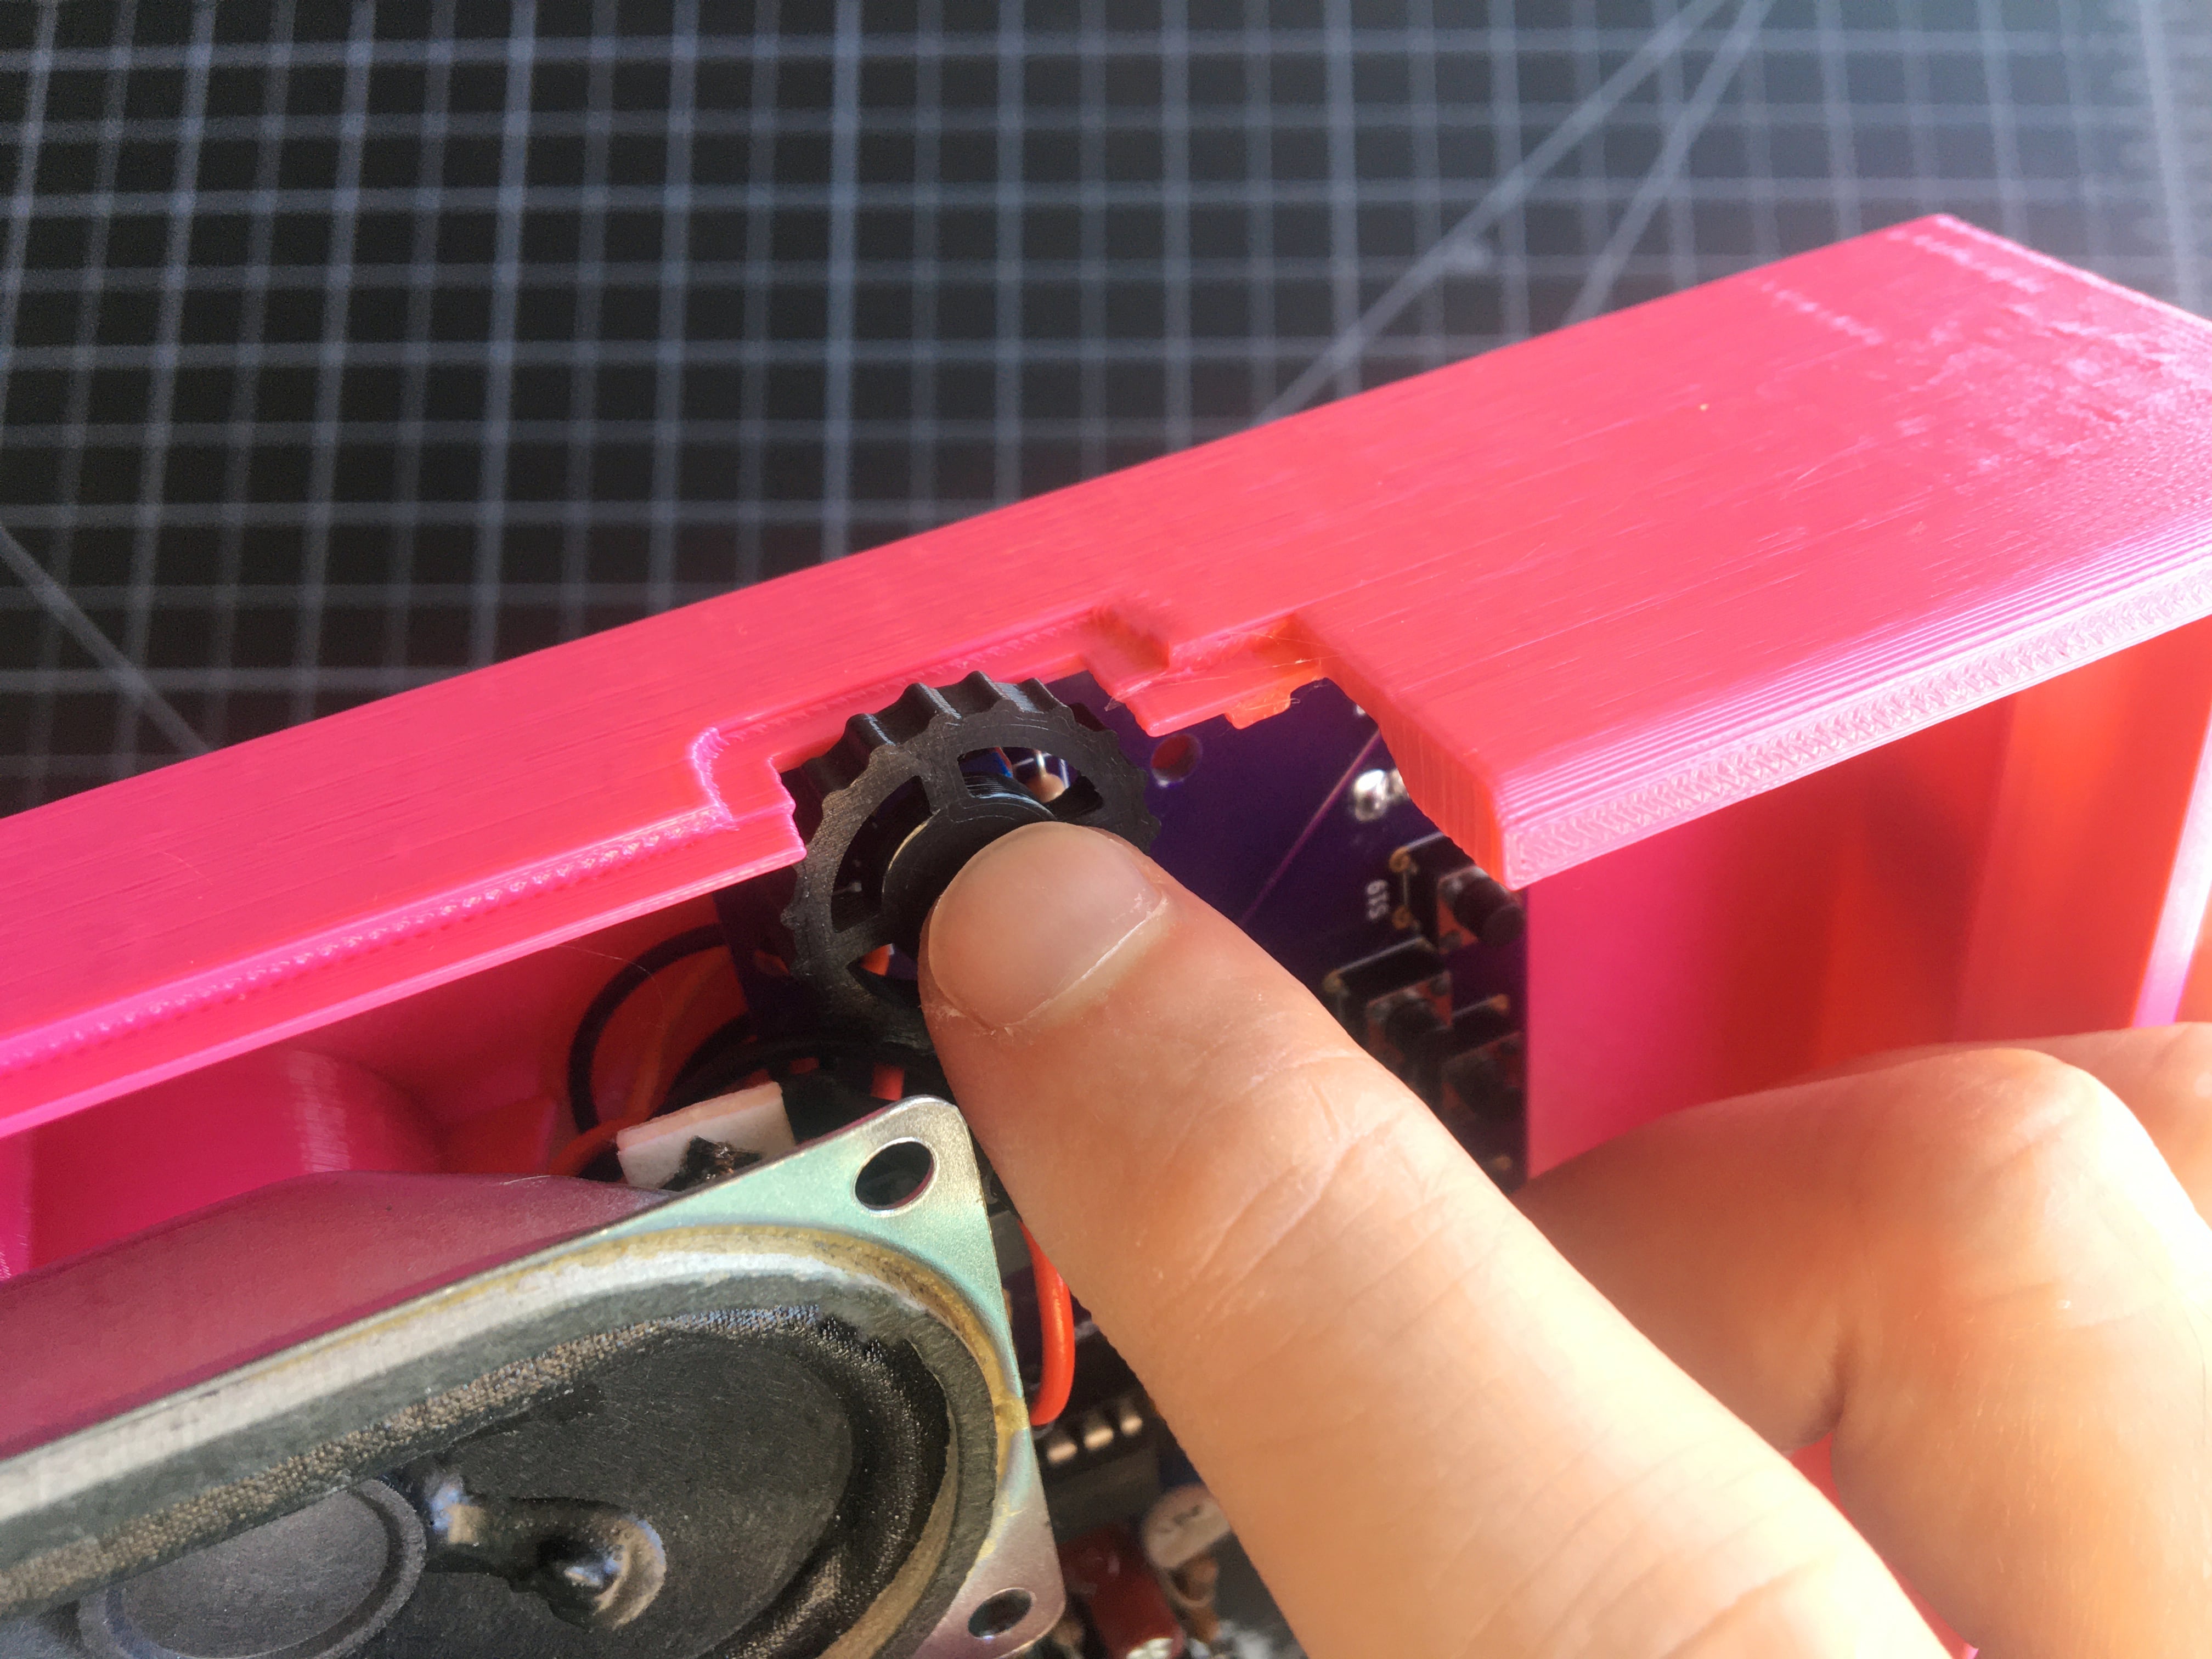
- Fit volume wheel onto RV21, matching its cavity to the trim pot's shape. As long as it's able to turn the underlying pot, it's okay if it's a little loose — it'll get held in place by the enclosure top.

- Slide 2 square nuts into the back PCB posts on the enclosure bottom half.
- Add keys
- Place mounting rail onto PCB, aligning its holes to the screw holes below.
- Place keys onto mounting rail.
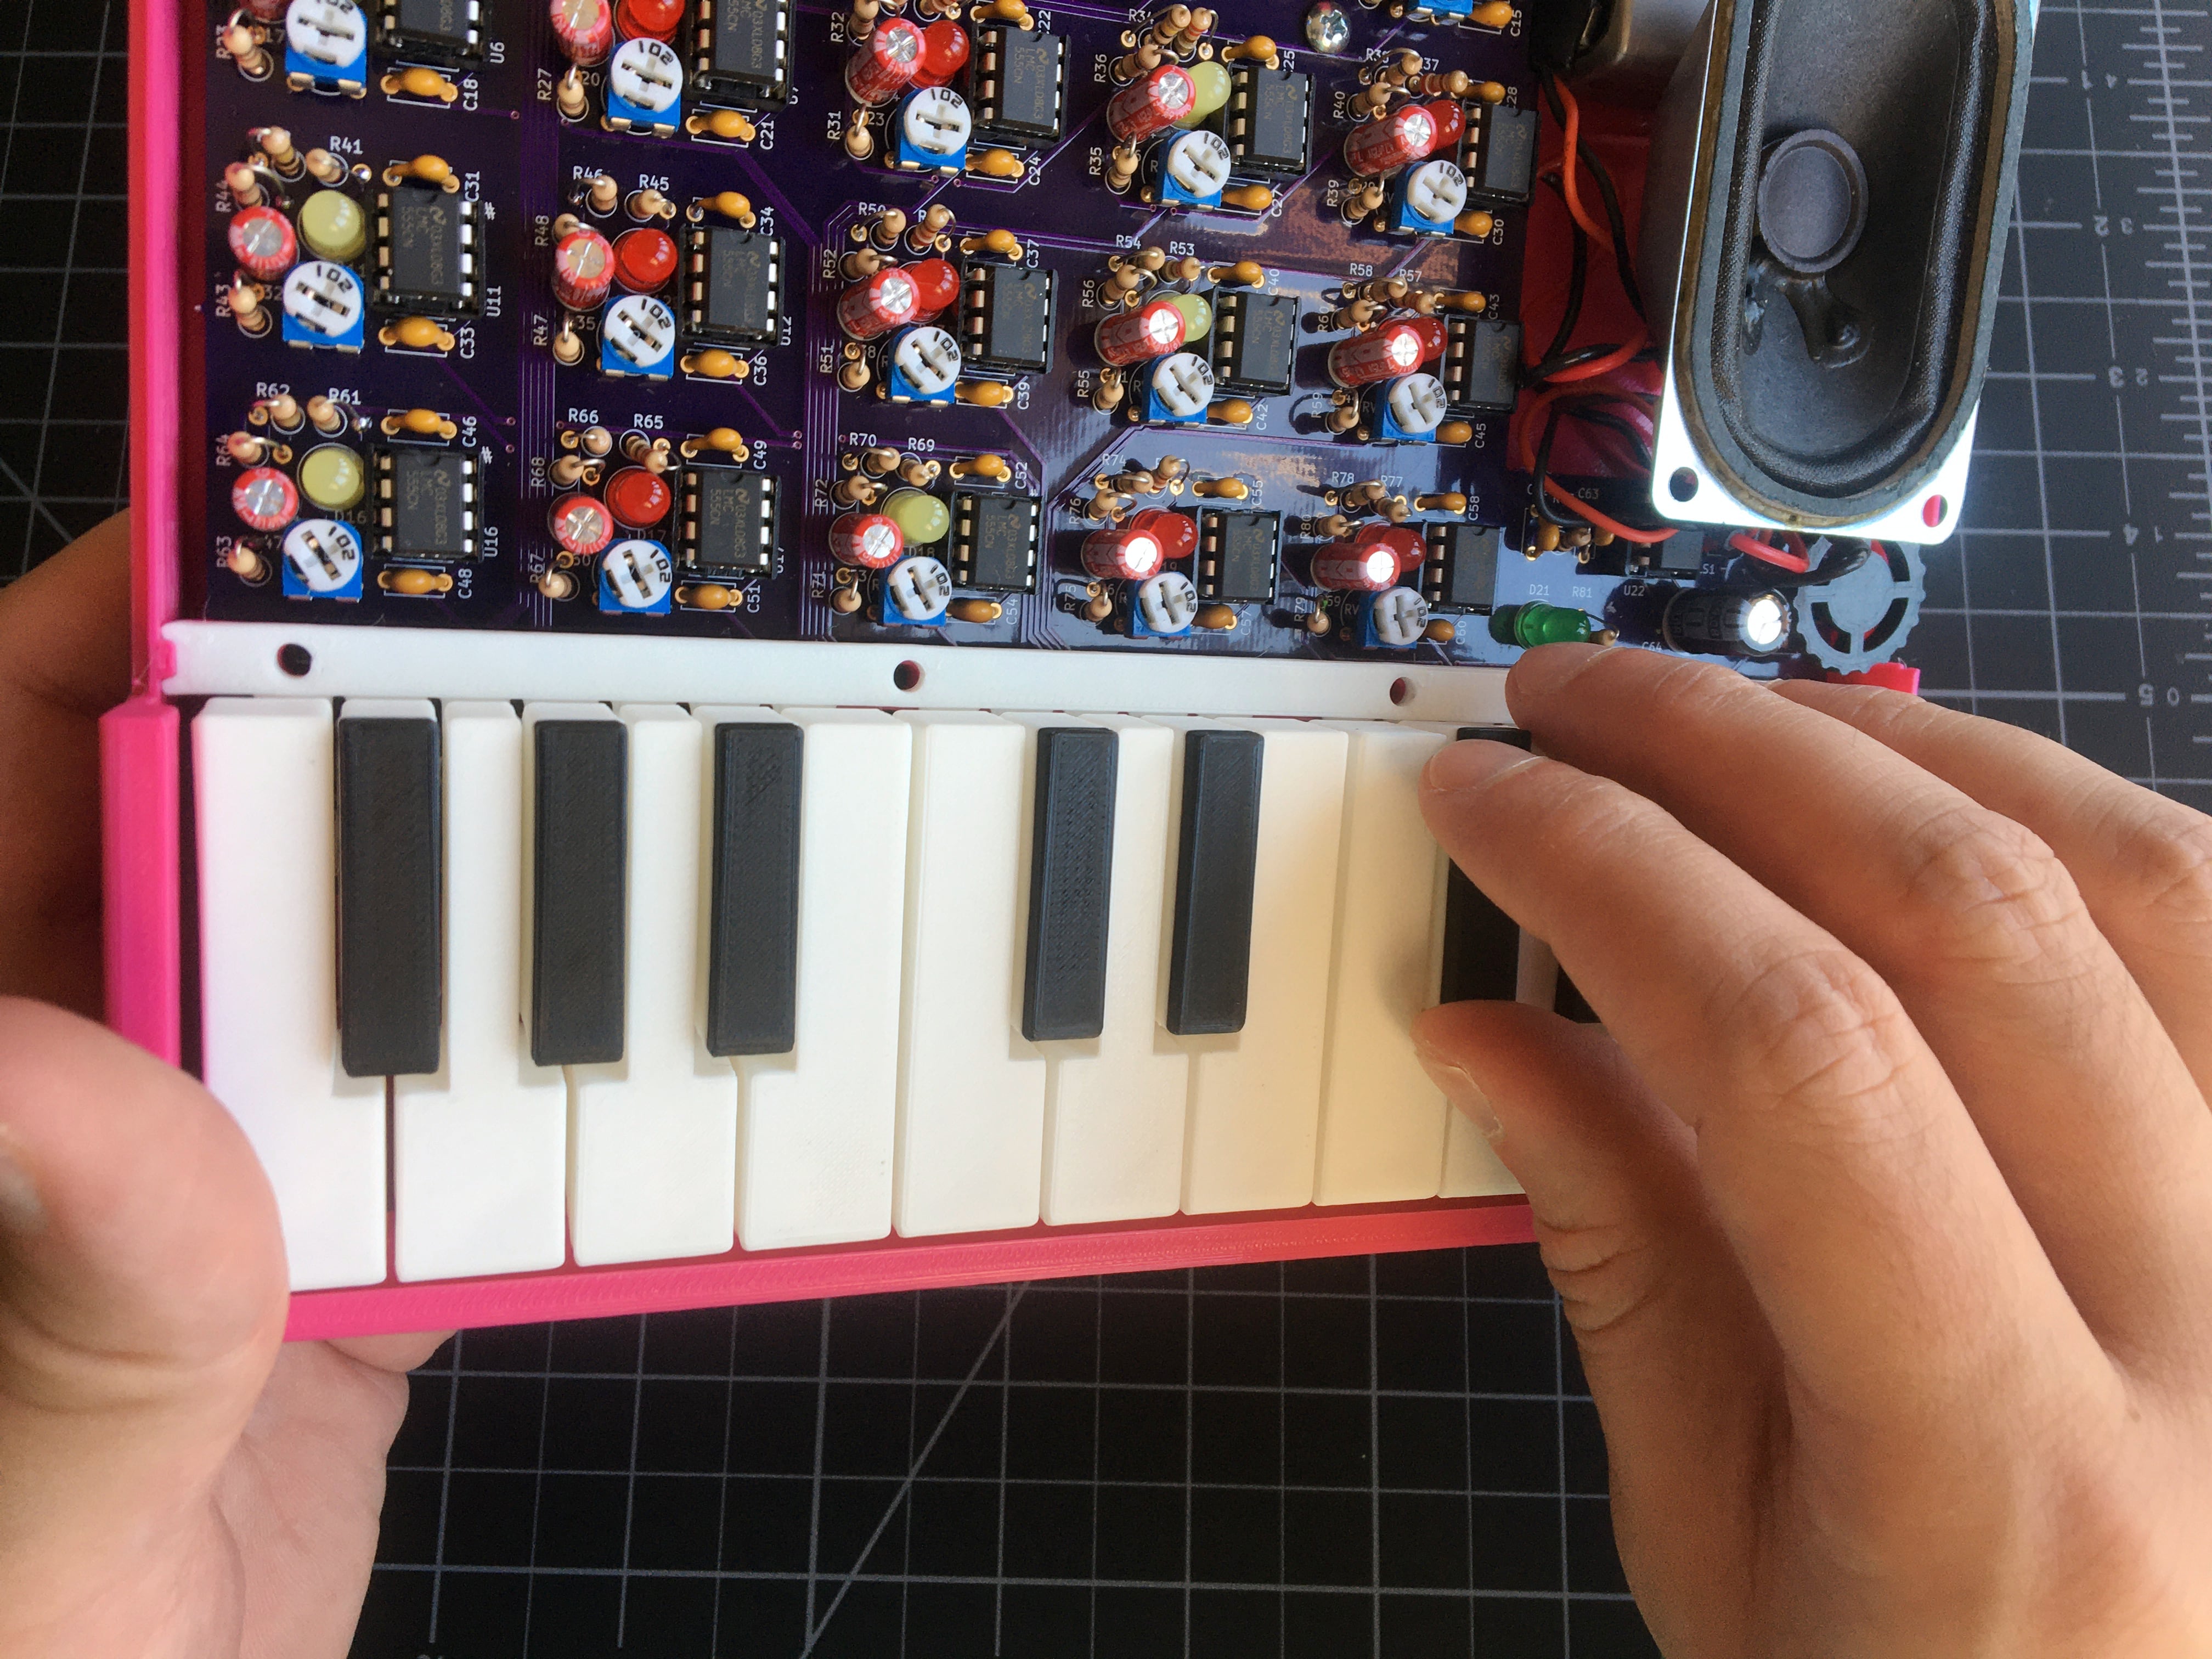
- Place mounting rail onto PCB, aligning its holes to the screw holes below.
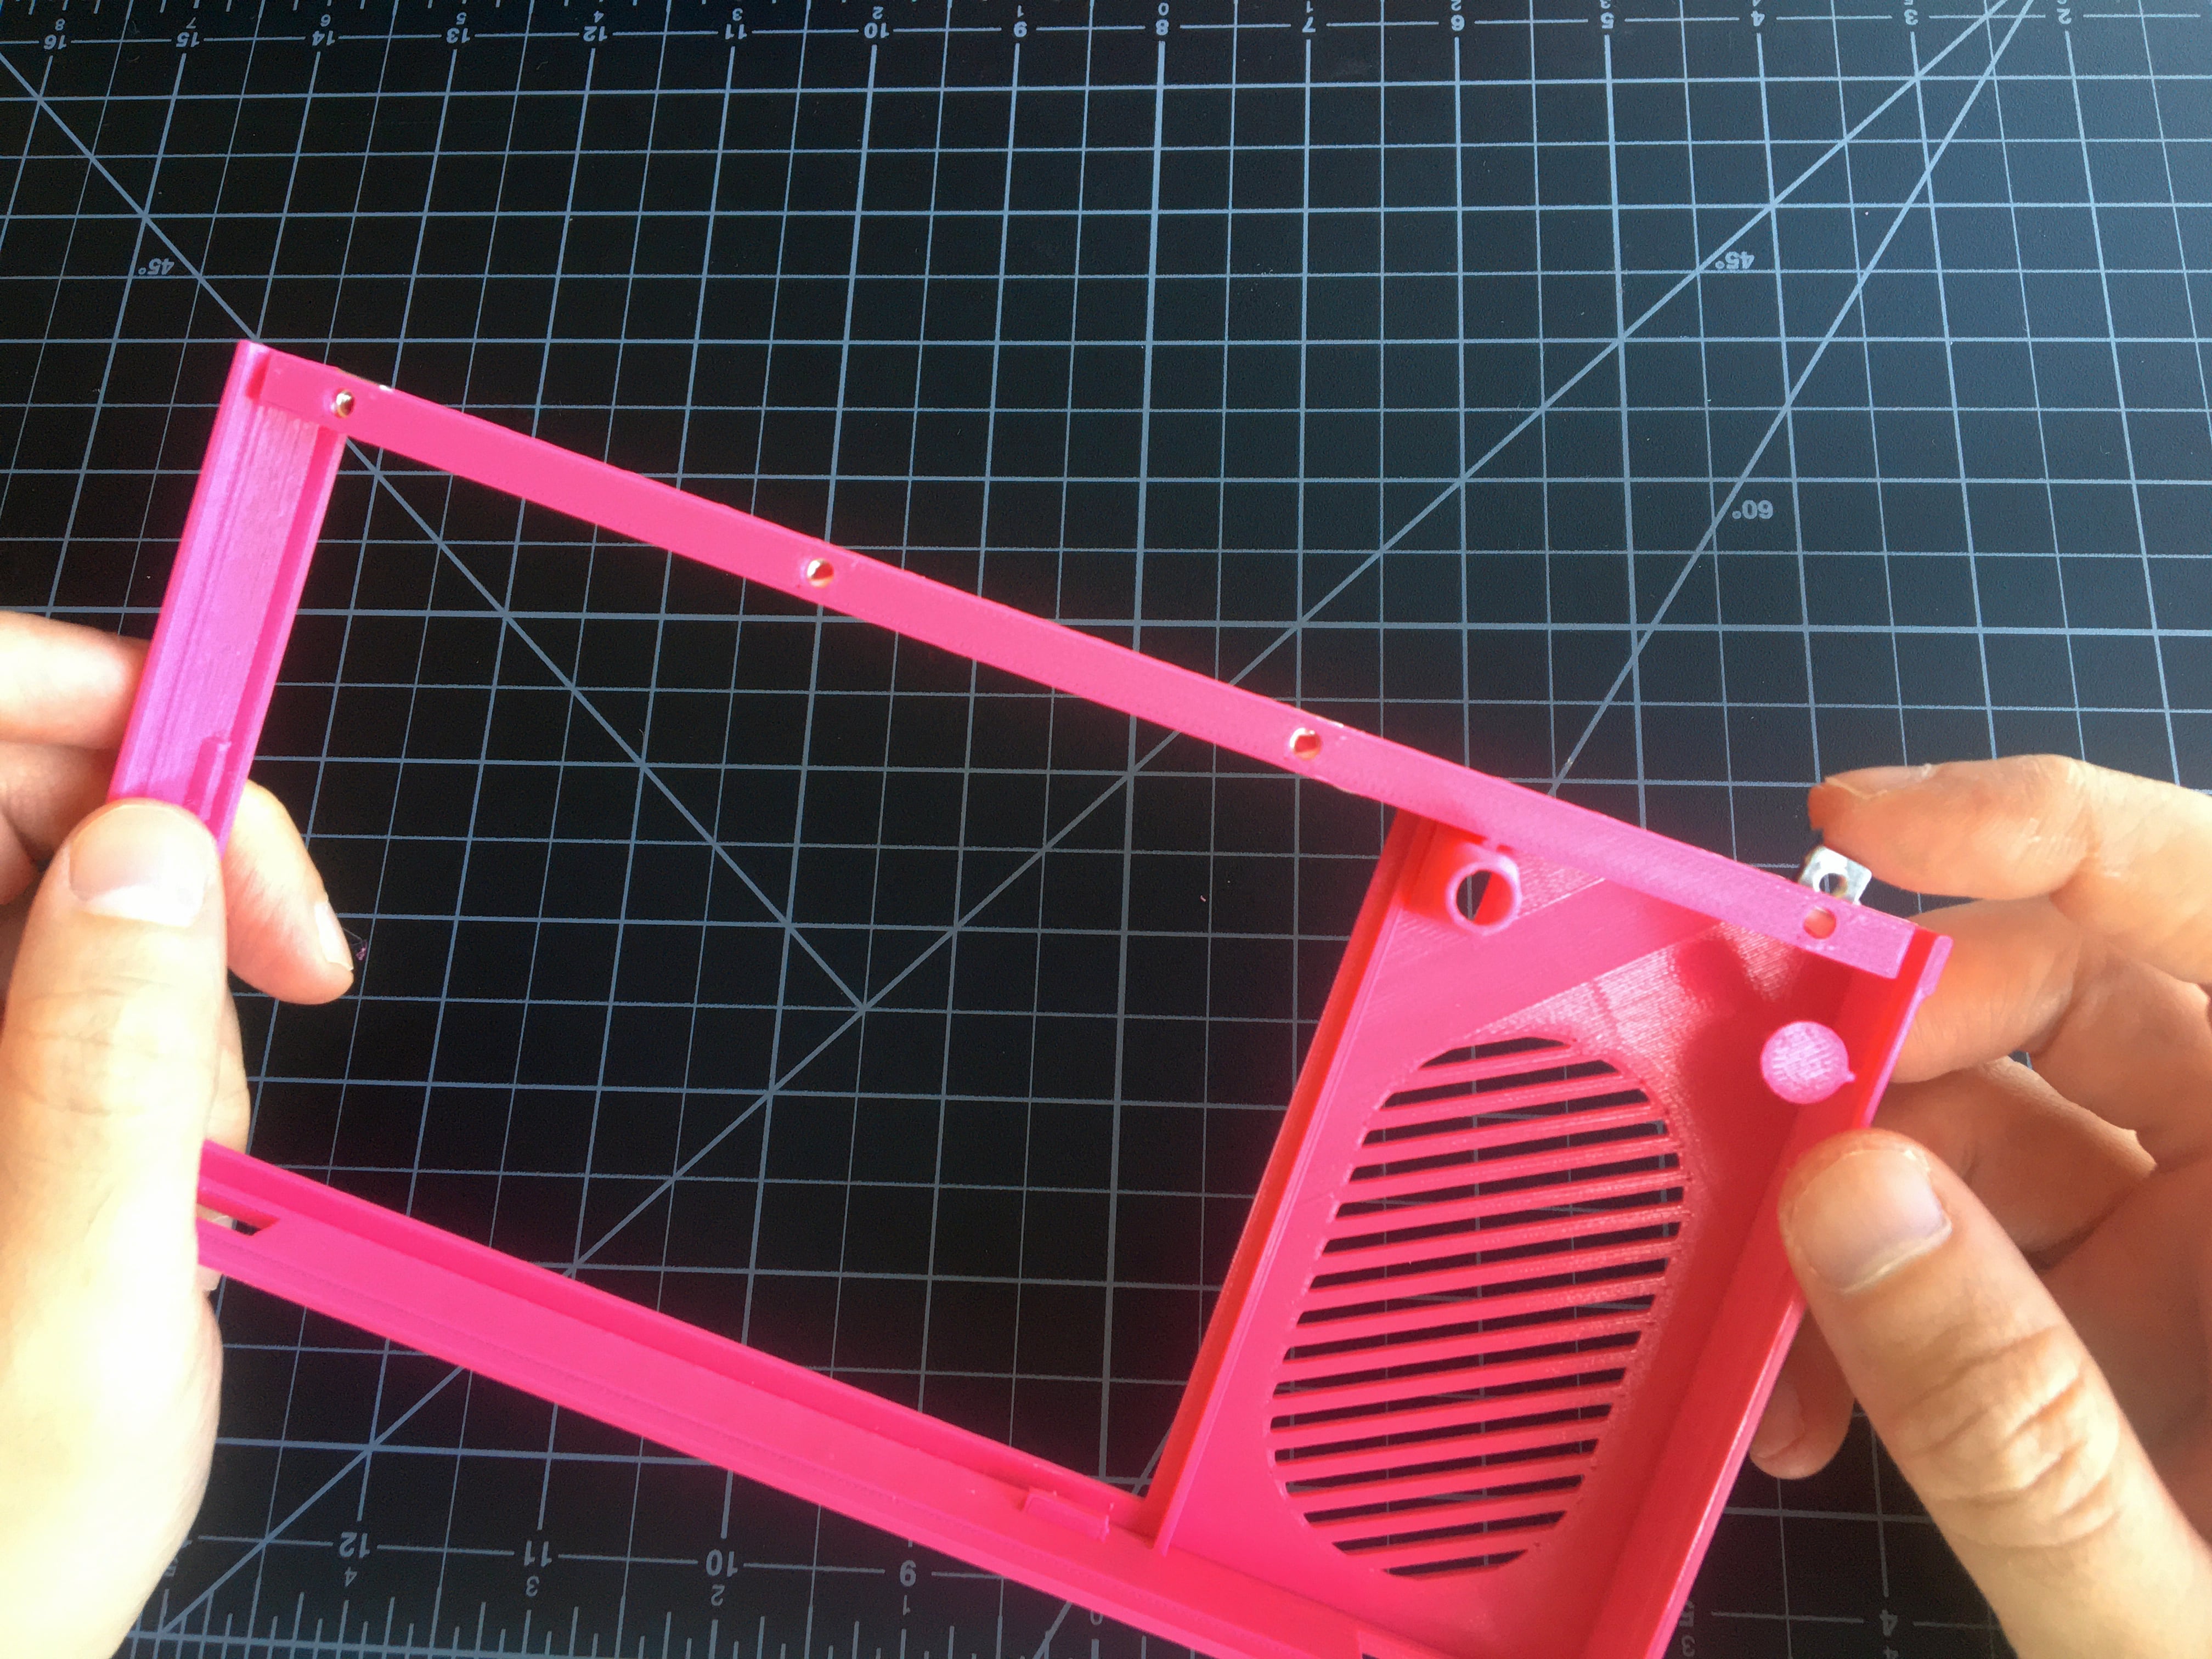
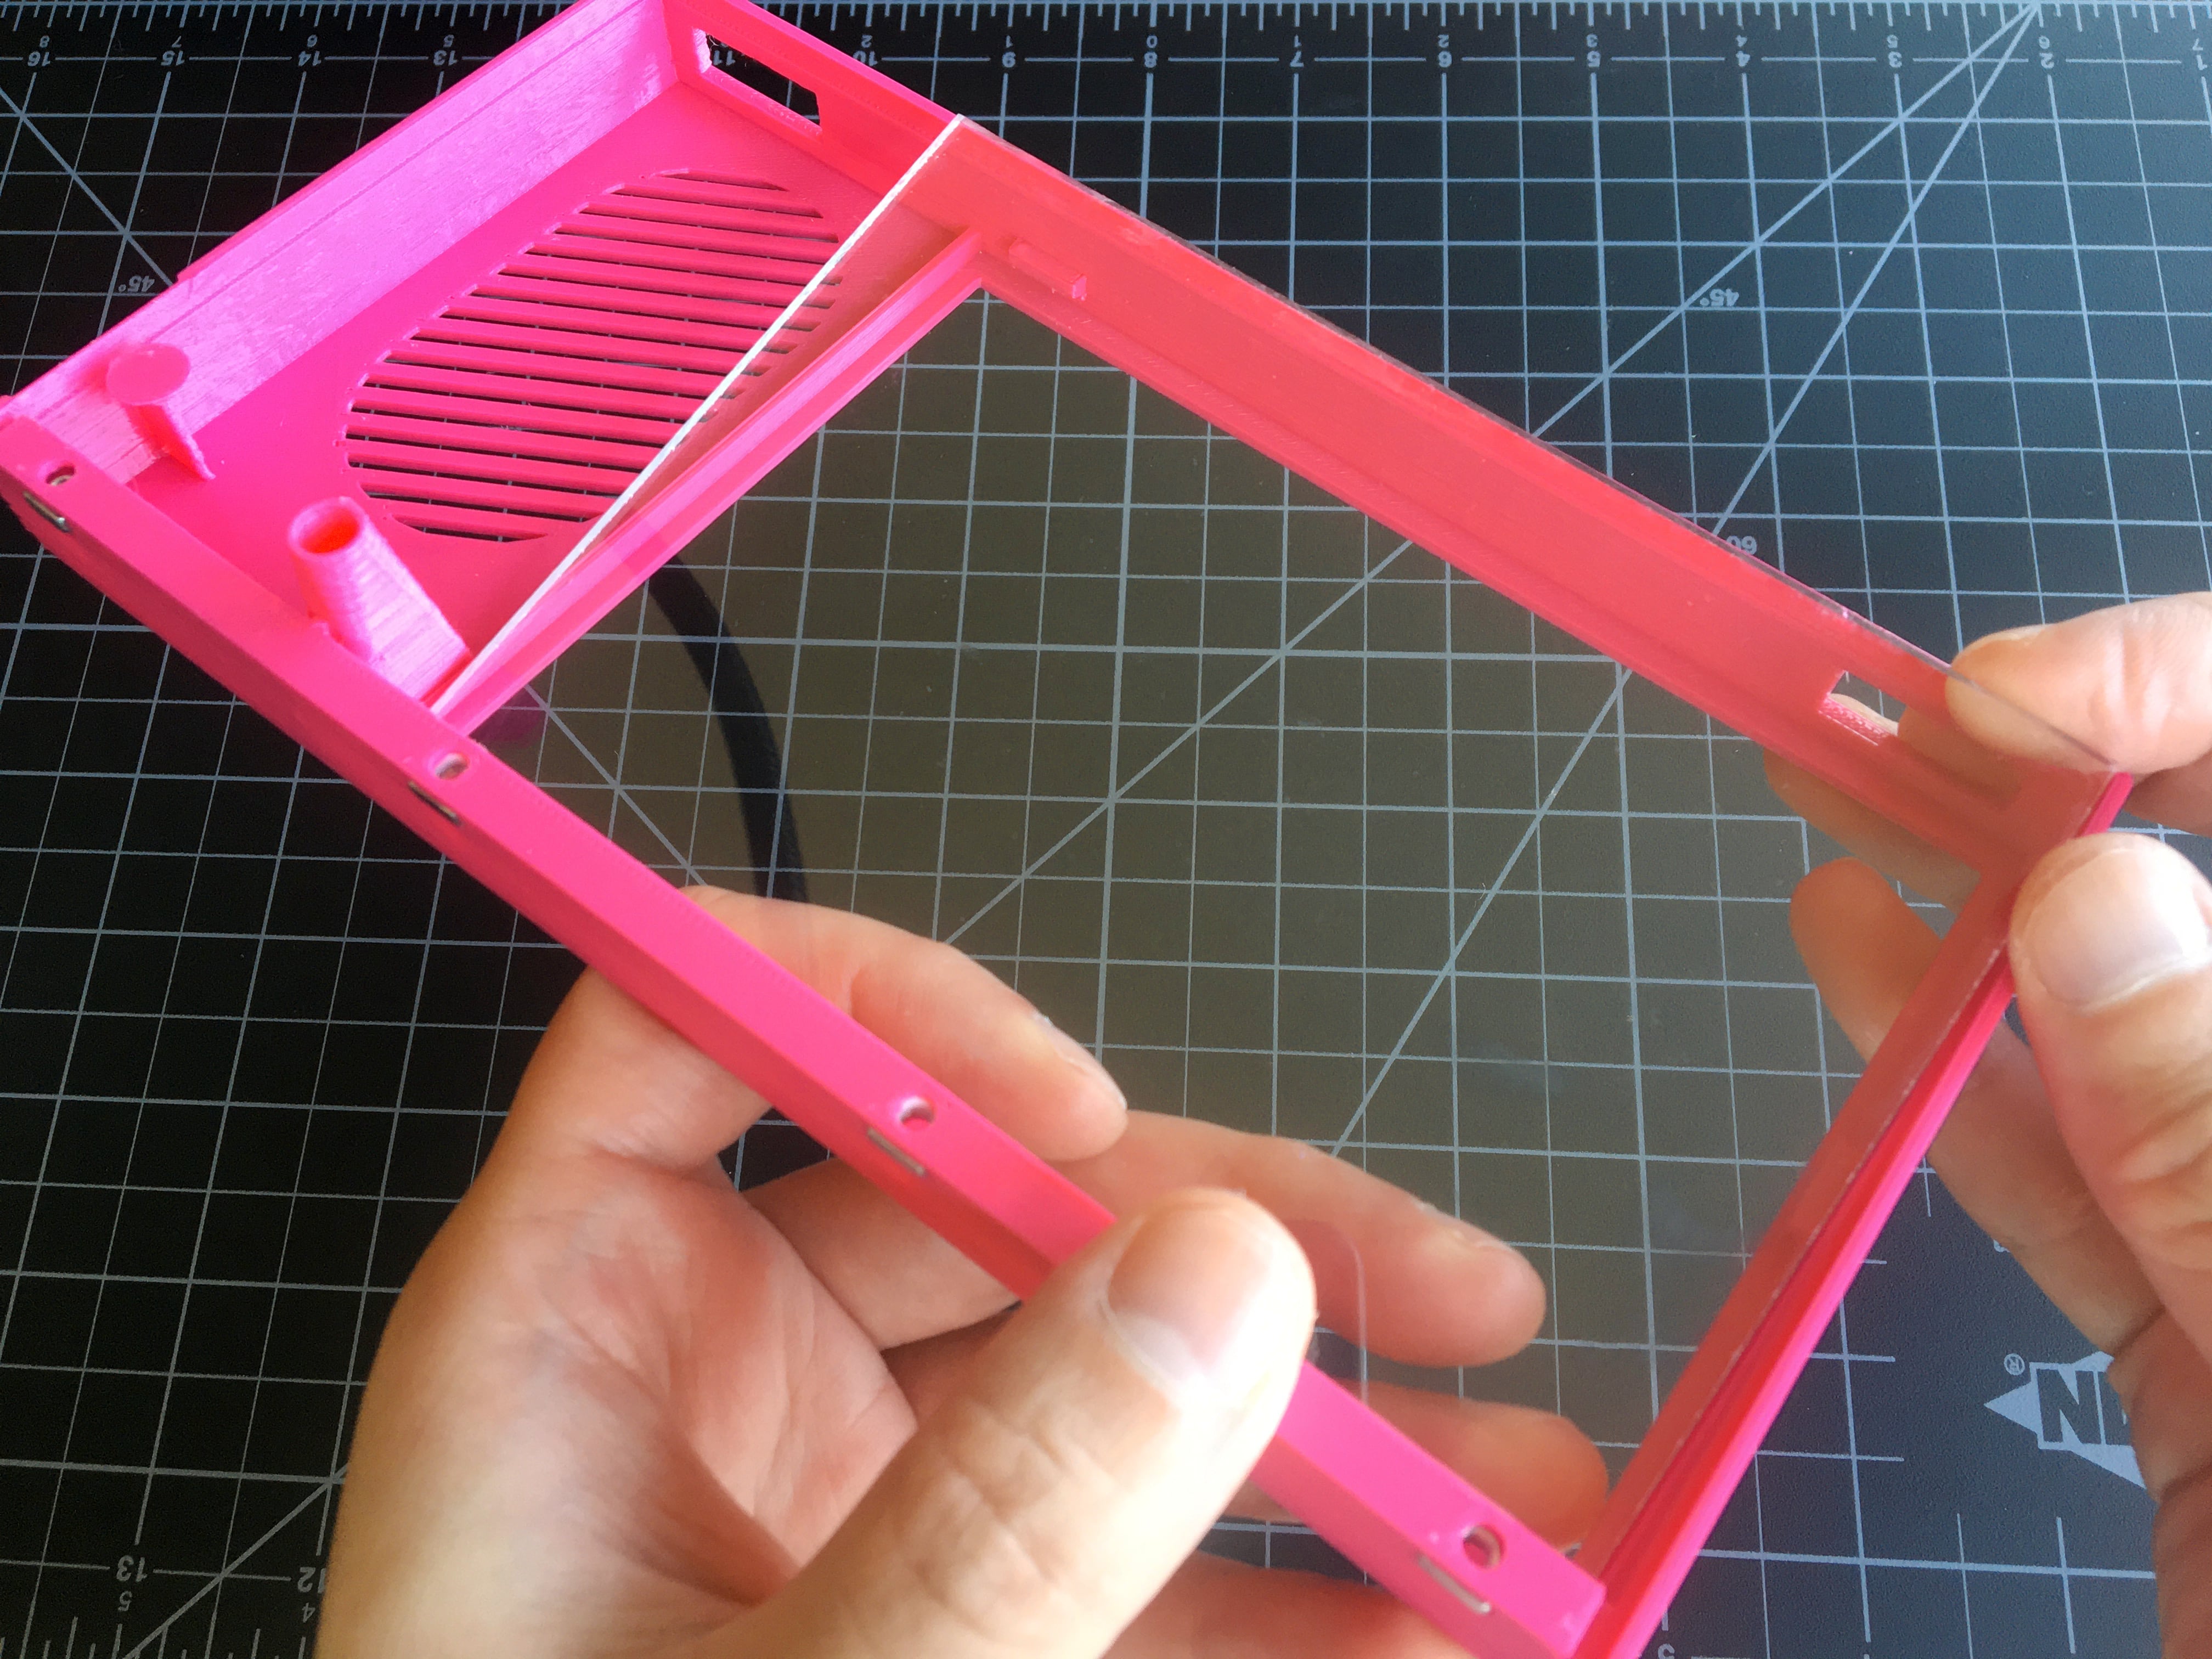
- Finish enclosure
- Insert 4 square nuts into the nut locks on the enclosure top. A small dab of glue here on each is optional but will help hold the nut in place the next time you disassemble.
- Remove protective film from plexiglass window pane and fit it into the enclosure top.
- It will fit but may be tight. If you're worried about breaking the enclosure top, you can use a utility knife to carefully trim down the two holder tabs to give the plexiglass window pane more room.
- Alternatively, if it's too loose, let a line of glue dry in the long cavity under the nuts. Repeat until the fit is snug.
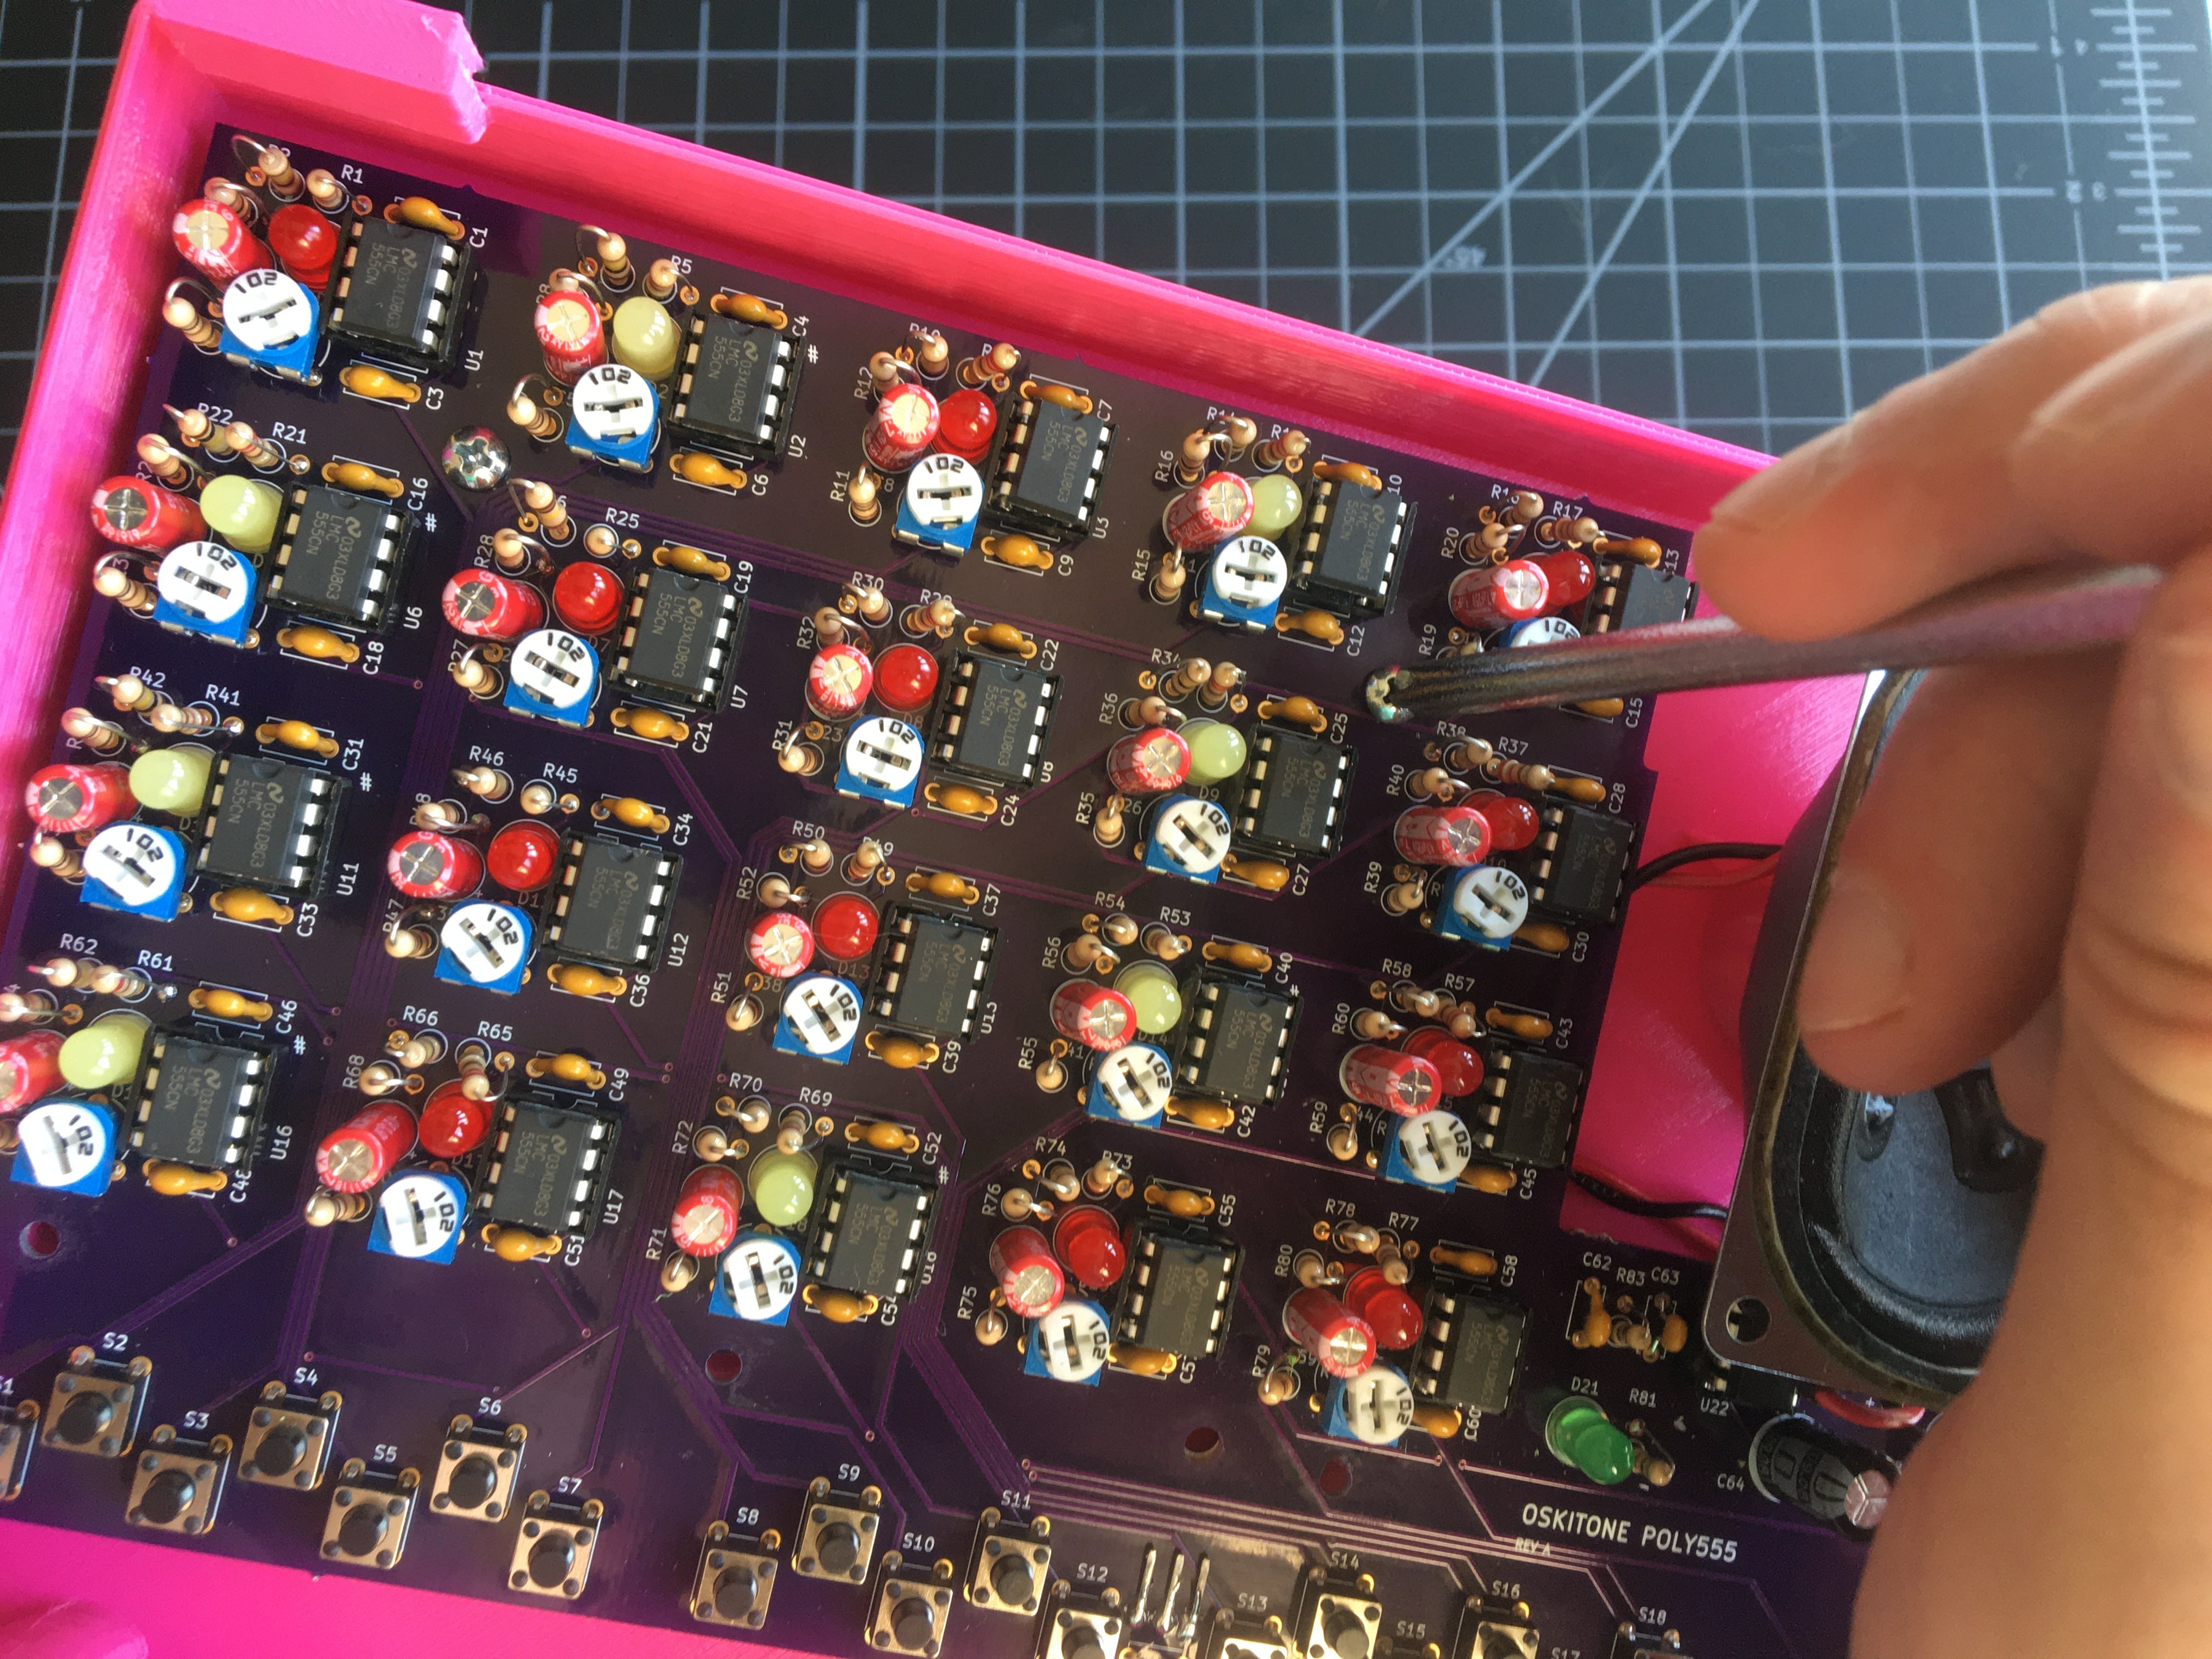
- We're about to lock it up, so now's a good time to make sure your POLY555 is fully tuned and has a good battery. Oh, clean any smudges off the inside window now too.
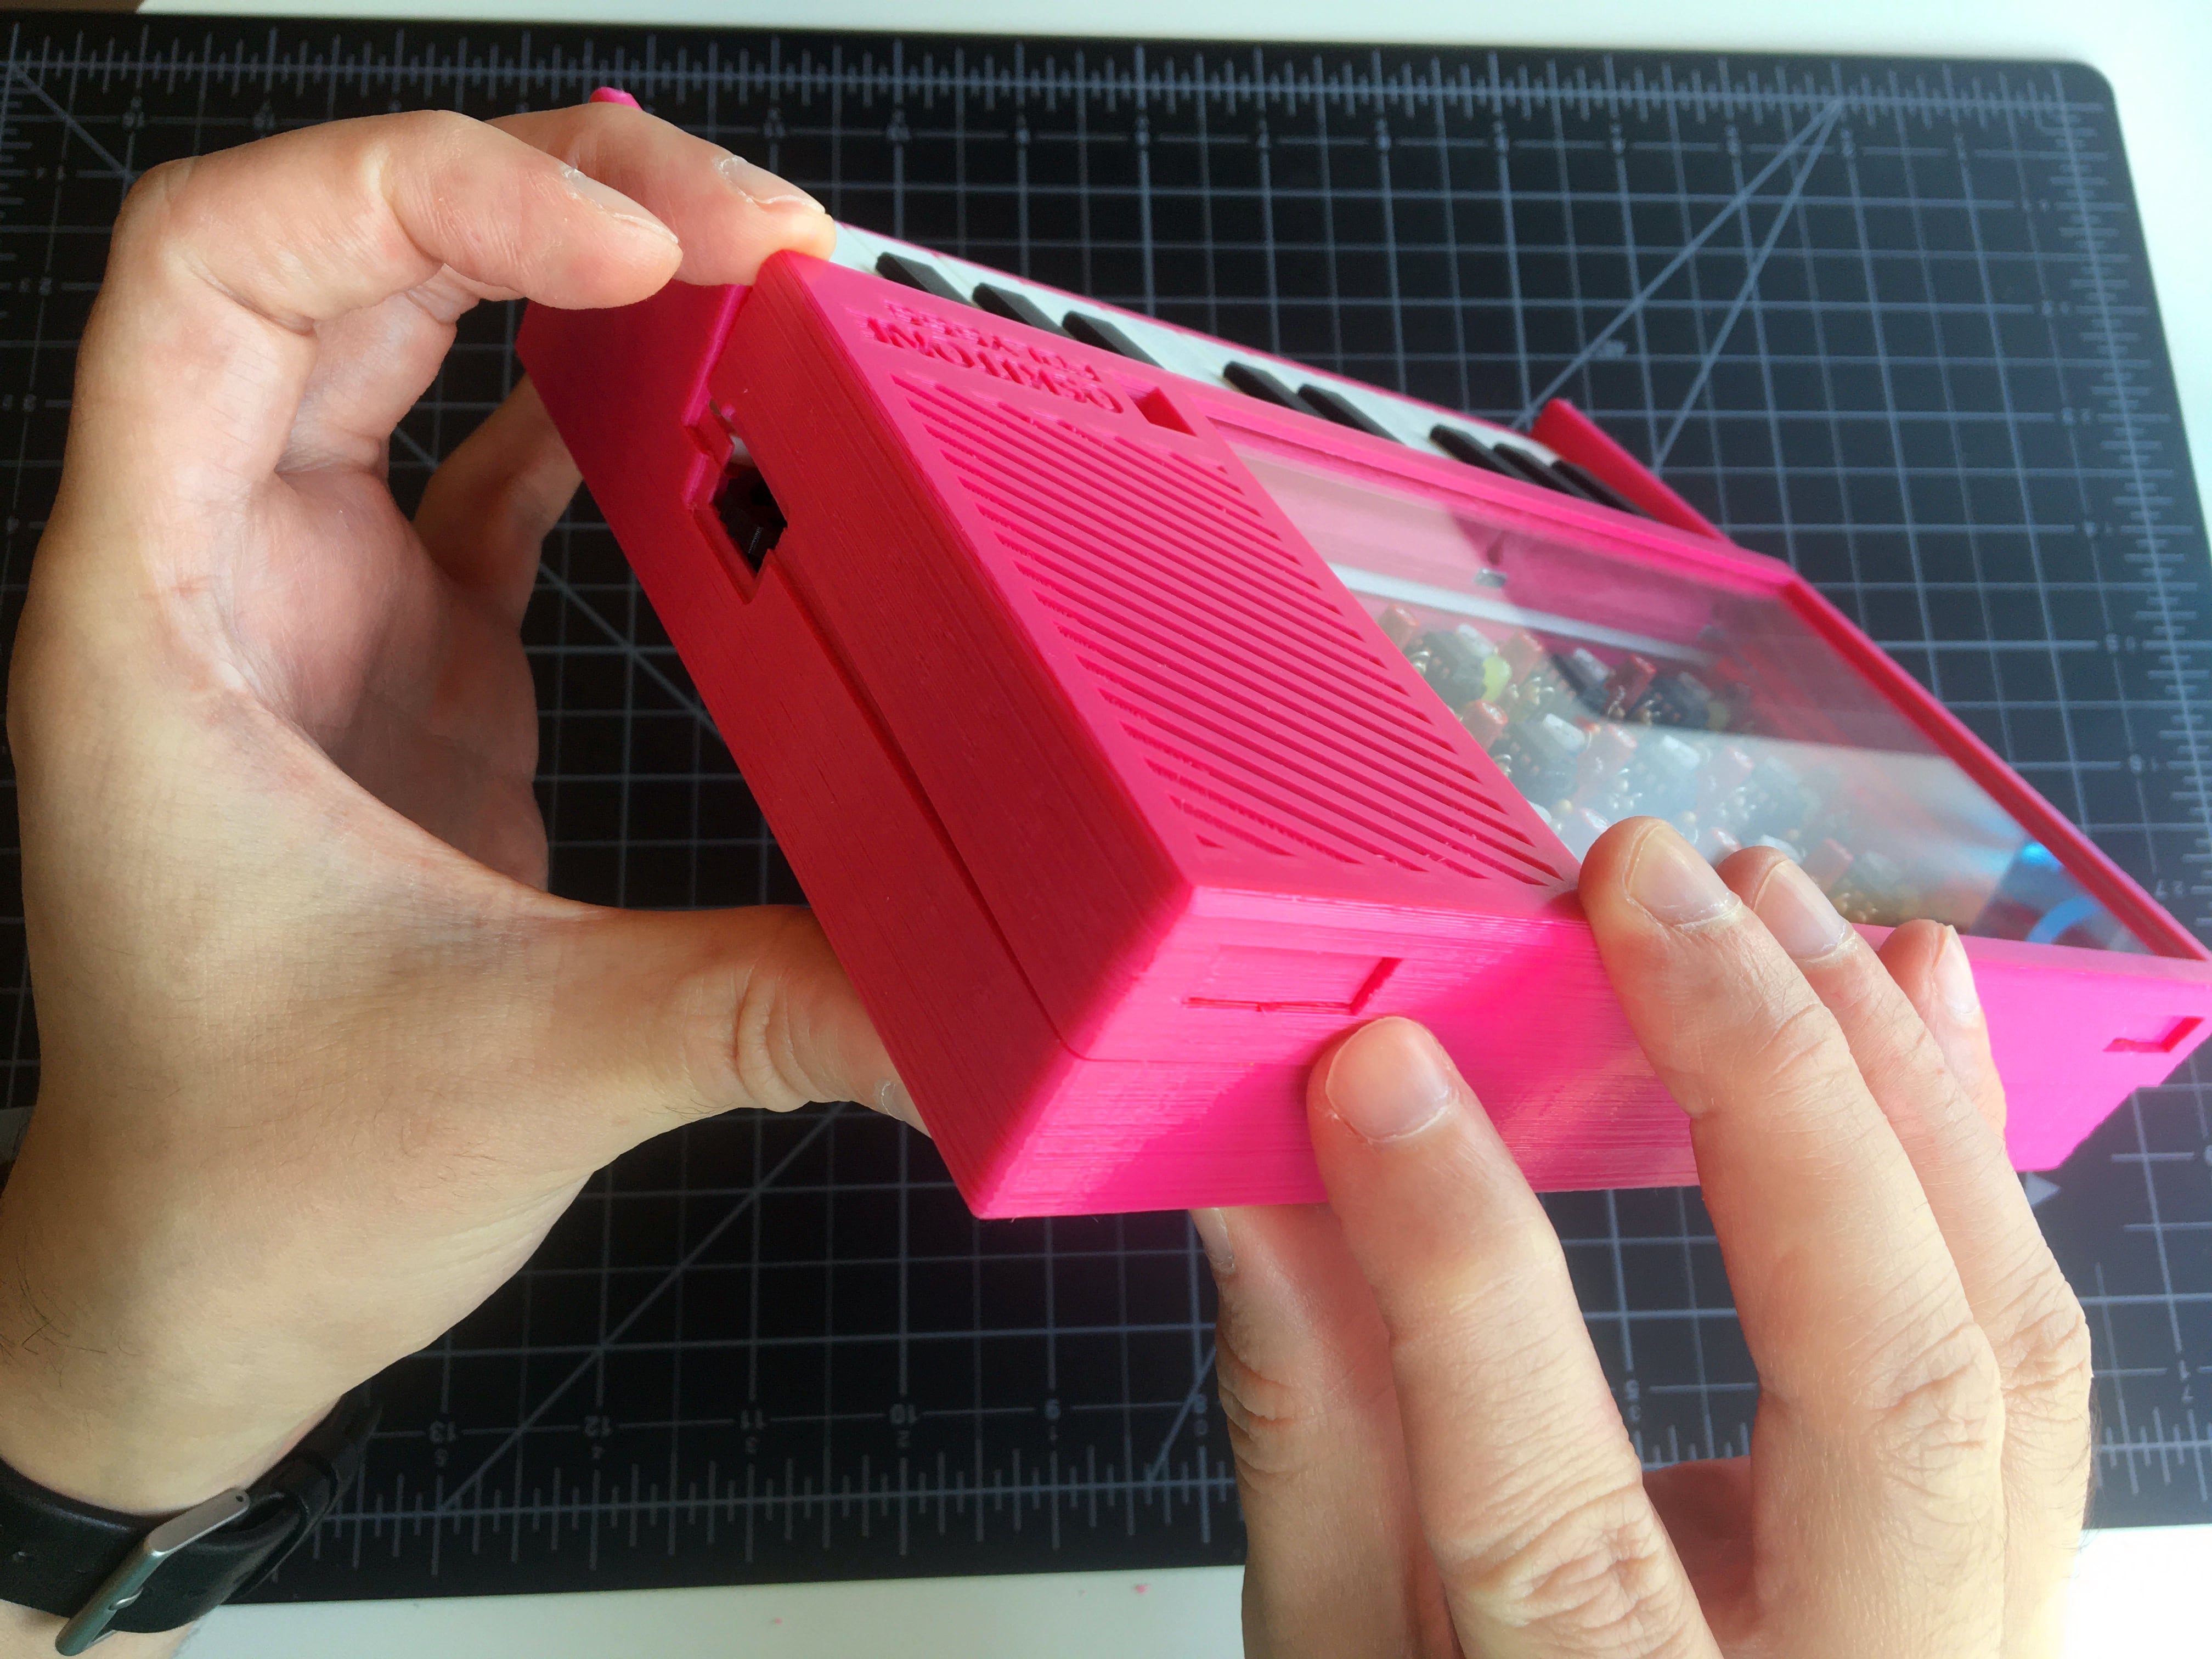
- Gently align the two enclosure halves, fitting the back hitches on the bottom into their matching cavities on the top.

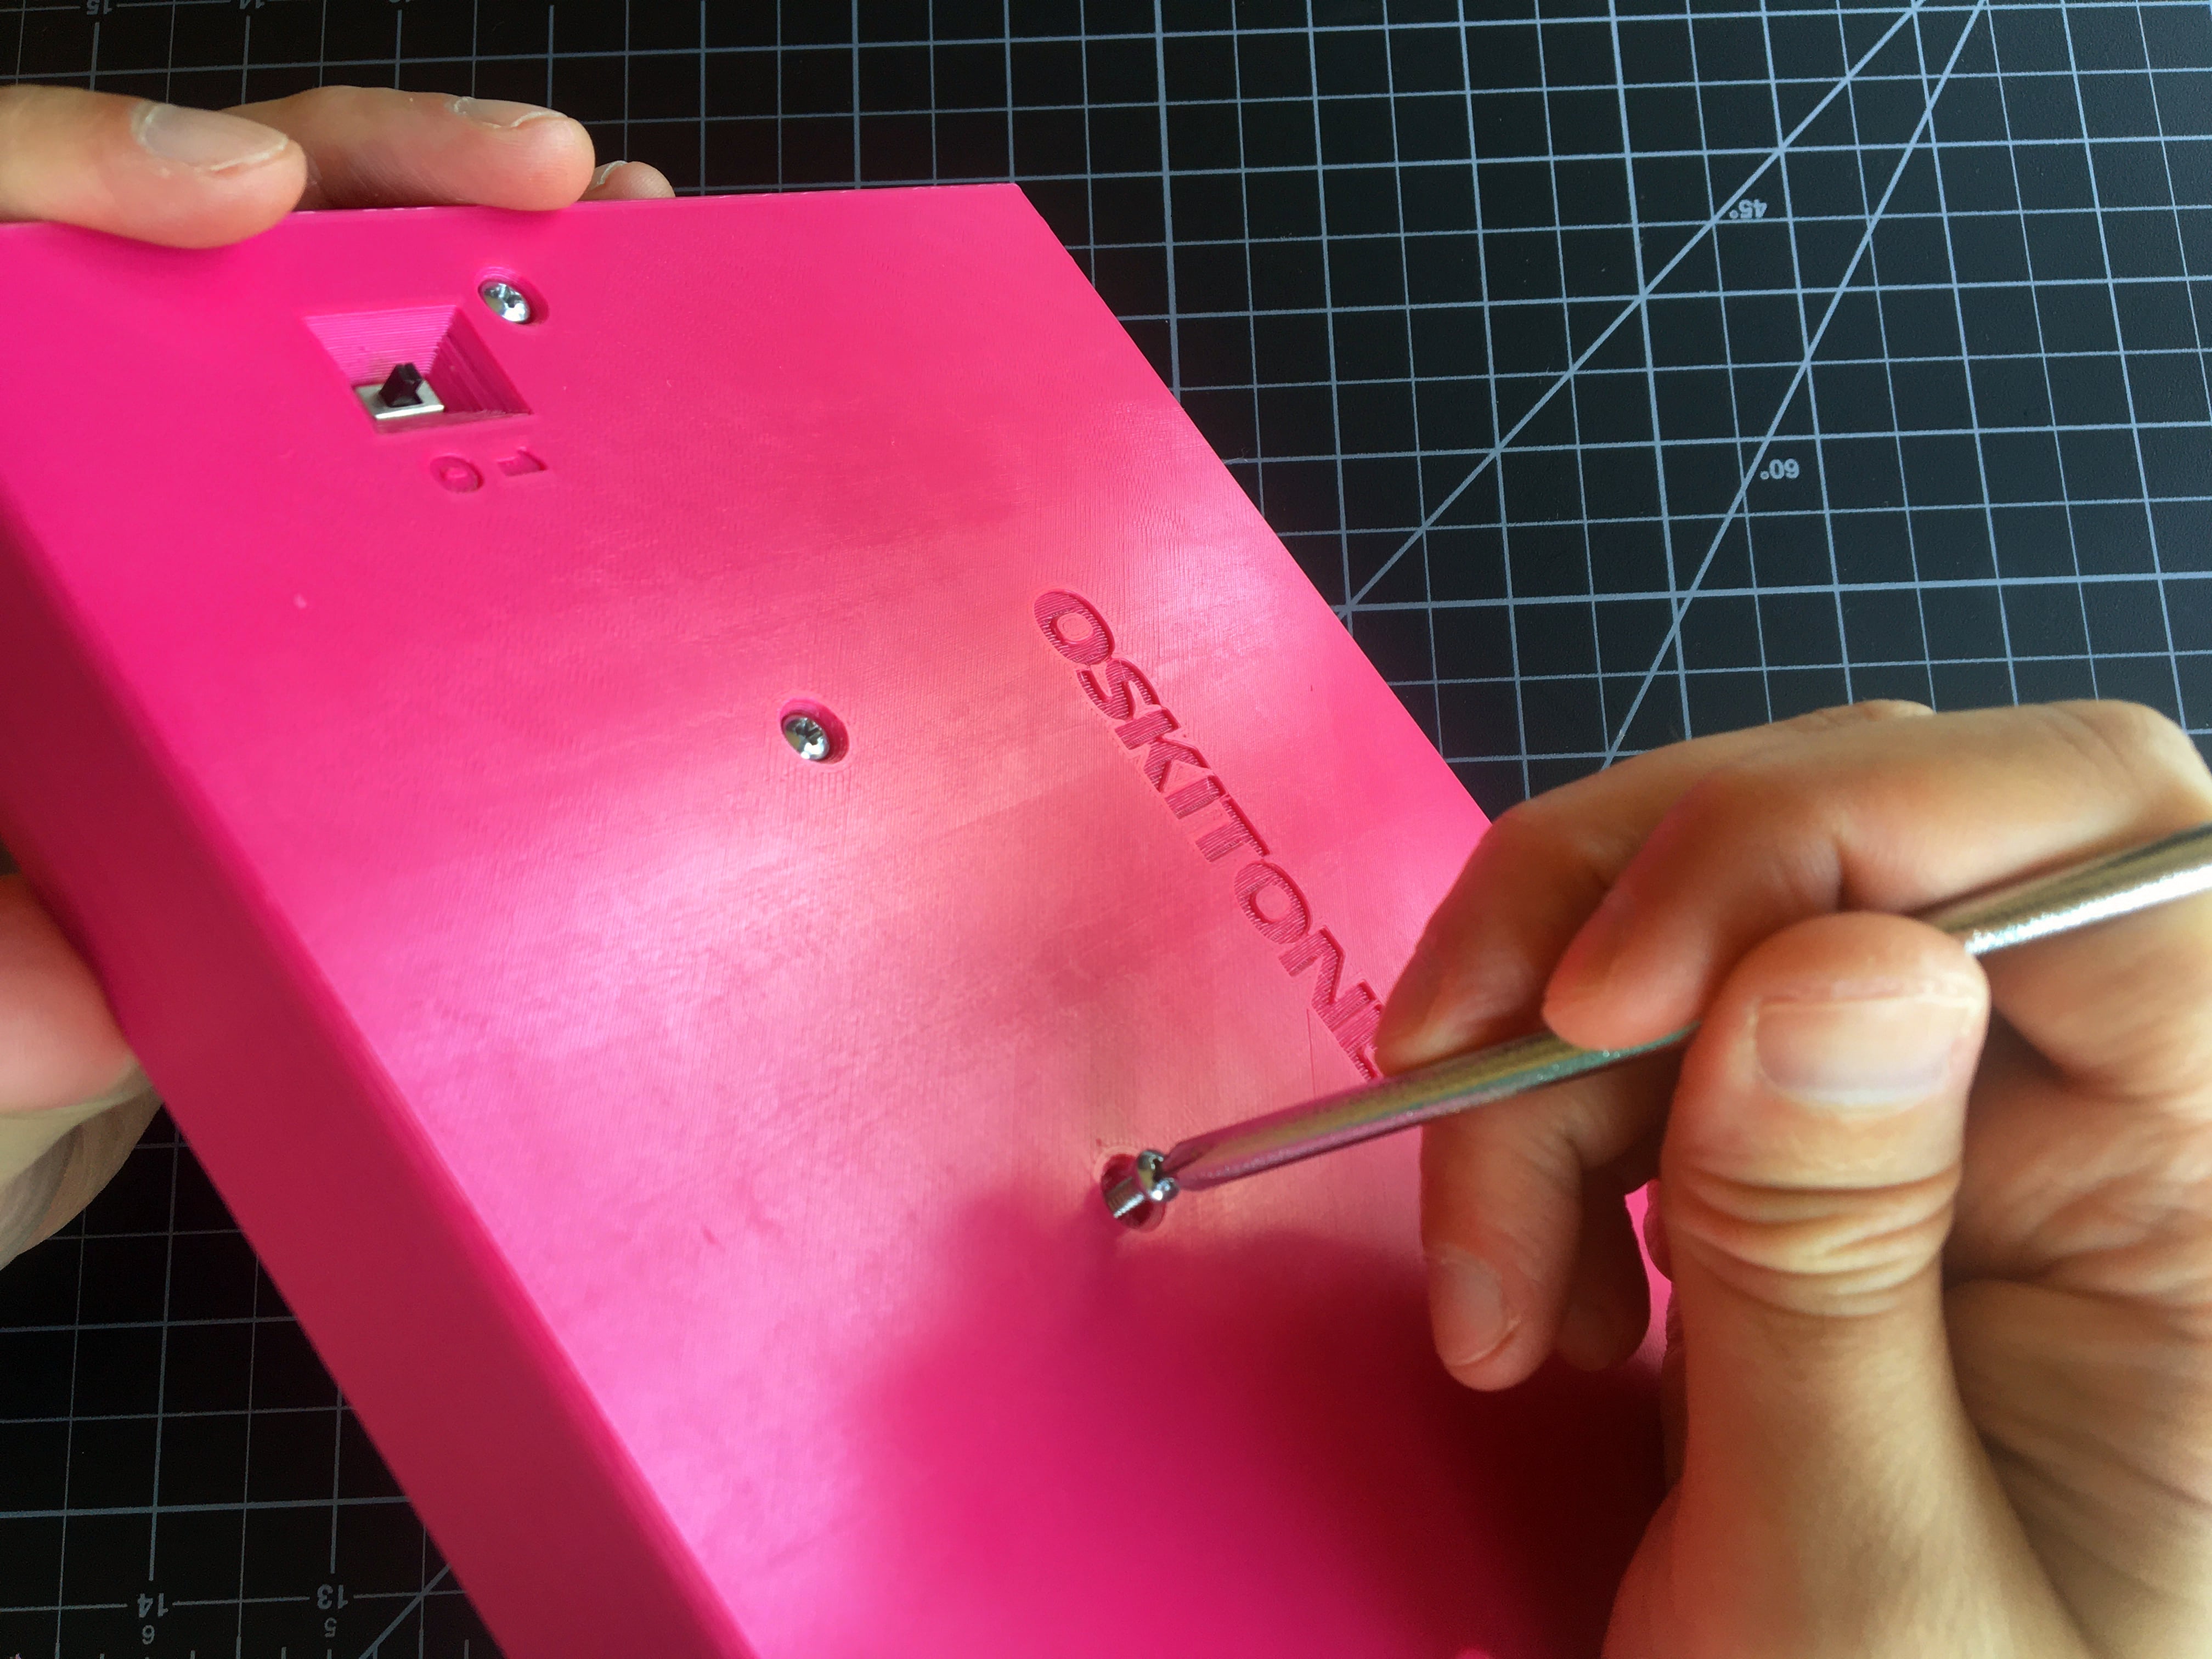
- Srew 4 1" screws into the four mounting rail holes on the bottom of the enclosure. Don't overtighten!

- Insert 4 square nuts into the nut locks on the enclosure top. A small dab of glue here on each is optional but will help hold the nut in place the next time you disassemble.


All Done!#
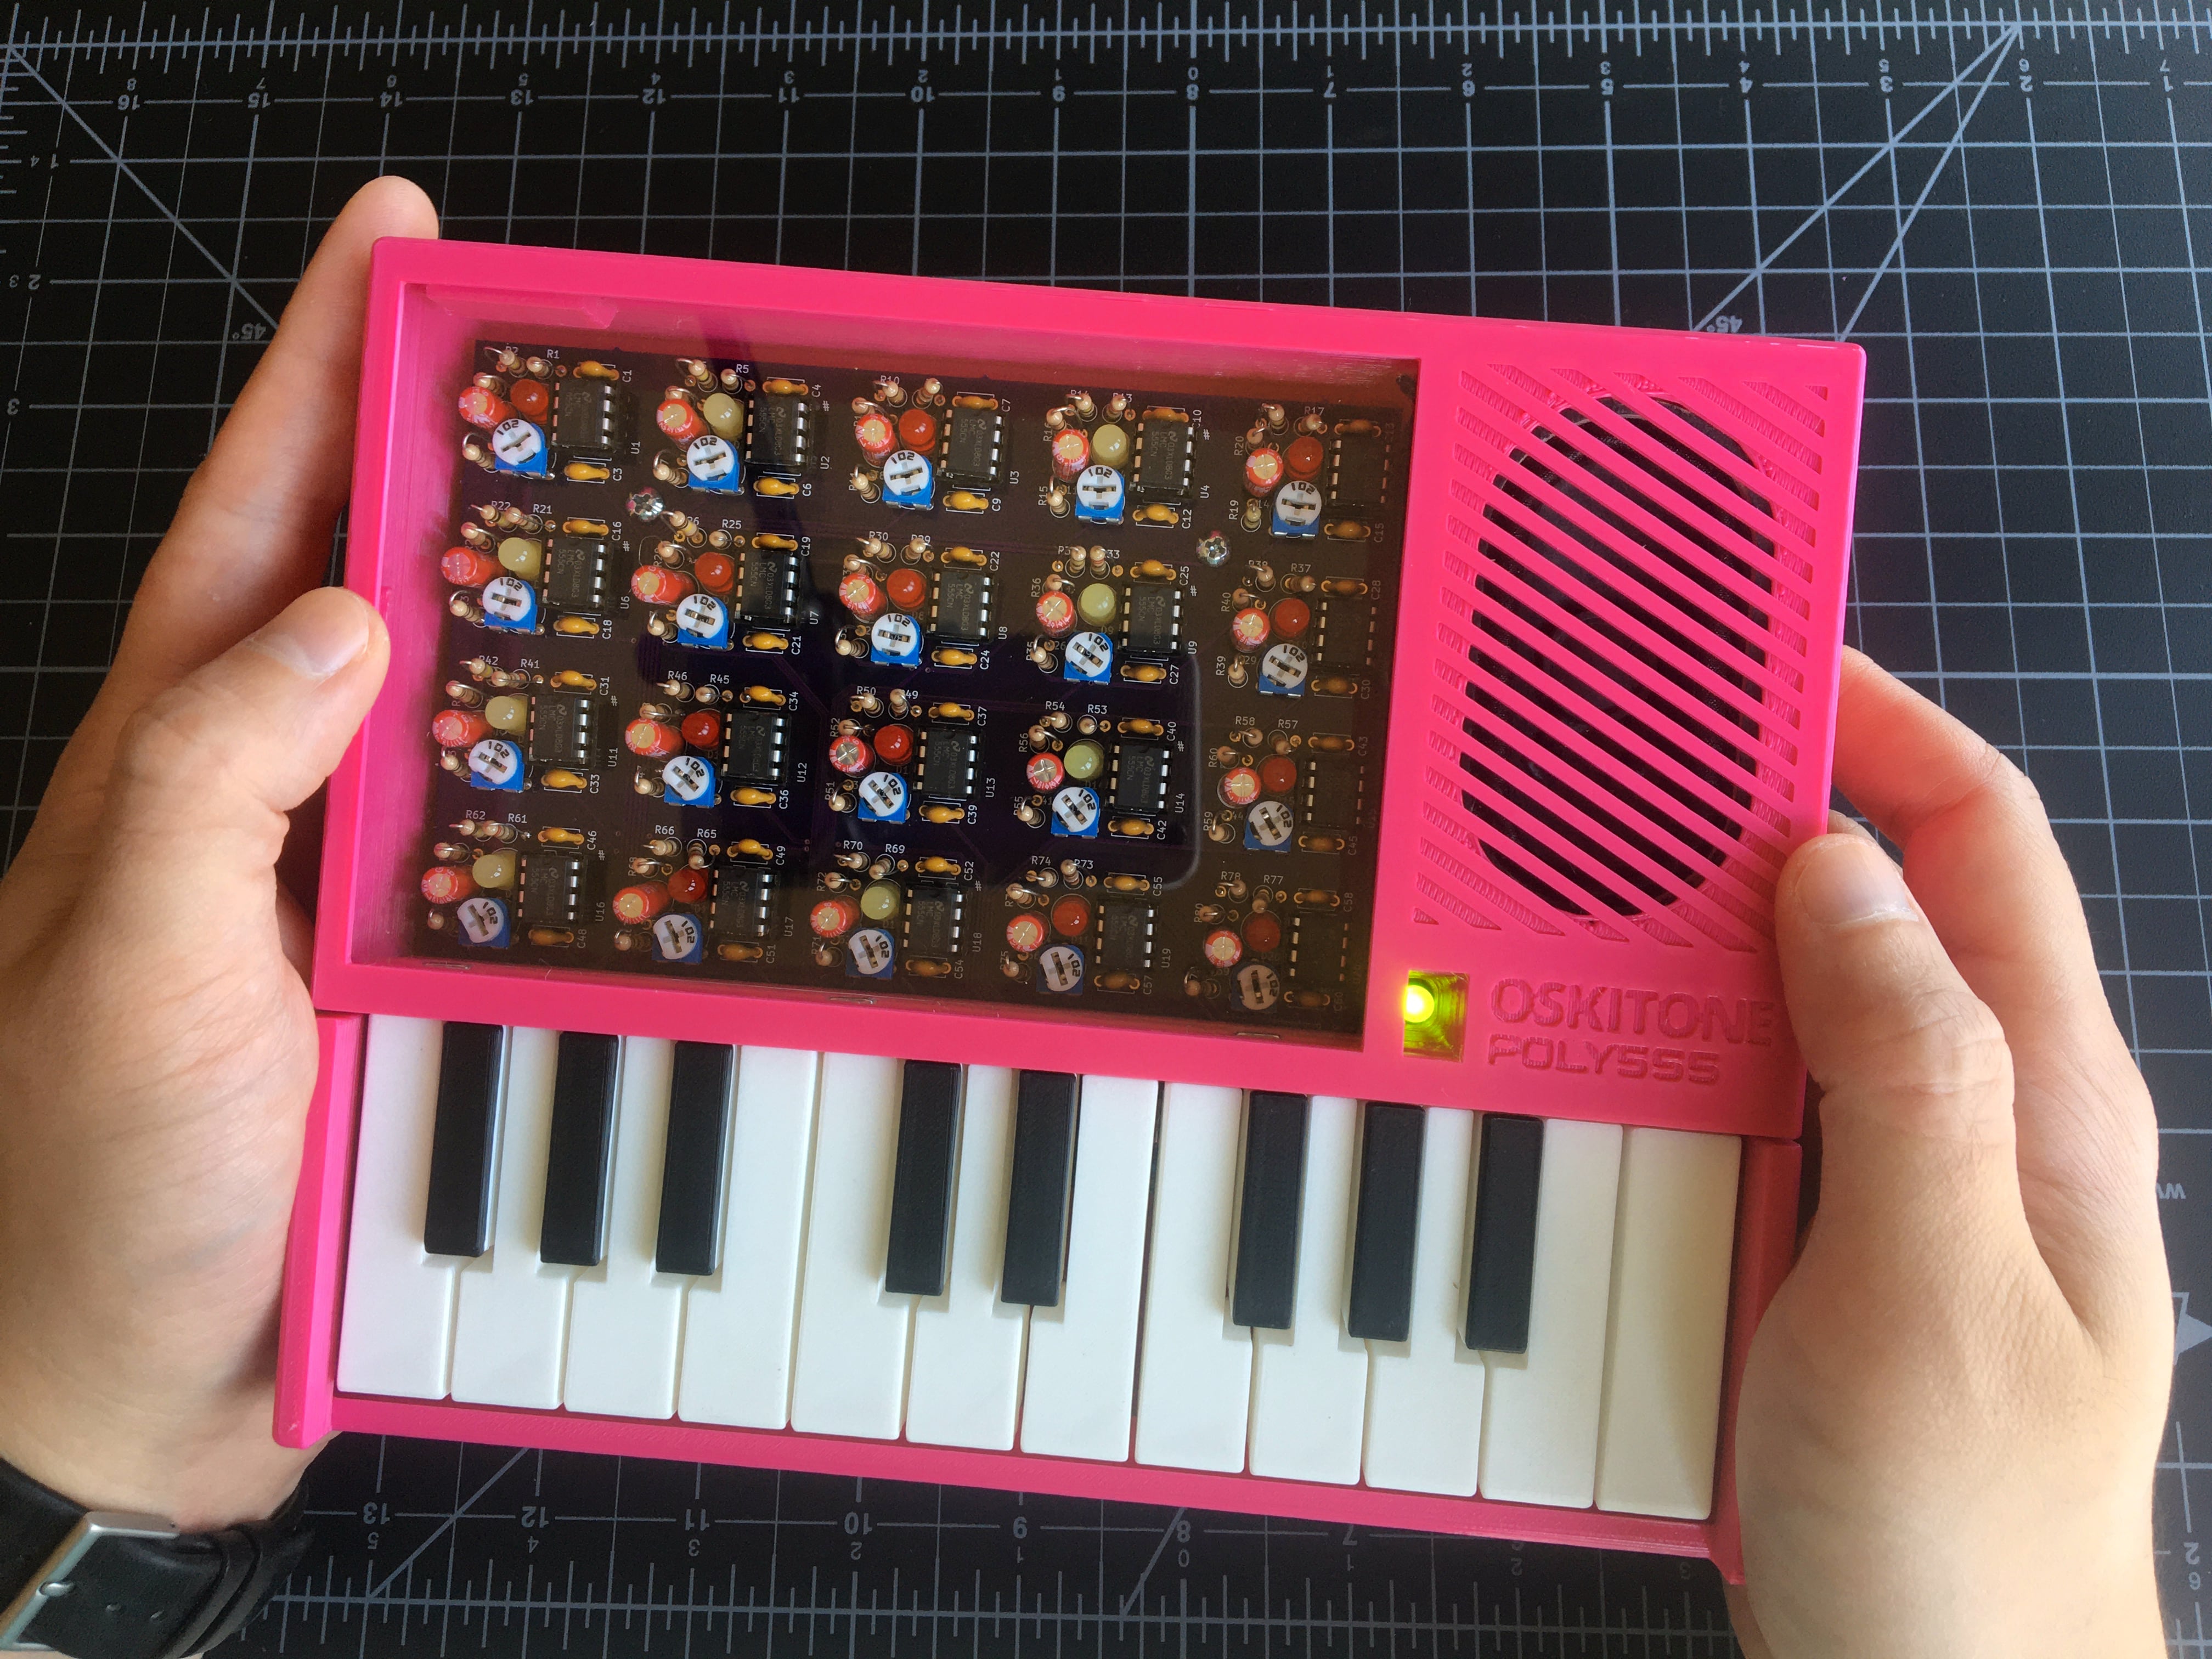
You’re done!!
Take a selfie with your brand new and very incredible POLY555 synthesizer. Feel good! You're the best!!
Feedback#
When you can, please let me know how it went for you:
- What did you like? Did you have fun?!
- Not including printing time, about how long did it take?
- Were there any parts missing or damaged?
- Any problems encountered with the instructions?
- Is there anything you'd change about the POLY555 itself?
I act and rely on customers' feedback to make future kits even better. Thank you so much!