3D-Printing Post-Printing
note
If you bought the kit with the 3D-printed parts included, you can skip this part!
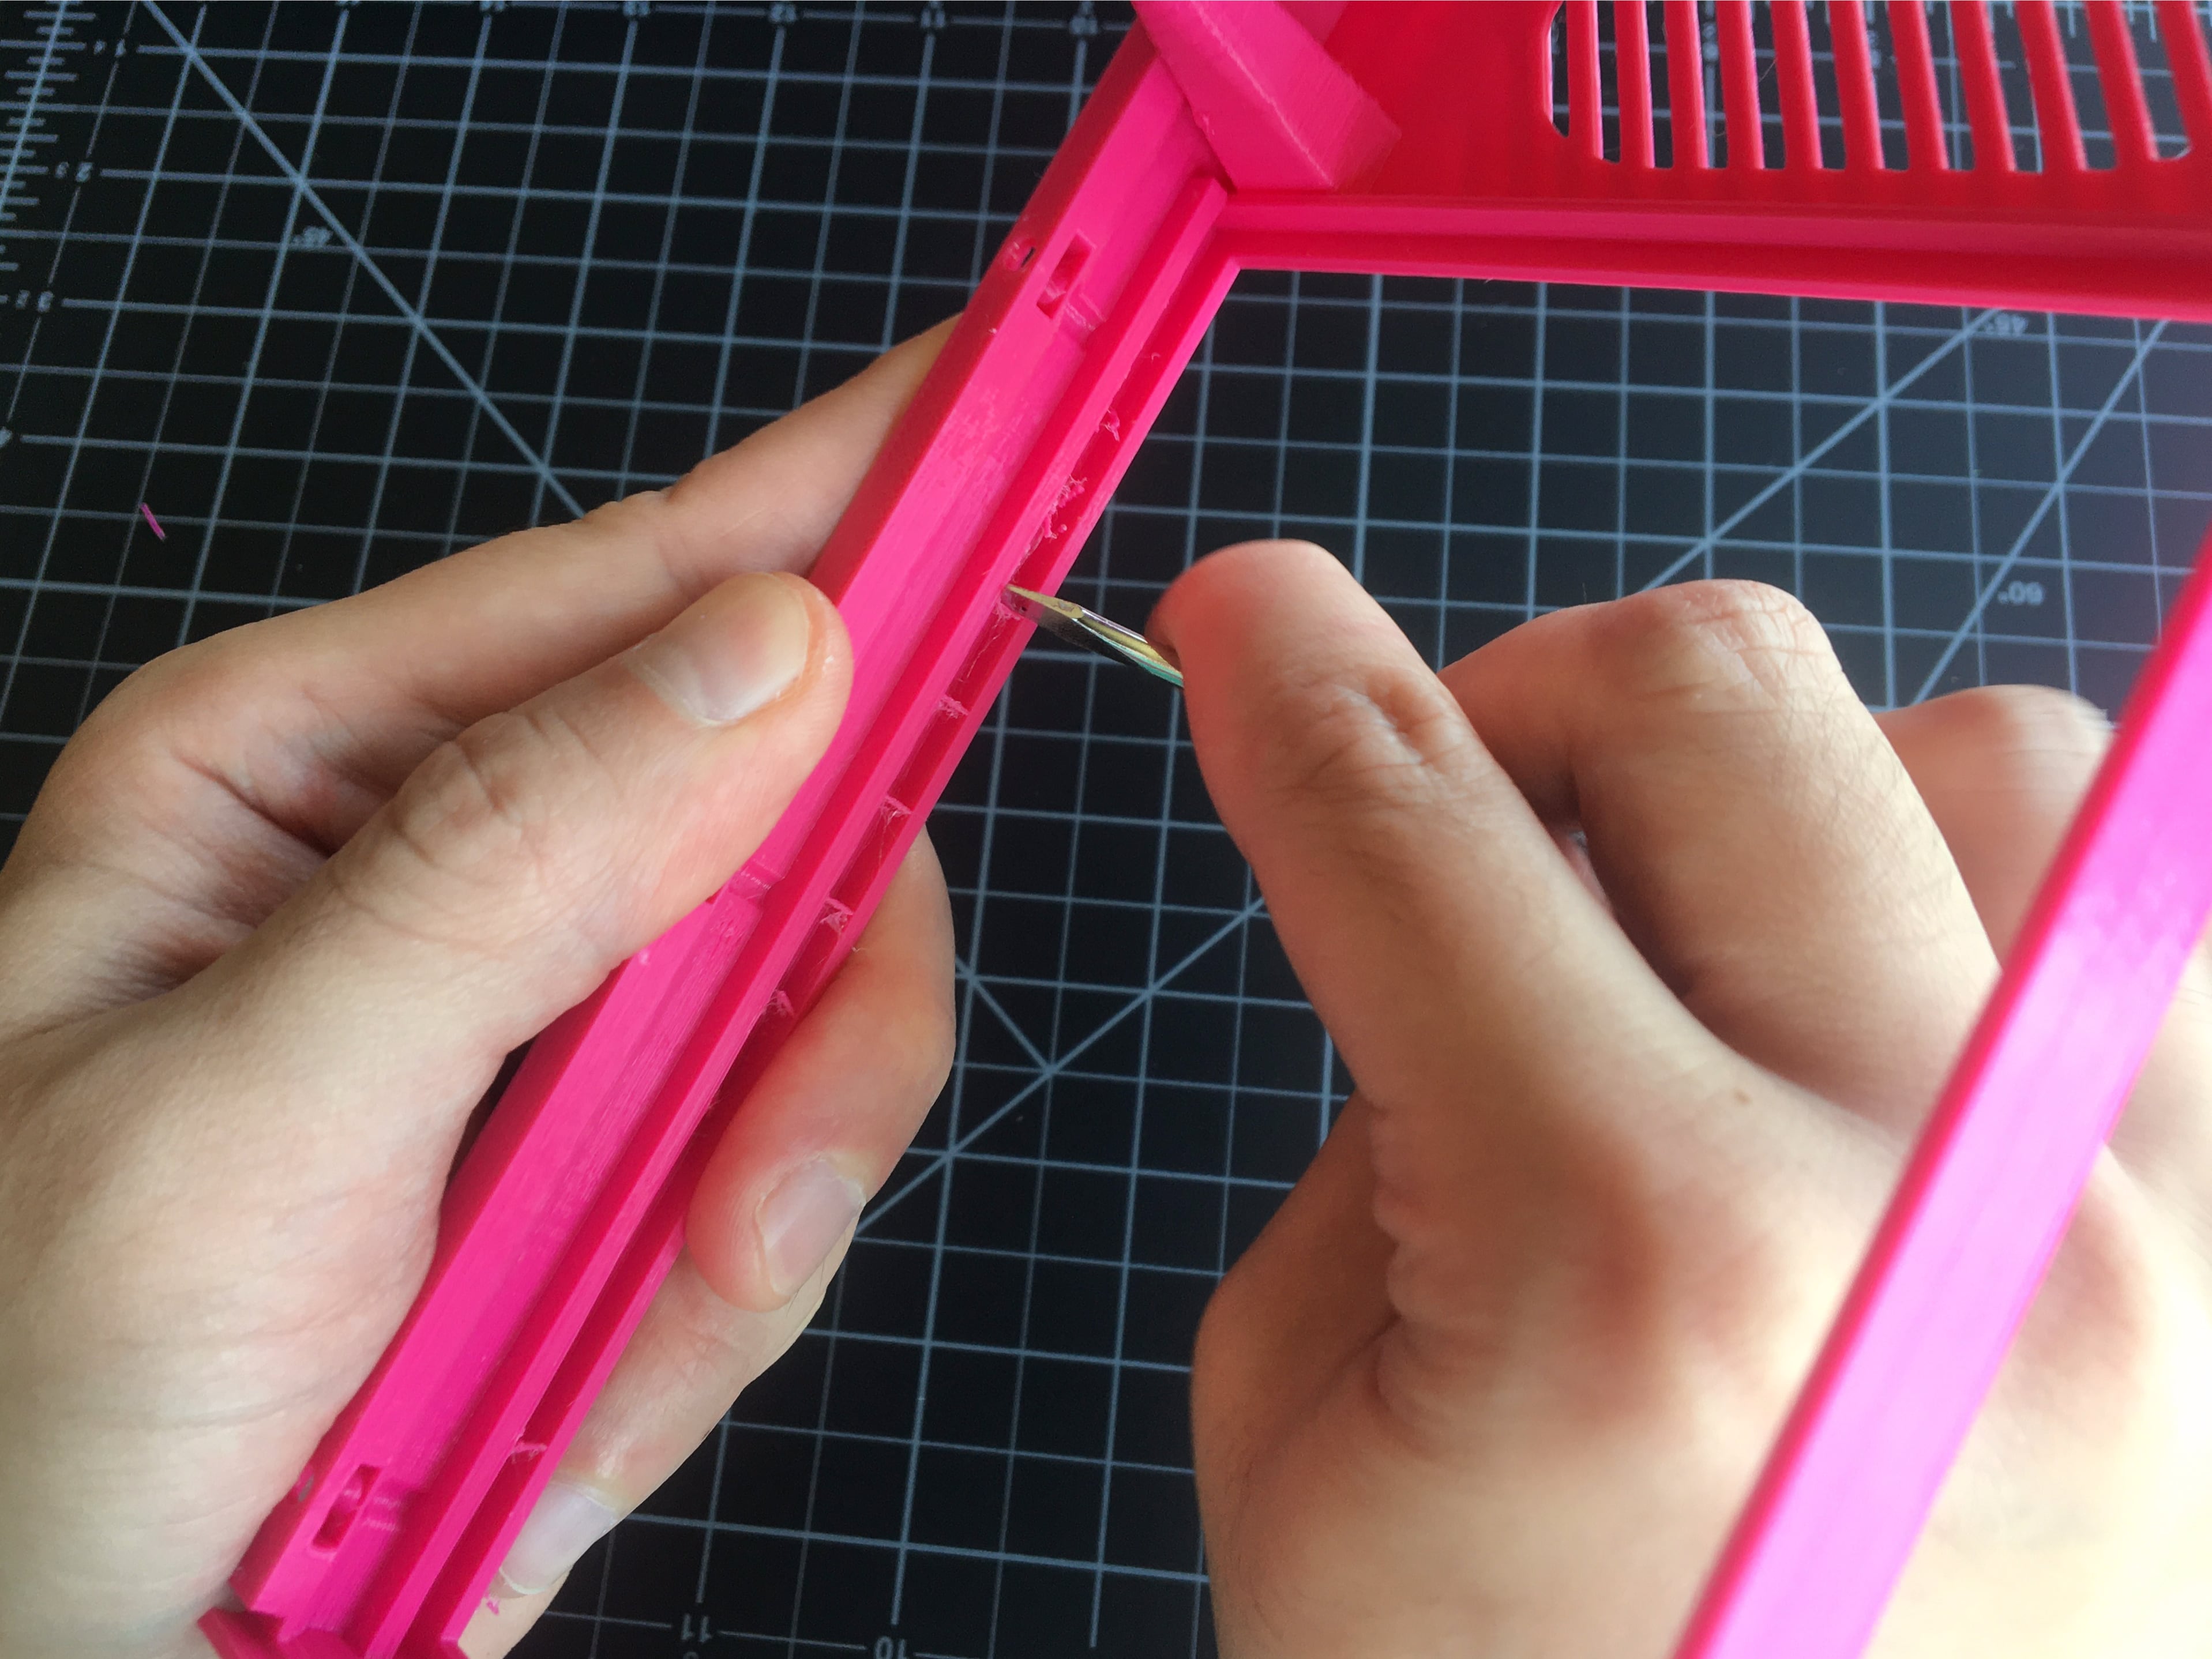
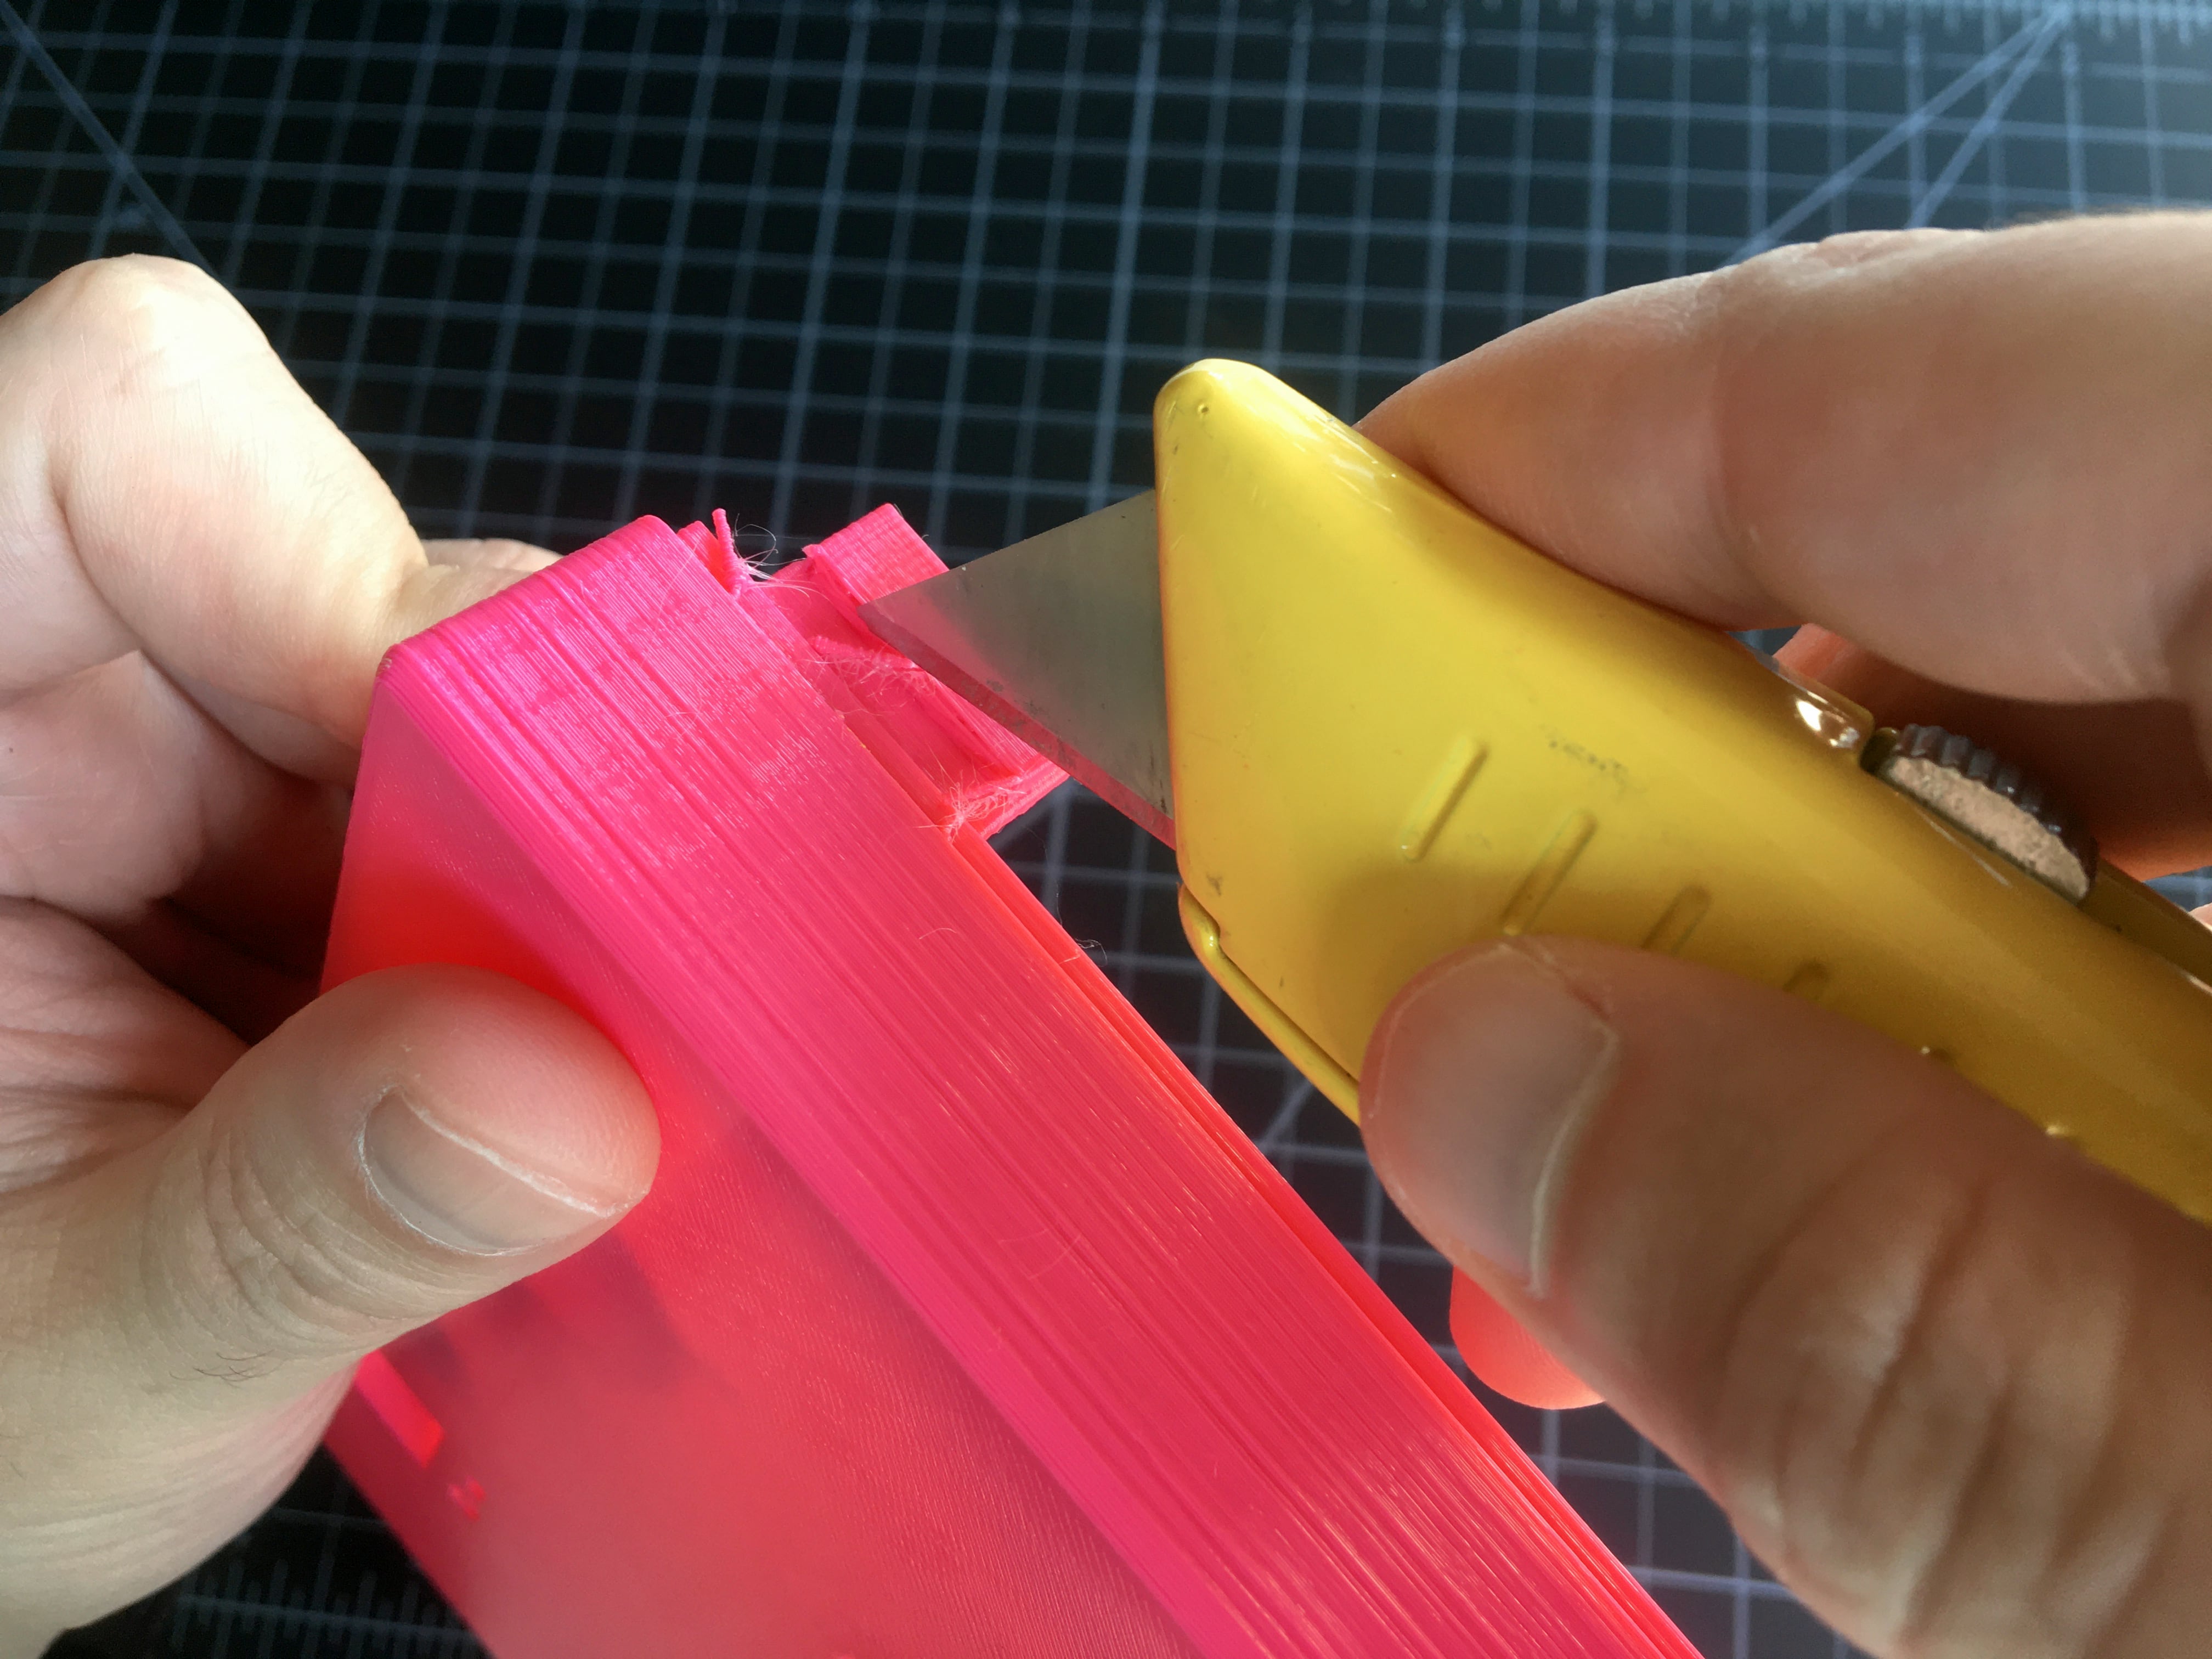
- Cut or pull away any stringing.
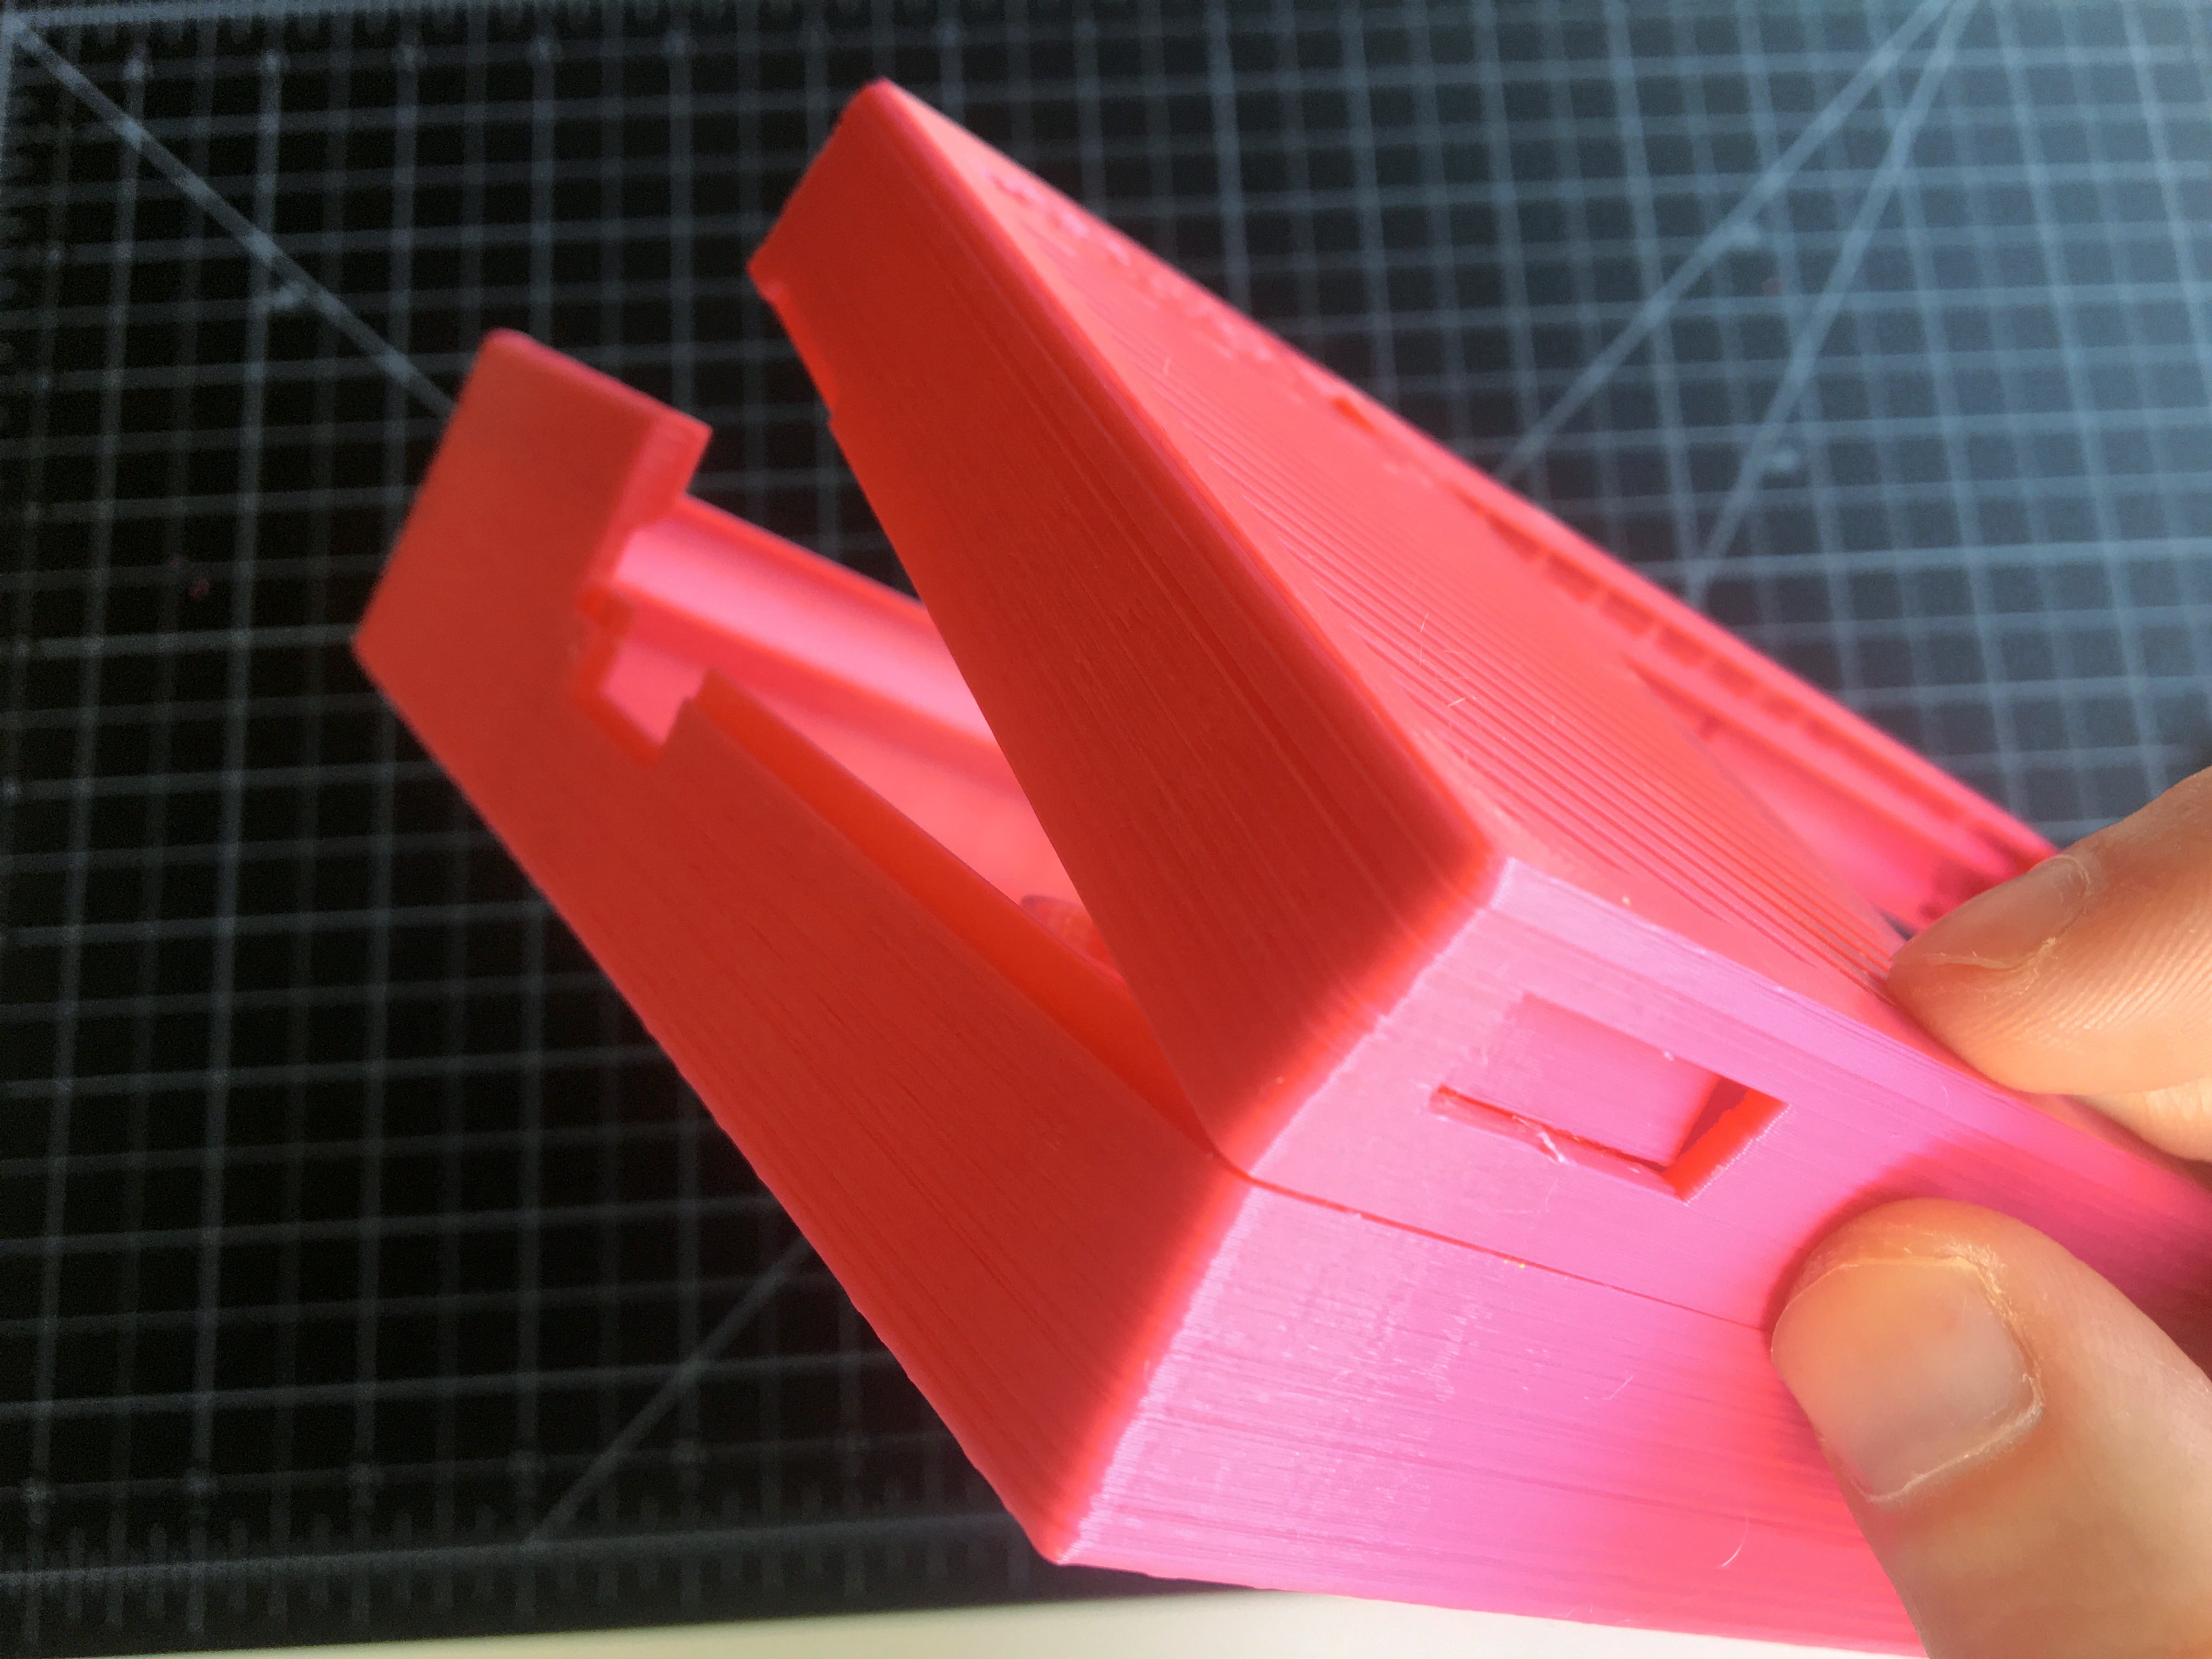
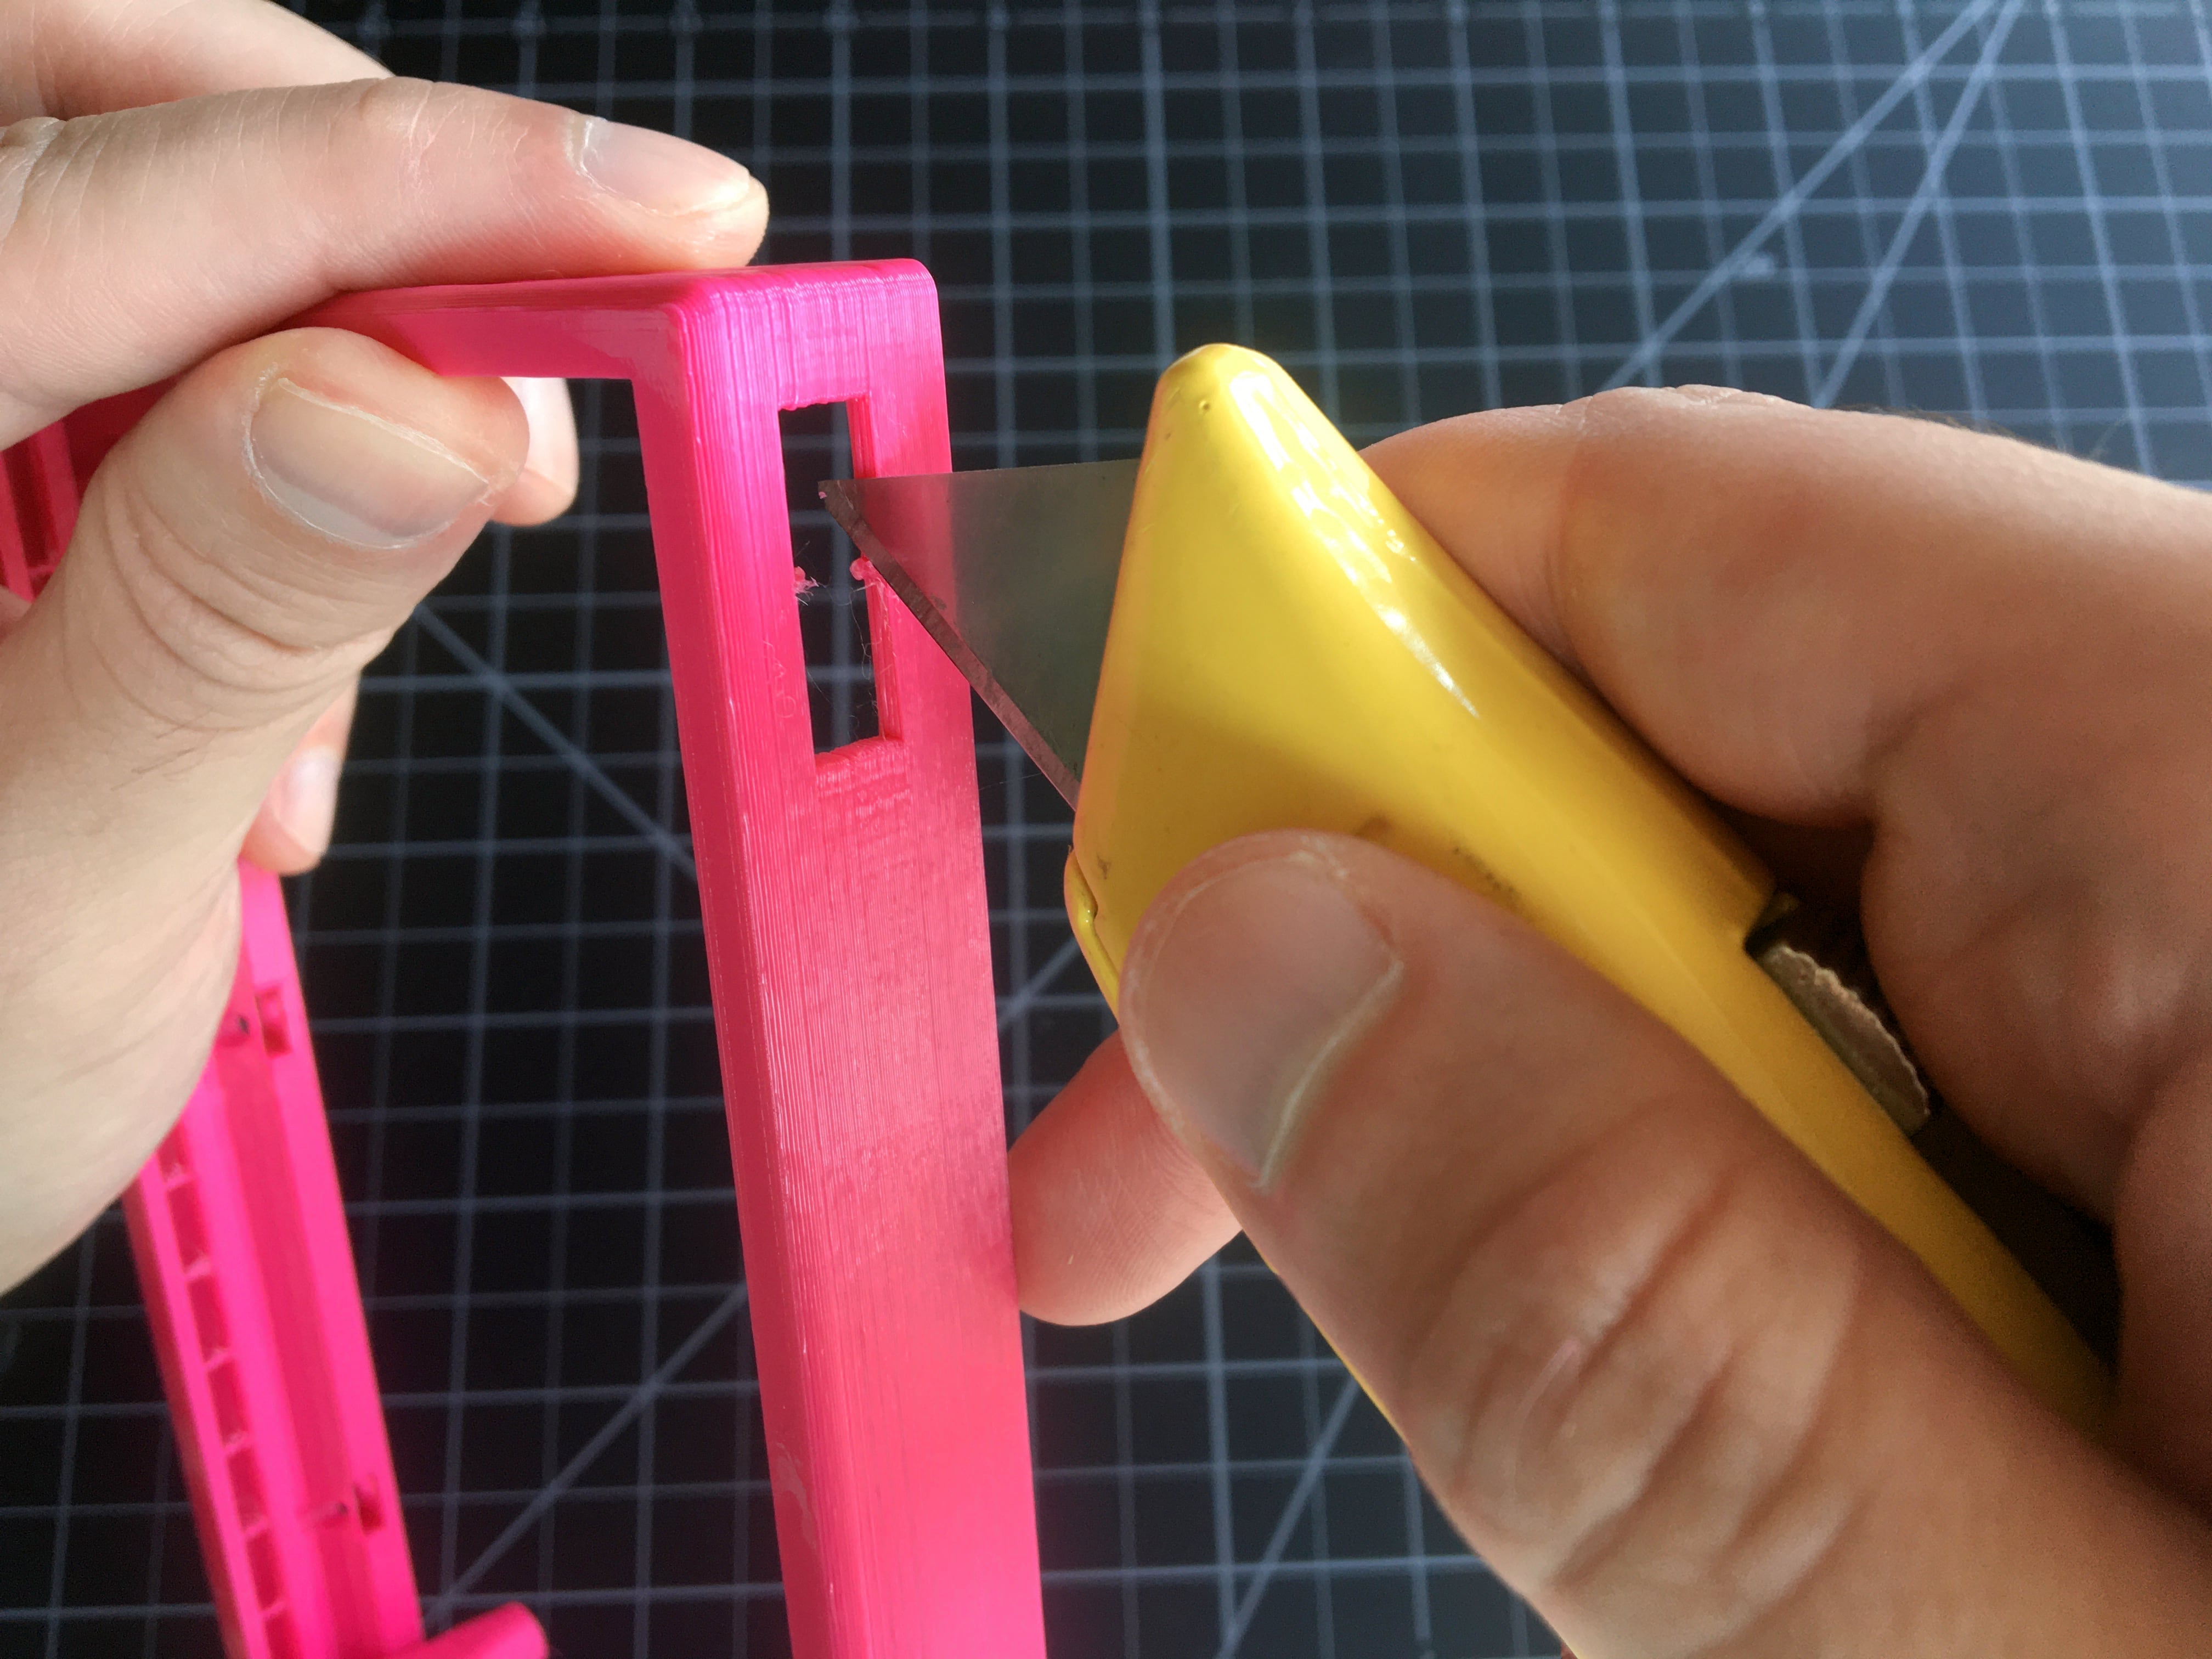
- Carefully break or cut away built-in supports on enclosure top
- Window pane supports
- And two that look like this
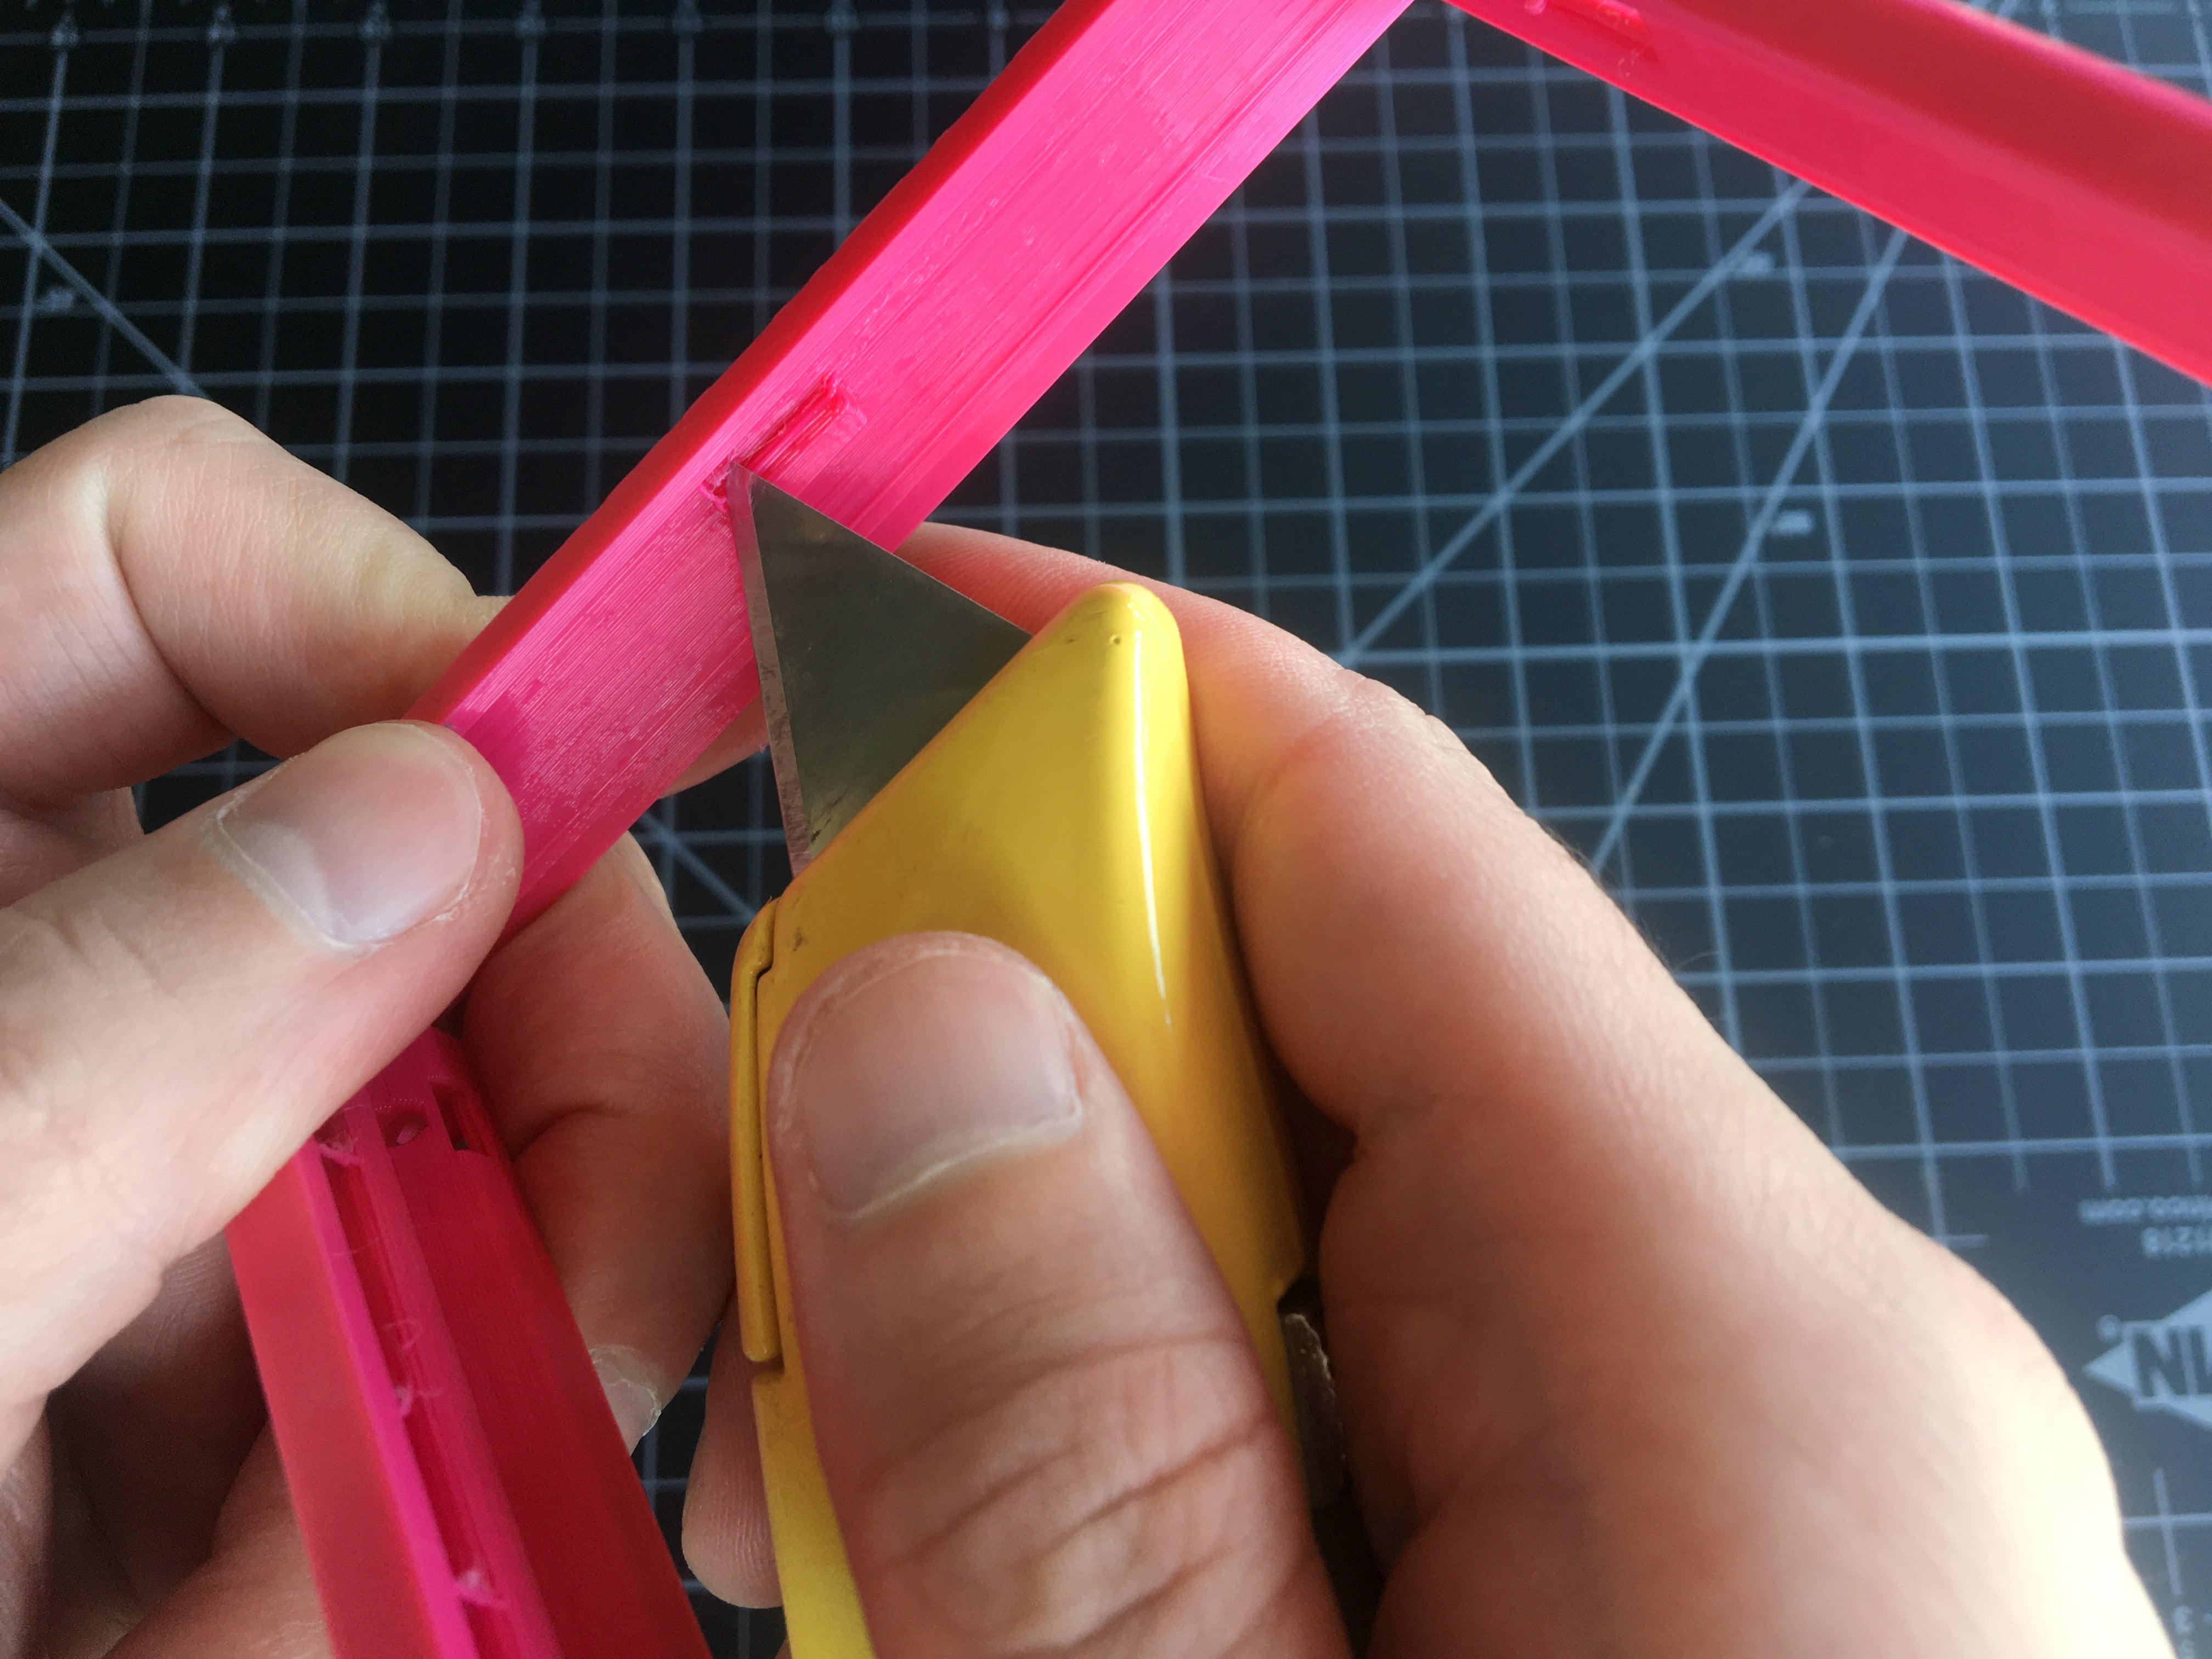
- Hitch cavities
- Window pane supports
- Remove supports on enclosure bottom
- Under hitches
- Under hitches
- Test fit the enclosure top and bottom together, cutting away supports until they fit together nicely without too much effort.