Final assembly
You're almost done! Take your time to follow the directions in order.
And check out the Assembly troubleshooting section if you run into any trouble.
Steps
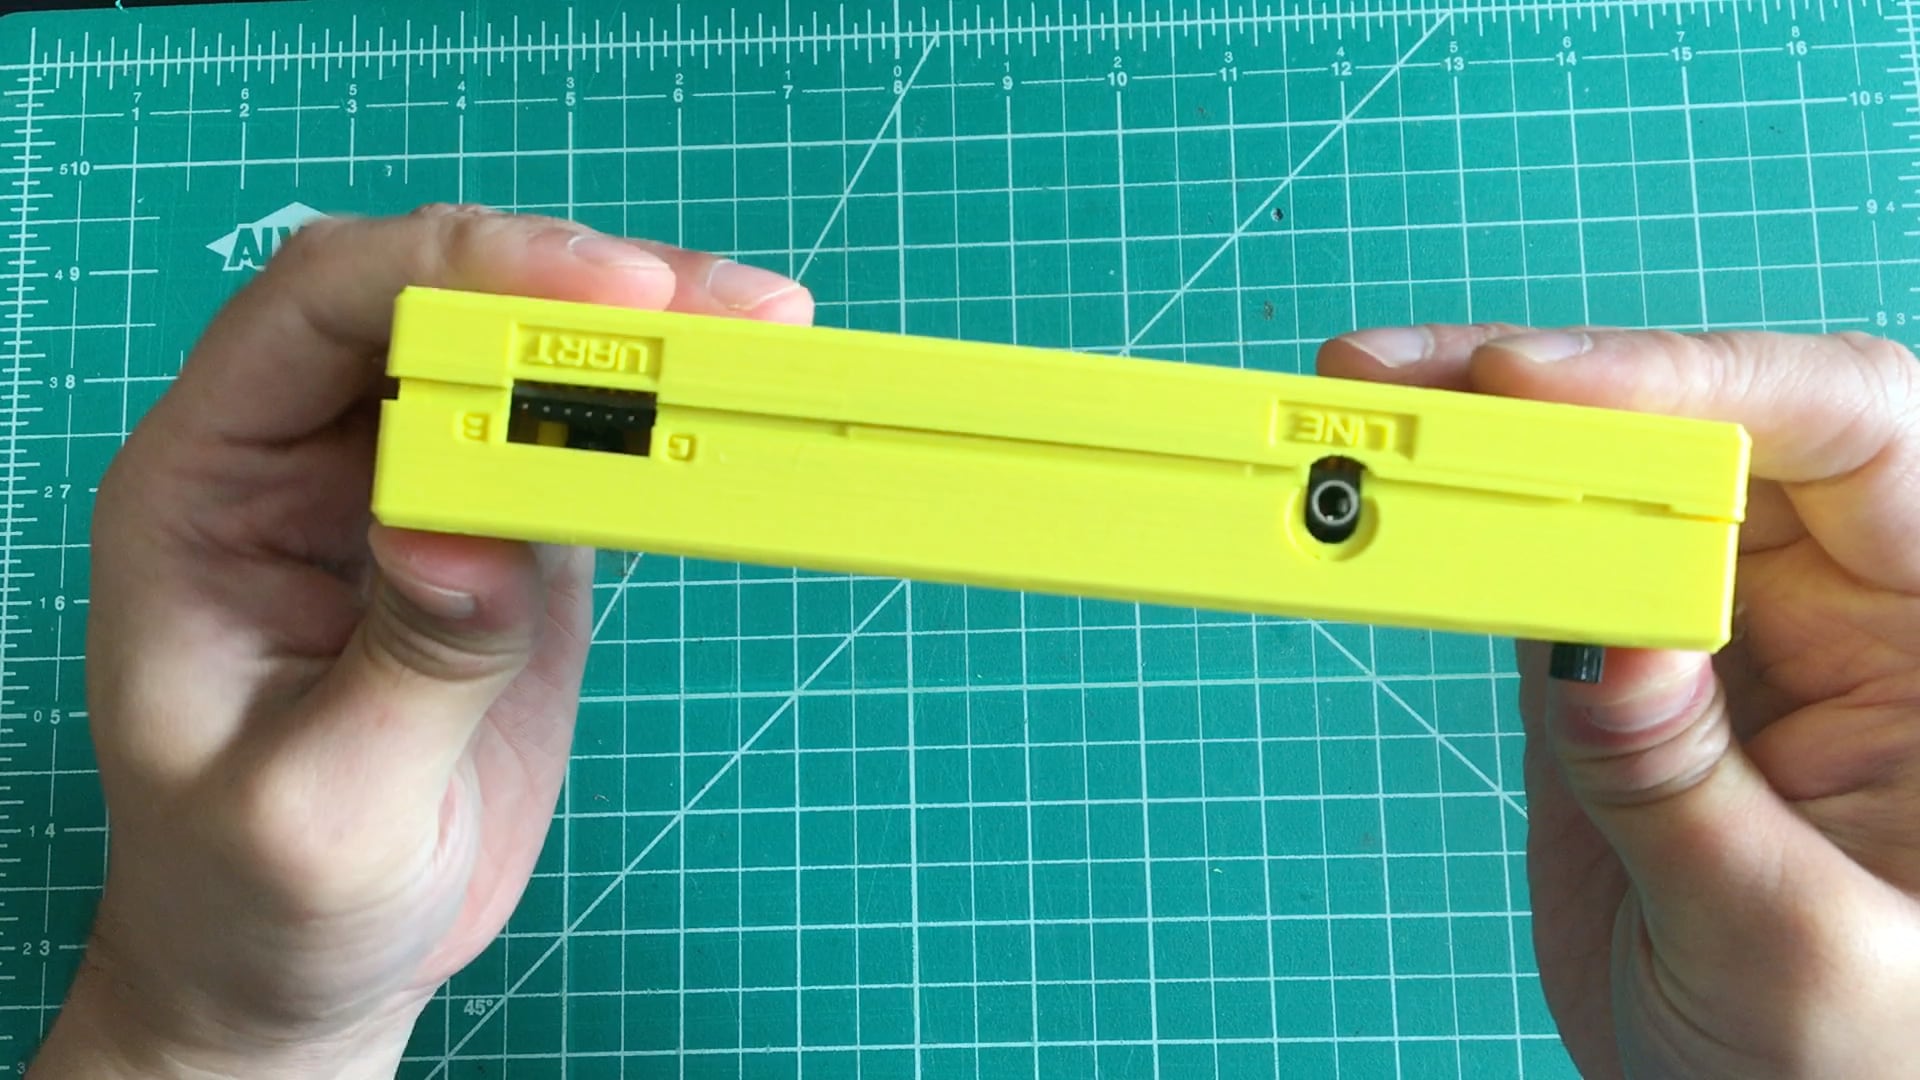
1. Snap enclosure together
Align enclosure top onto enclosure bottom and snap the two halves together. Try to make sure the keys mount rail and keys stay aligned as you do this. It's an intentionally tight fit; be brave!
2. Quick test
With the enclosure together, try turning the Scout on and pressing each key.
You should find that:
- No notes are playing unless you intentionally press them.
- Some notes are kind of finicky and require more pressure. Don't worry, we'll fix those in a second!
If not, pop the enclosure open and revisit adding the keys in the Assemble Top step.
3. Add knob
Fix knob onto the volume pot shaft, aligning its dimple to to the little marker on the top of the pot shaft.

4. Add machine screws
Slide two machine screws up through the bottom of the enclosure bottom.
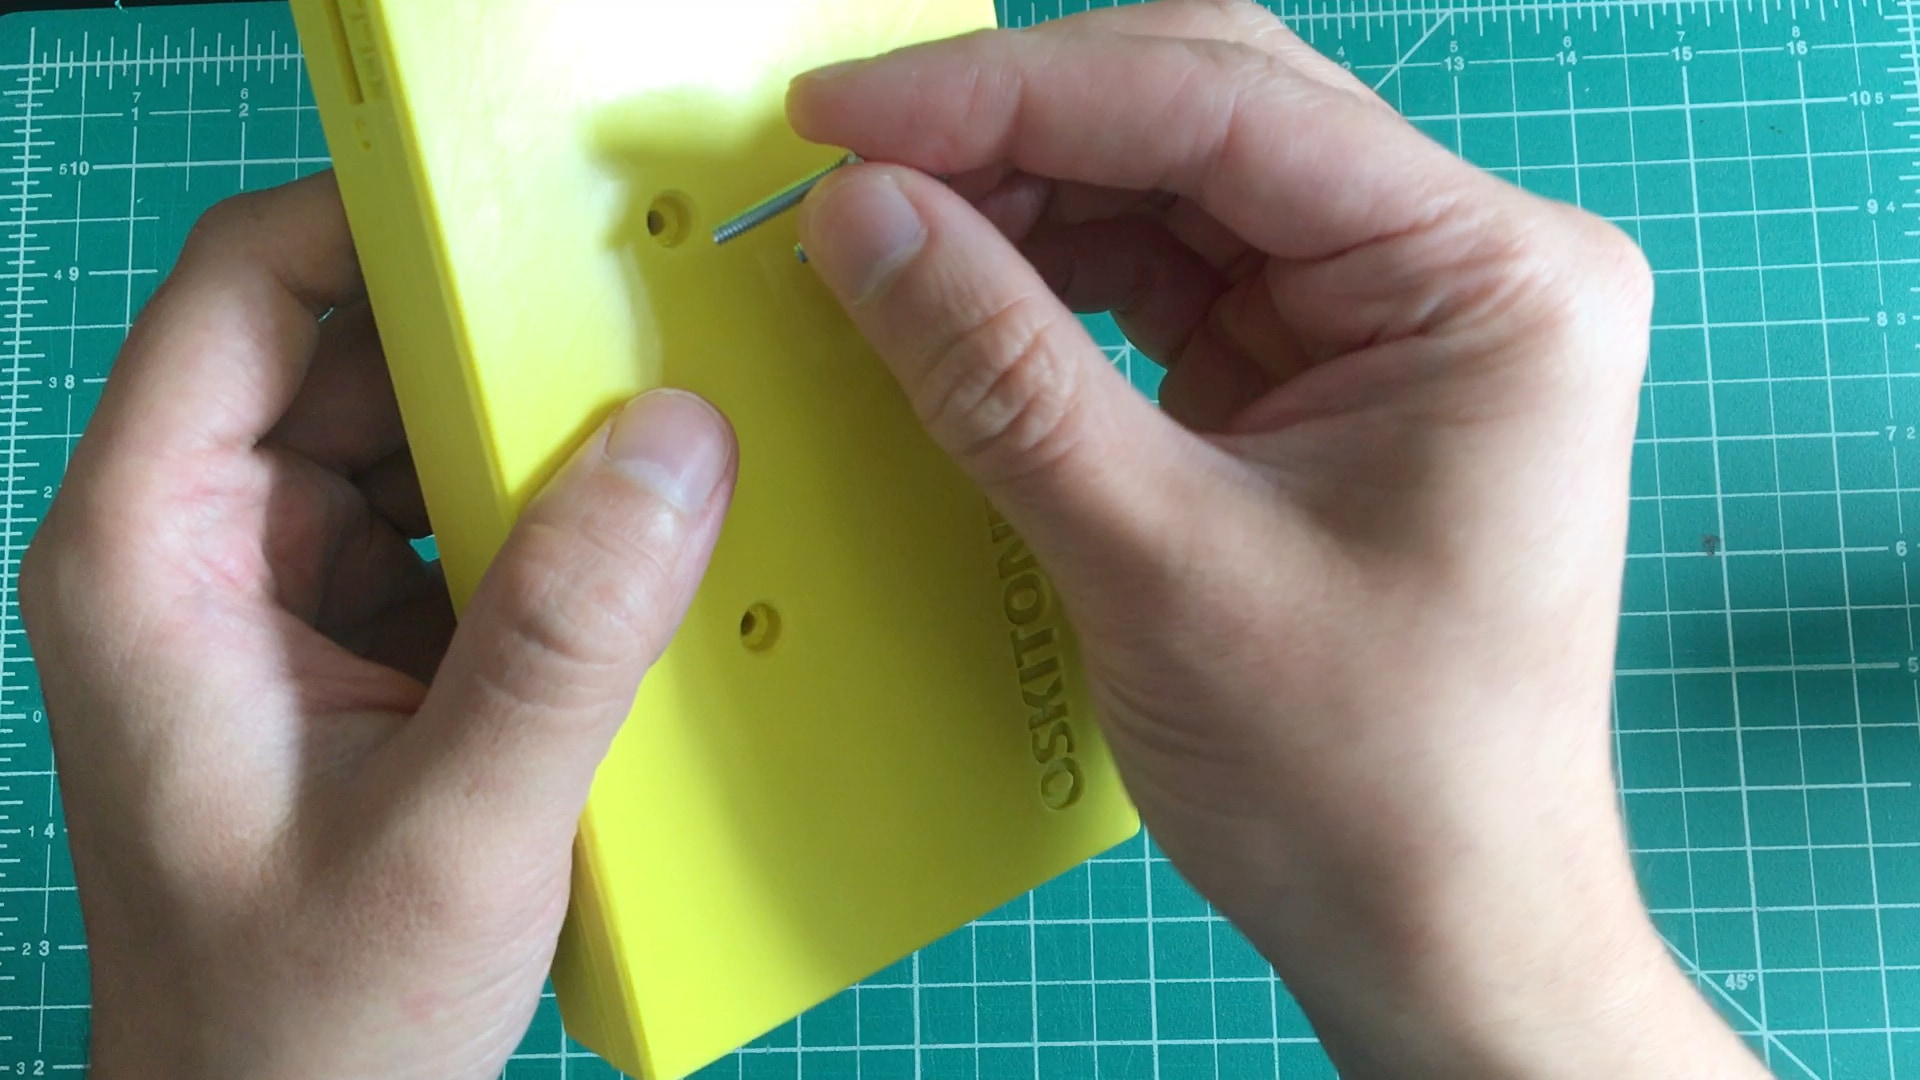
If they don't insert easily, you may have something misaligned inside. pop the enclosure open and make sure the PCB, keys mount rail, and keys are all lined up correctly.
5. Tighten screws
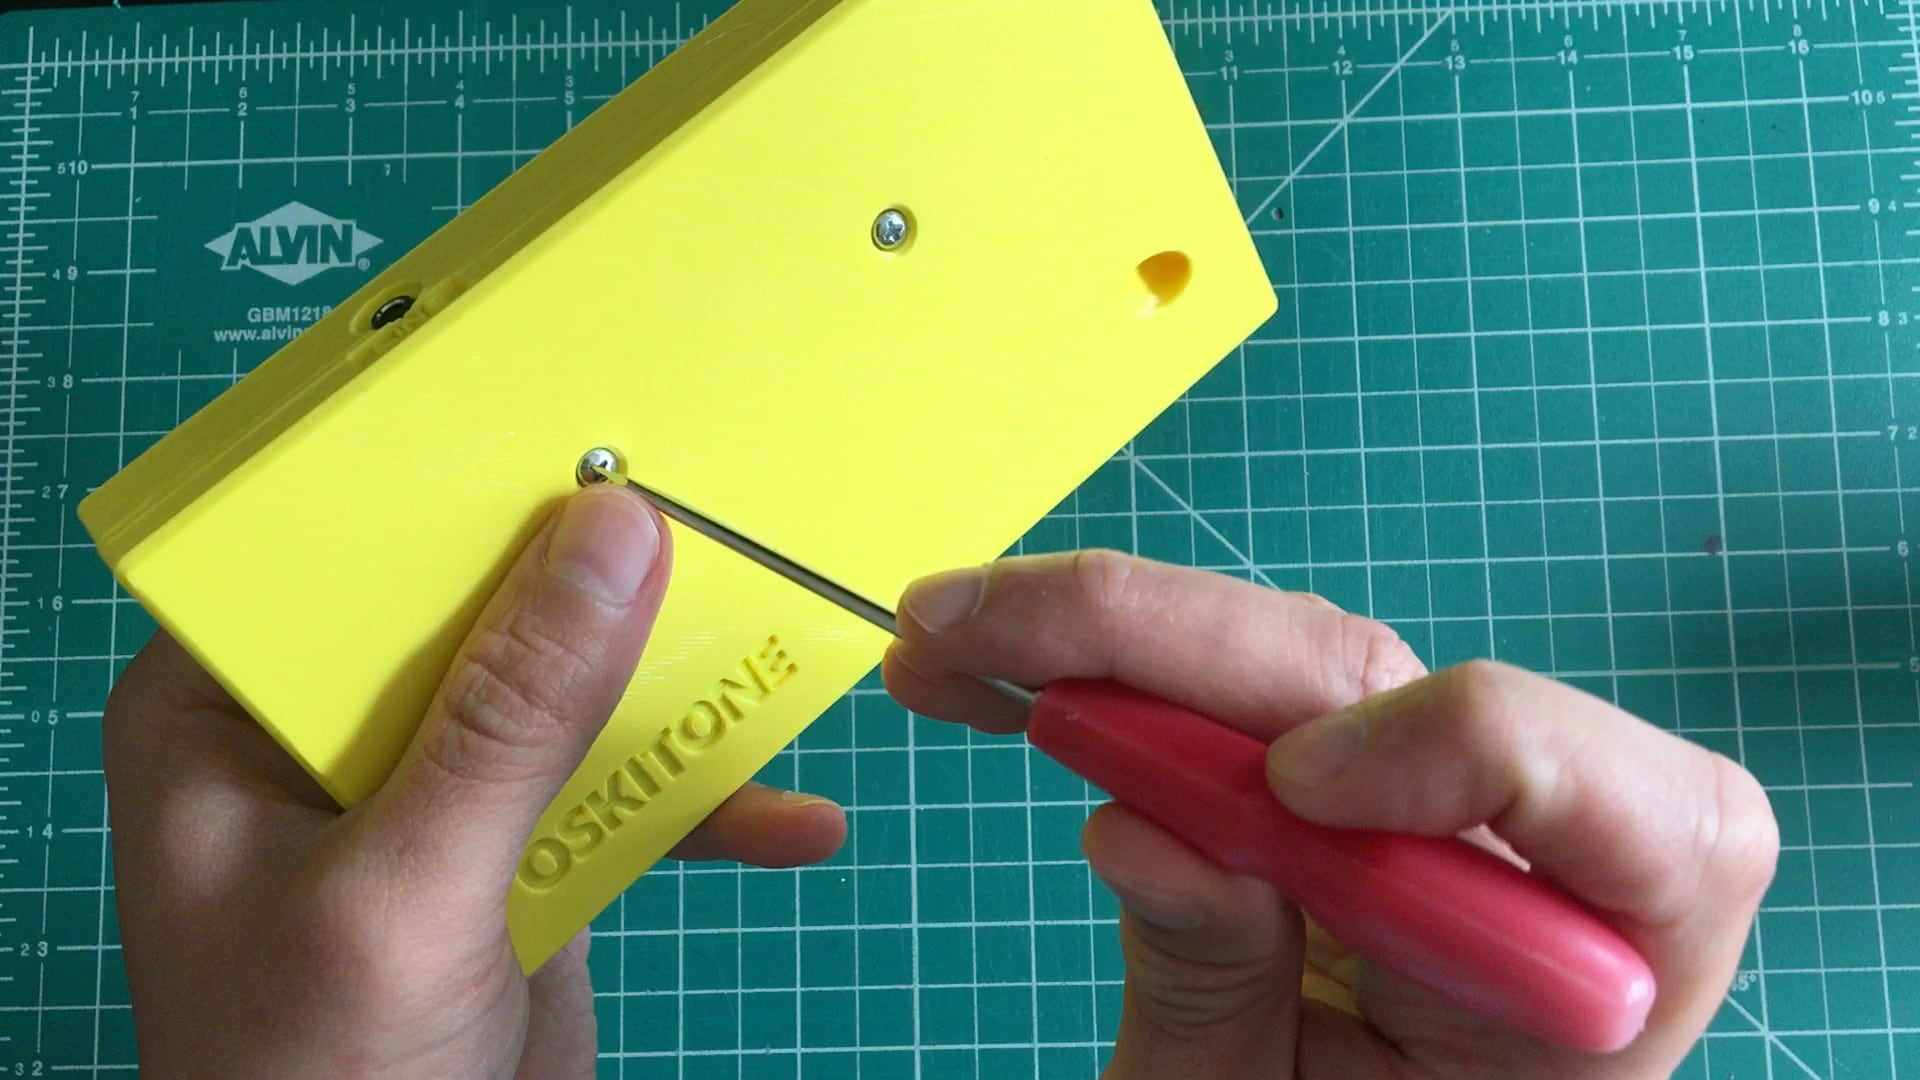
- With the Scout on (and no notes playing, see above in "Quick test"), cautiosly tighten the screws.
- If/when a note starts playing, that indicates the screw is too tight. Loosen it until the note subsides.
As you may have figured out, the screws hold the Scout together but also control the keys' "action" (how much effort is required to trigger each note). Without them, keys towards the middle are more difficult to play.
You basically want the screws tight enough that all keys require the same amount of effort, so adjust them until everything feels good.
All done!

What's next
Feedback
When you can, please let me know how it went for you:
- What did you like? Did you have fun?!
- Not including printing time, about how long did it take?
- How'd the kit show up? Were there any parts missing or damaged? Or any problems with the instructions?
- The Scout is intentionally simple, but that doesn't mean future kits will be too. Any feature requests for the next Oskitone instrument?
I act and rely on customers' feedback to make the next products even better. Even just knowing that you got it done successfully is valuable feedback, so I do want to hear from you. Thank you so much!
Share your make
Like your Scout? I'd love to have you share that!
- If you 3D-printed it at home, share your make on the Thingiverse or PrusaPrinters page where you downloaded the models. It's a good signal to other potential makers to see successful makes.
- Tell your friends, post on social, etc. You know the deal!
Further reading
For the curious, I've written a blog post where you can read more about the Scout's development and history.
Each Oskitone product gets it's own blog post, so dig around in there and see if there's anything else you find interesting.