Assemble top
You're almost done! Take your time to follow the directions in order.
And check out the Assembly troubleshooting section if you run into any trouble.
With the PCB done soldering and working, it's time to finish the job! Let's put the rest together, and we'll start with the top.
Steps
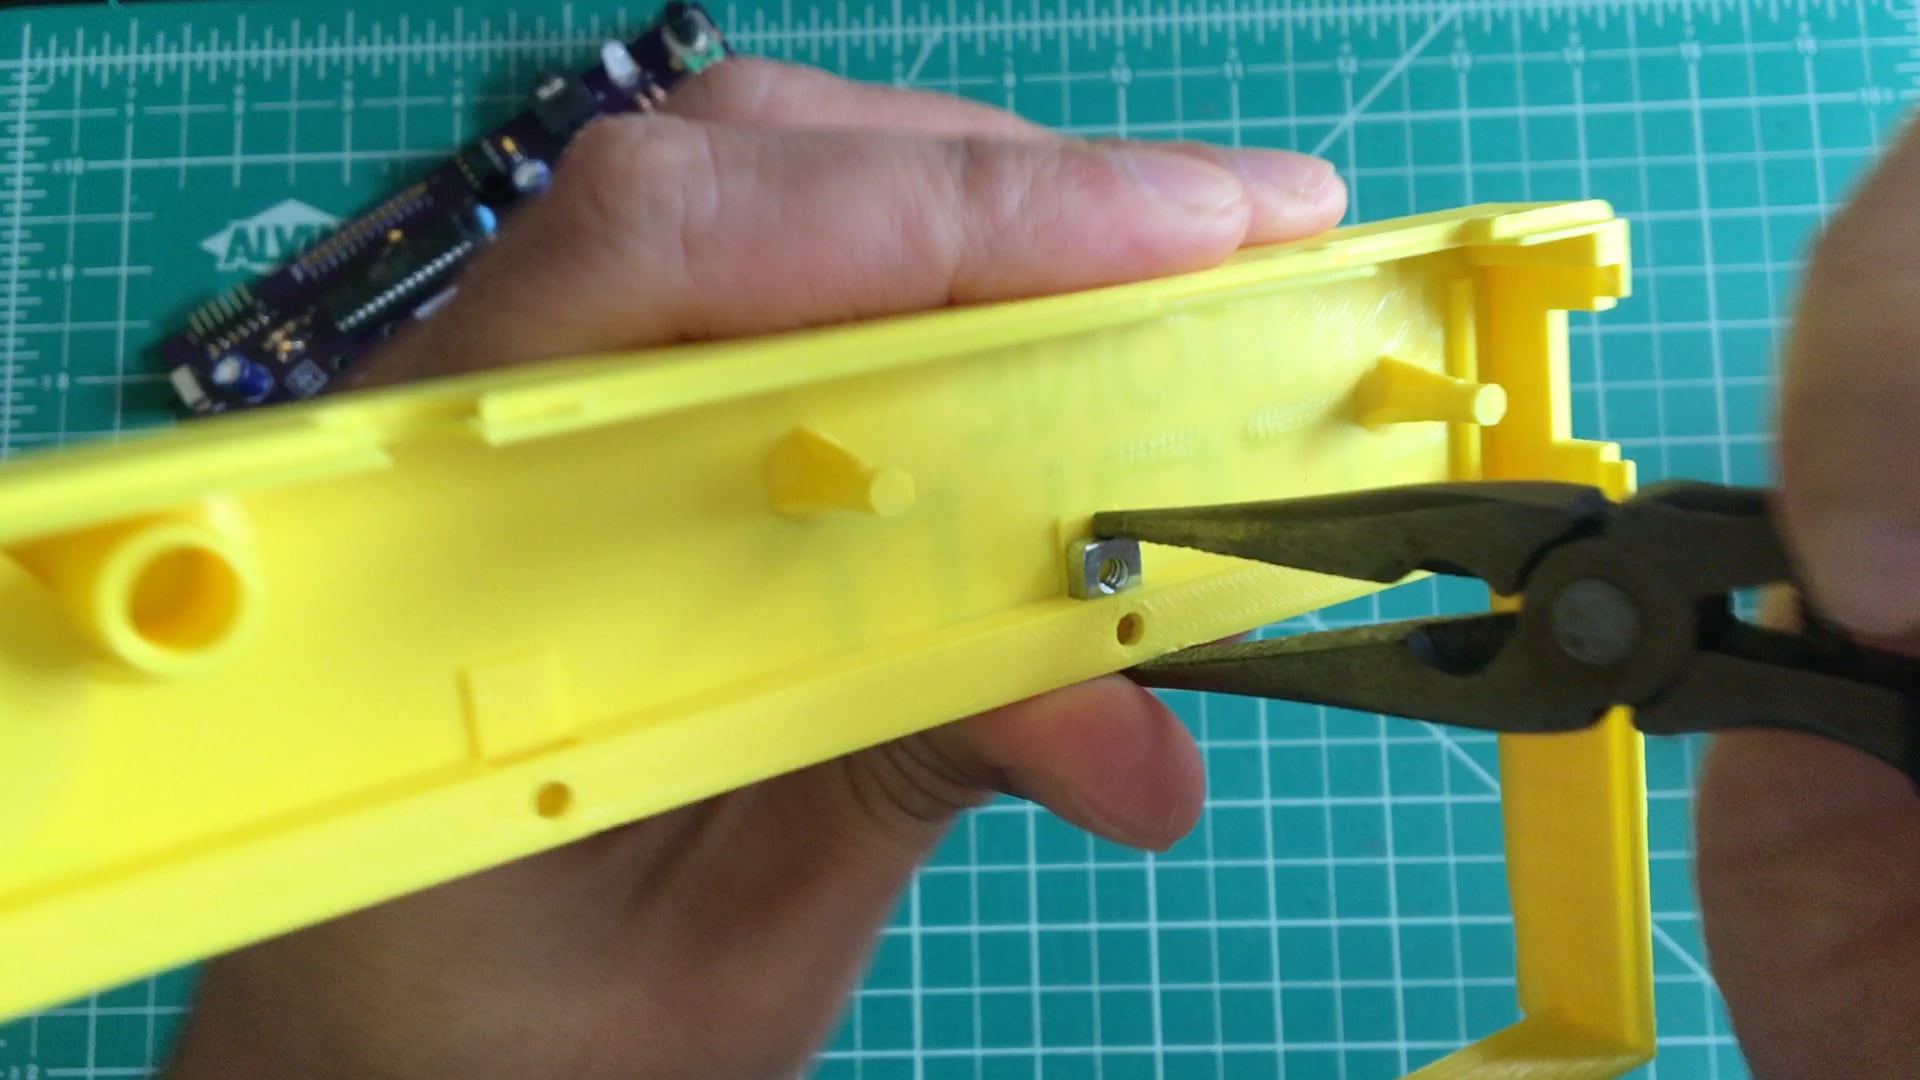
1. Nuts
Slide square nuts into nut locks on enclosure top. It'll be snug, but they'll fit! Use needle-nose pliers or a similar tool to push them in until their holes line up with those on the enclosure.
2. Keys
This part can be a little tricky and is easy to mess up, so let's first take a look at a cross section of how the keys fit into the enclosure top:
Notice a couple things:
- The front of the keys (on the right side of the above picture) have an endstop cavity.
- That cavity fits onto matching endstop lip on the enclosure top.
- Those two together prevent the keys from being pressed too far down or being pulled up.
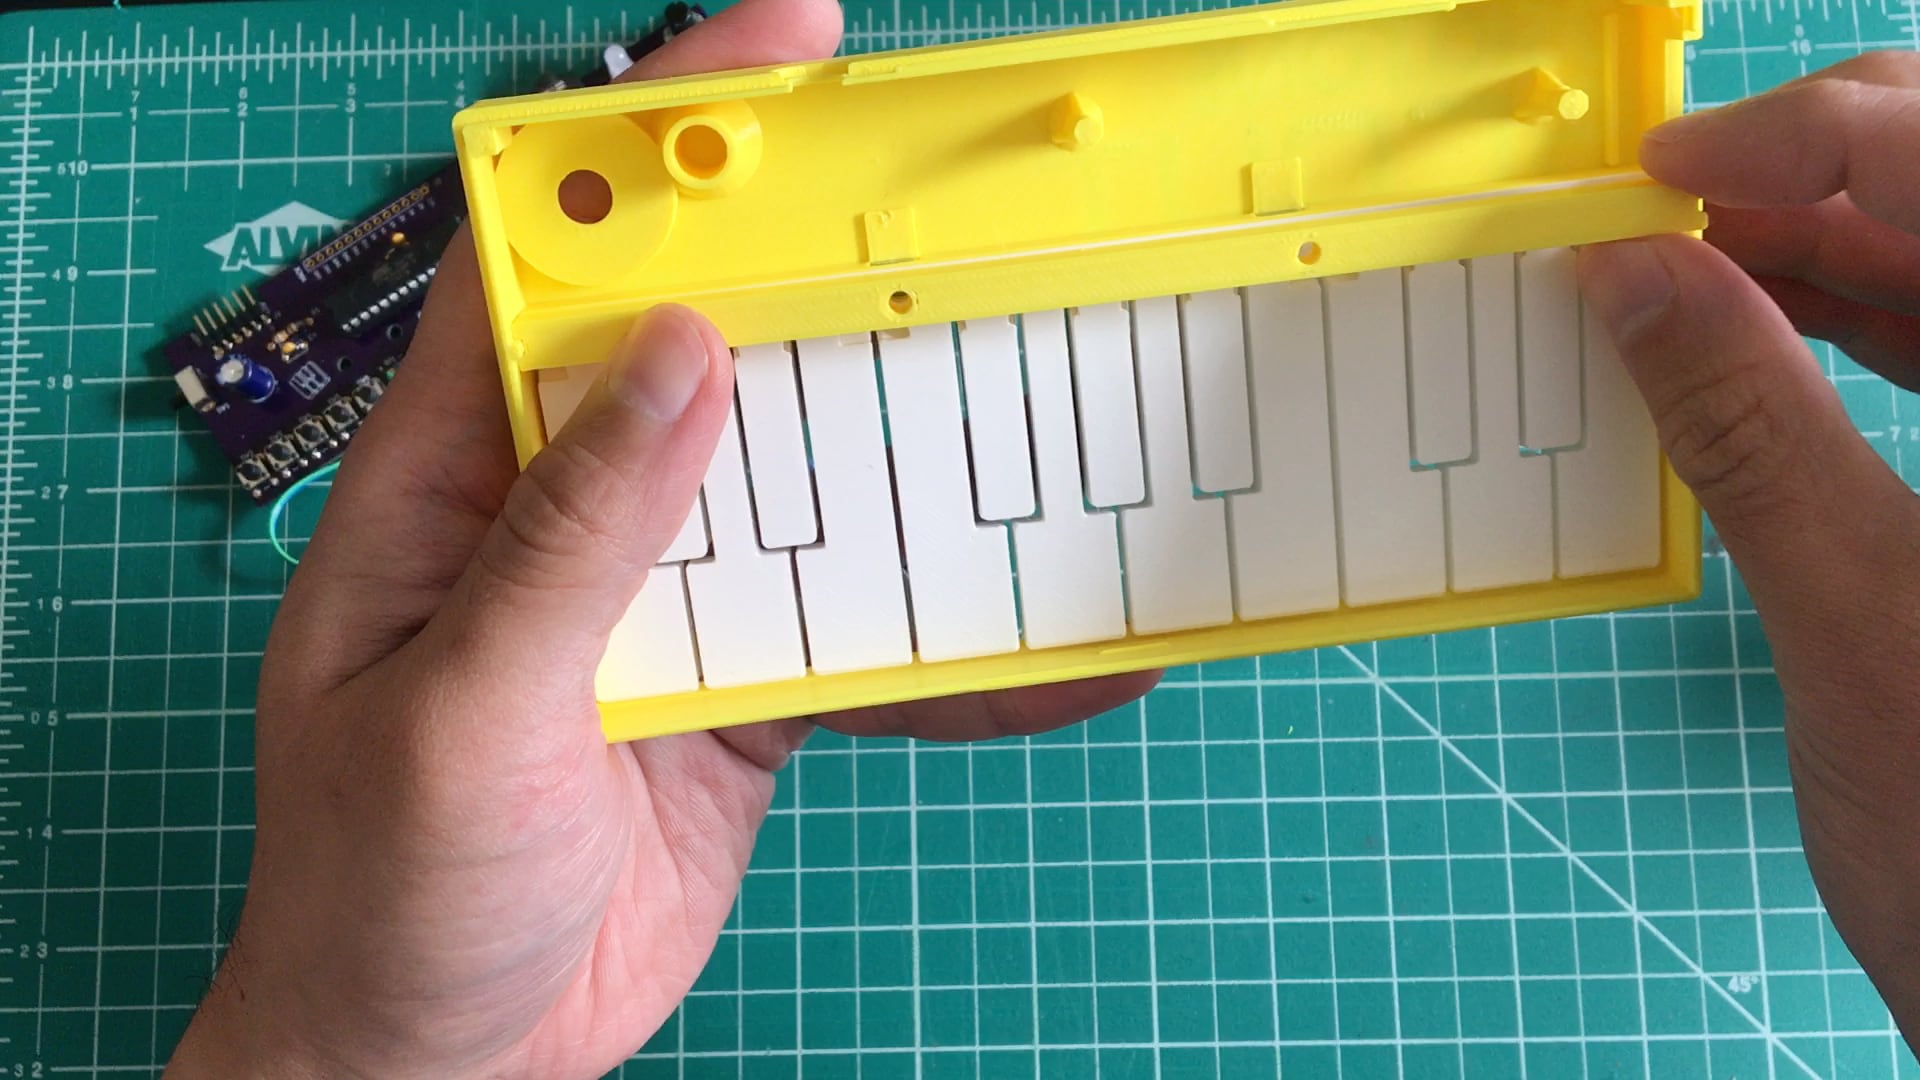
Add the keys. Its rail has cavities on the sides that fit into matching aligners on the enclosure top.
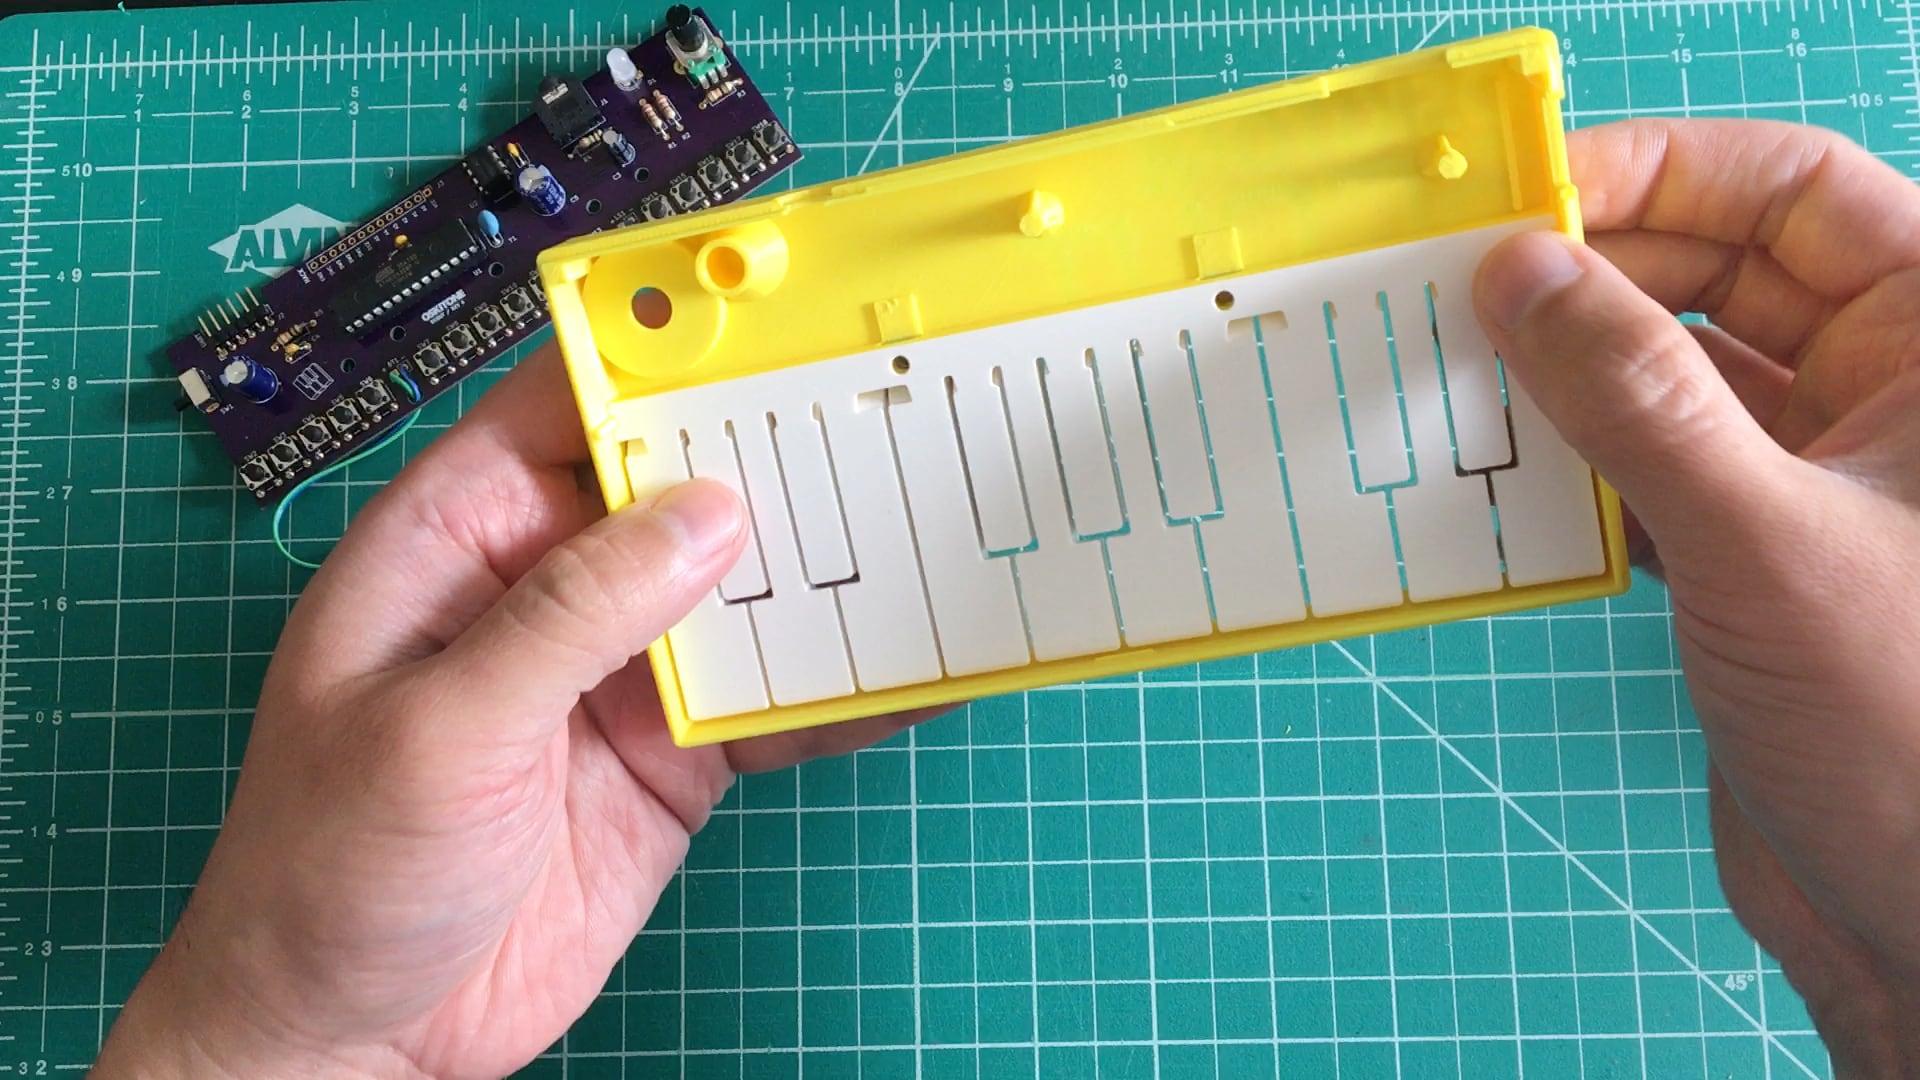
It'll take some careful wiggling, but your goal is to guide the keys down onto the aligners and into the endstop.
When done, view the keys from the side and confirm none of them are visibly held down. Then test that the endstop is working correctly by pushing the keys both up and down — they shouldn't be able to travel too far.
Here's a video showing exactly what that looks like:
Don't move on until this looks good!
3. Keys mount rail
Glide the keys mount rail onto its aligners. Don't worry if it seems a little warped — it will be held flat by the screws.