3D-Printing Post-Processing
If you bought a kit with 3D-printed parts included, you can skip this section, but do open up the enclosure and confirm you have all the right pieces ready before continuing.
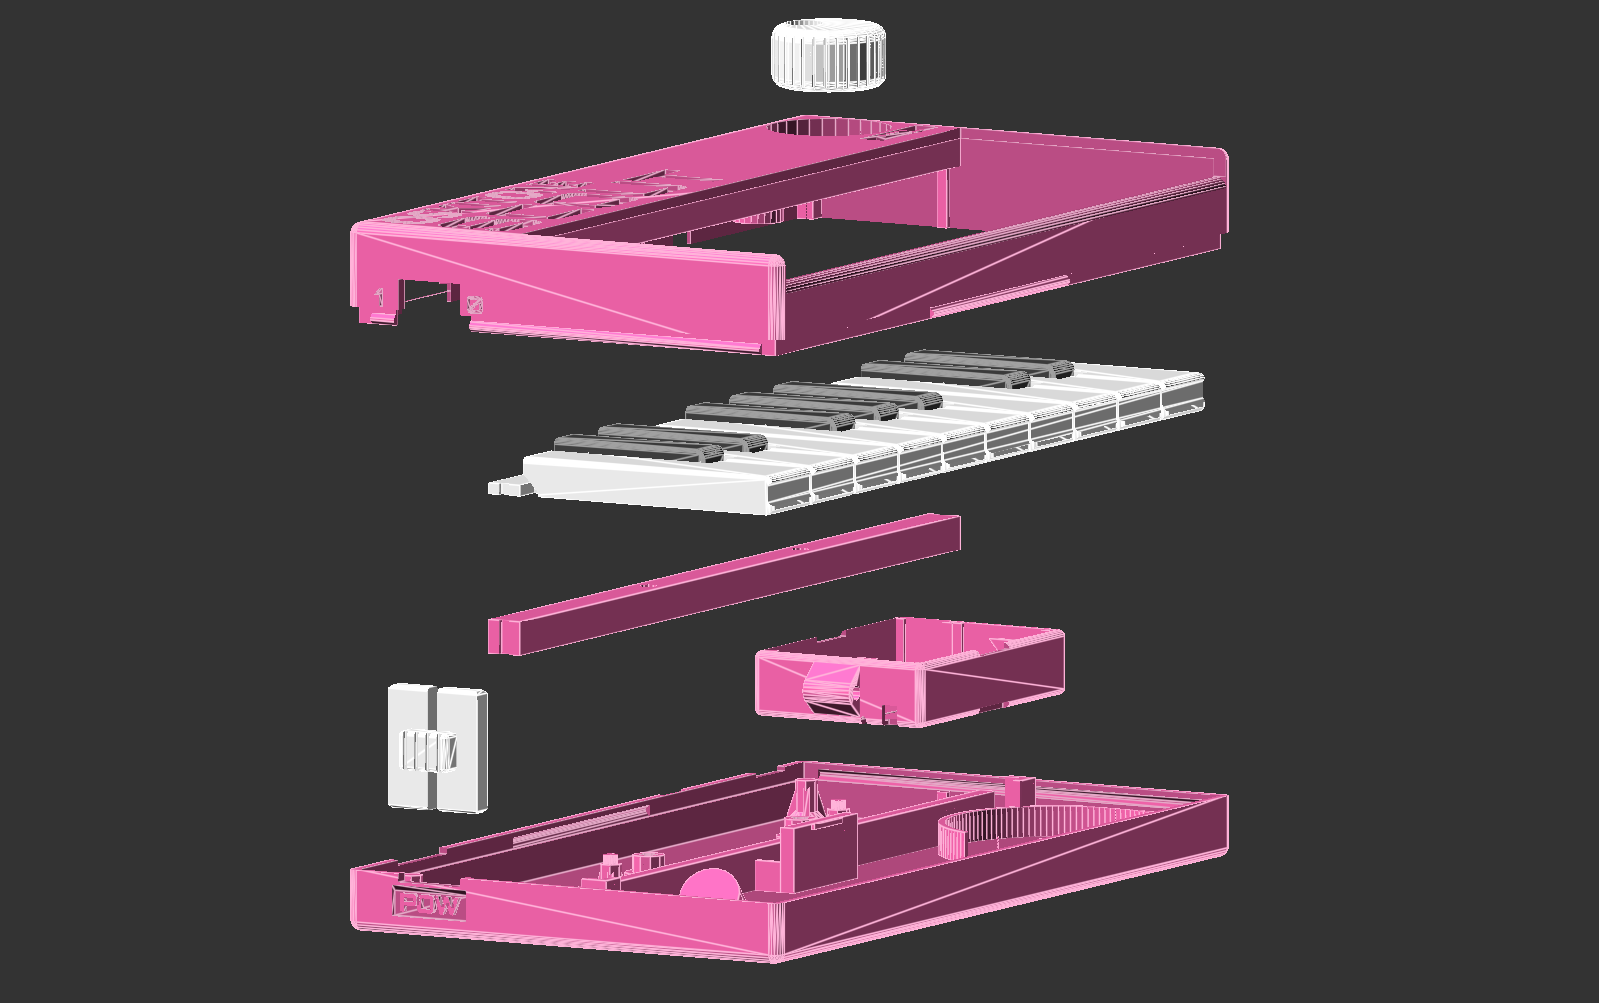
As a reminder, you should have seven new prints. From top to bottom:
- knob
- enclosure top
- keys
- keys mount rail
- battery holder
- switch clutch
- enclosure bottom
Post-processing
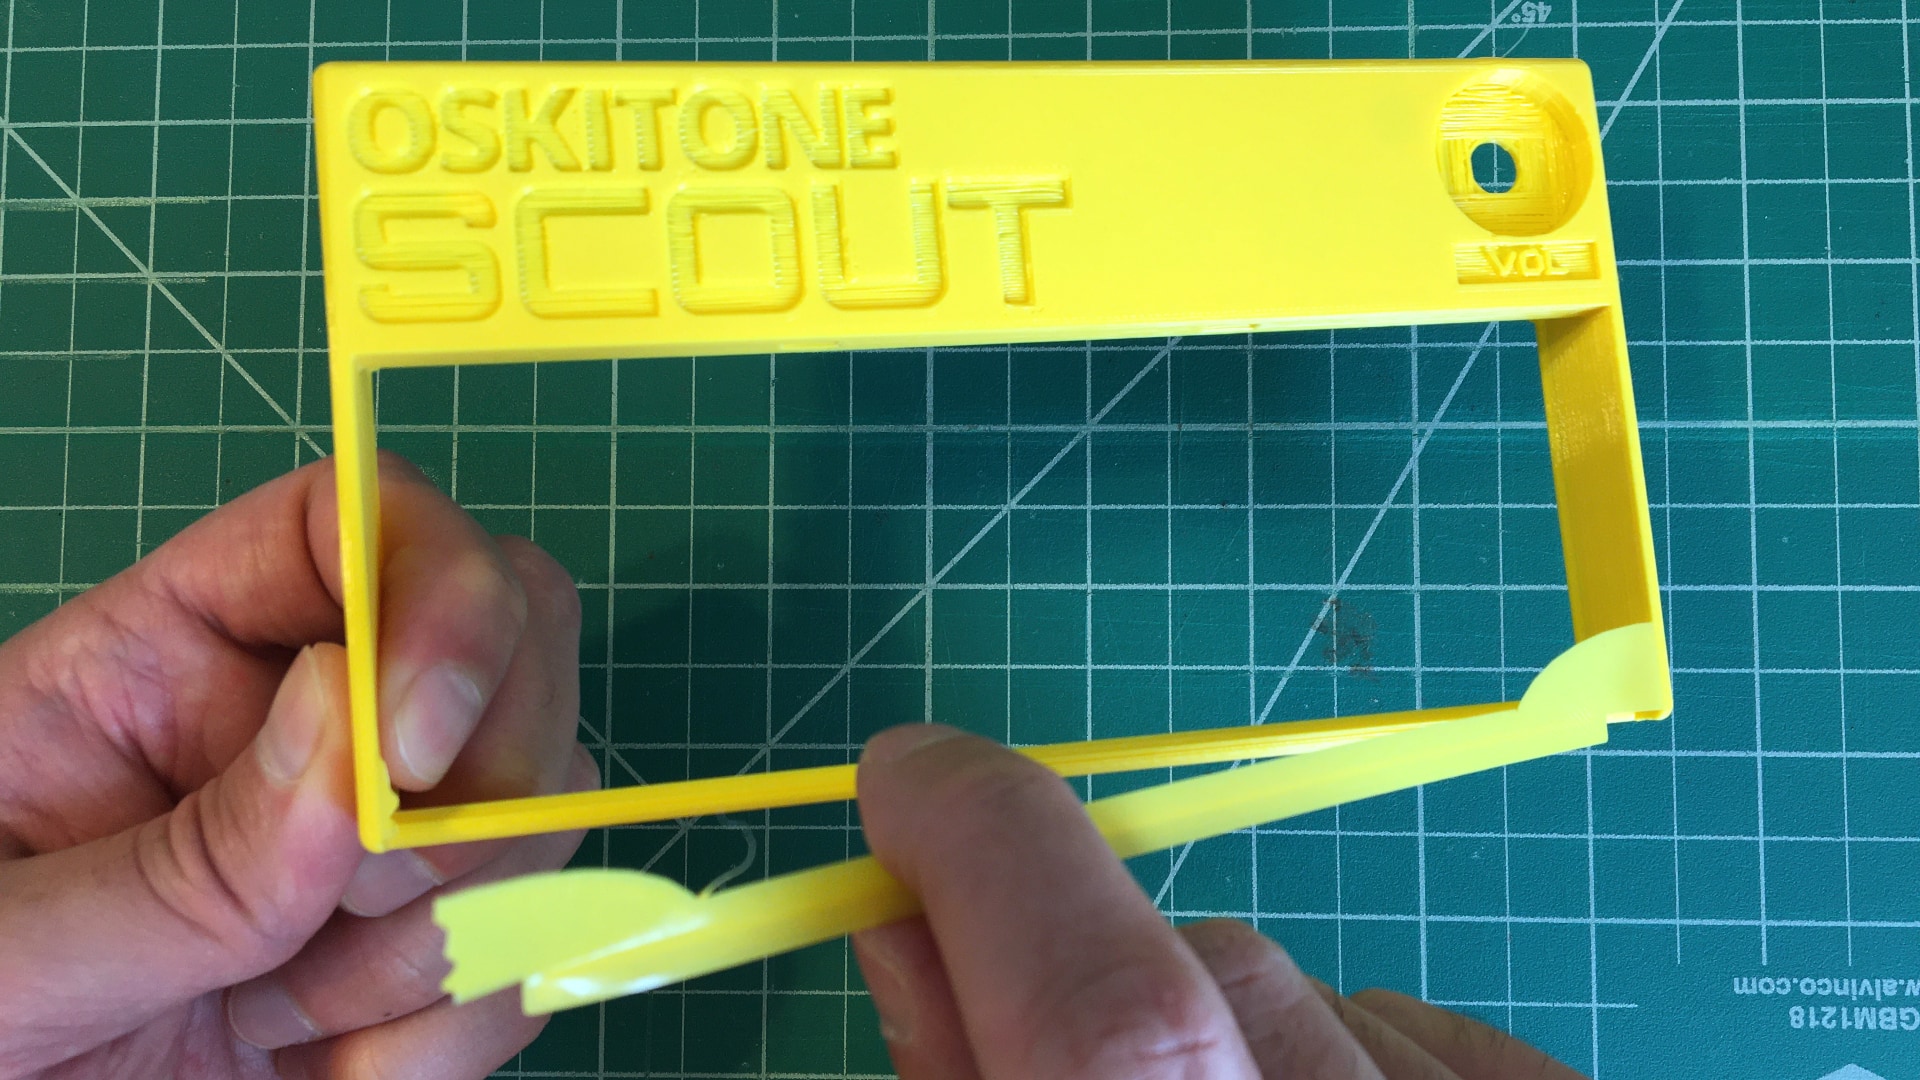
The enclosure top and switch clutch pieces both have print supports, highlighted here:
- Snap off supports
- Use a utility knife to trim off any excess plastic on the enclosure top
Test fit before soldering
Optional, but it's a good idea to confirm the printed pieces are sized correctly now rather than after you're done soldering!
Try as many of these as you have patience for. All should be tight fits, doable with just your hands and without any pliers or other tools. (Take a sneak peek at the Final Assembly step if any are unclear.)
- Insert volume potentiometer shaft into its knob's cavity.
- Pop the speaker into its circular cavity on the enclosure bottom.
- Glide the keys mount rail onto its aligners on the enclosure top.
- Try snapping the two enclosure halves together. It's an intentionally tight fit; be brave!
If any pieces don't fit, verify the printed dimensions match what you expected as visualized in your slicing program. Revisit the slicing information in the 3D-Printing Parts and Slicing section.